cPanel is a popular web hosting control panel that allows users to manage their websites, domains, emails, and databases easily through a graphical interface. This guide will walk you through installing cPanel on an Ubuntu server.
Before starting, ensure you have:
-
A fresh installation of Ubuntu Server 20.04
-
A stable internet connection
-
A valid cPanel license
Step 1: Update Your System Packages
It’s important to update your package lists before installing any new software. Run the following commands: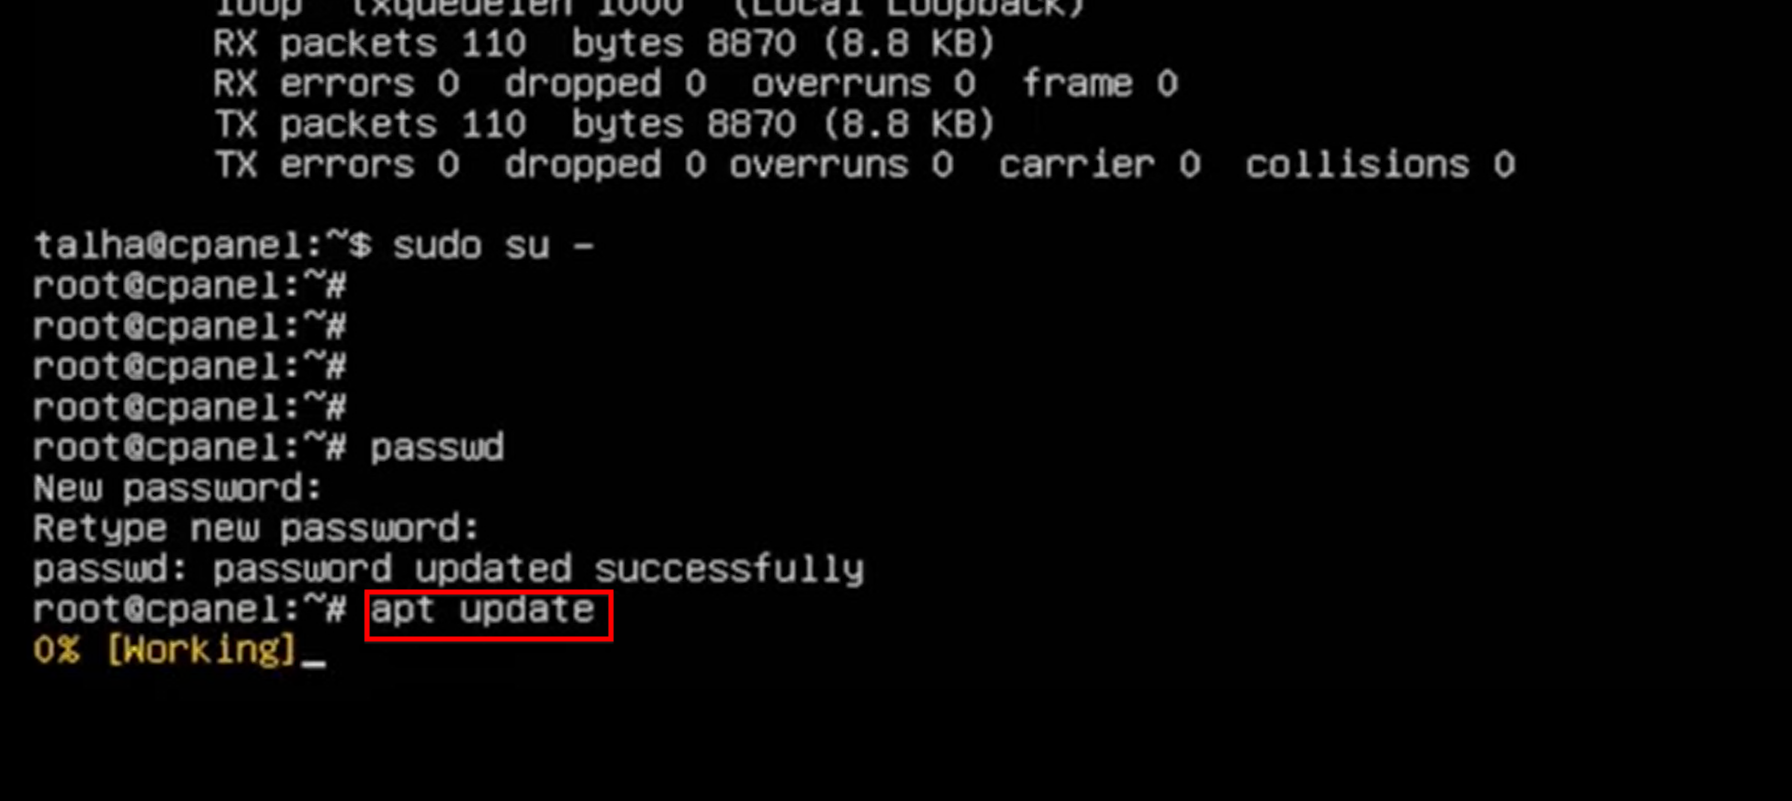
apt update
apt upgrade -y
Step 2: Set the Hostname
You need to configure the hostname for your server. Open the hostname file and edit it:
nano /etc/hostname
nano /etc/hosts
Make necessary modifications and save the file by pressing CTRL+X, then Y, and Enter.
Step 3: Install Required Dependencies
Install Perl and Screen, which are required for the cPanel installation:
apt install perl -y
apt install screen -y
Step 4: Download and Install cPanel
Download the cPanel installation script: 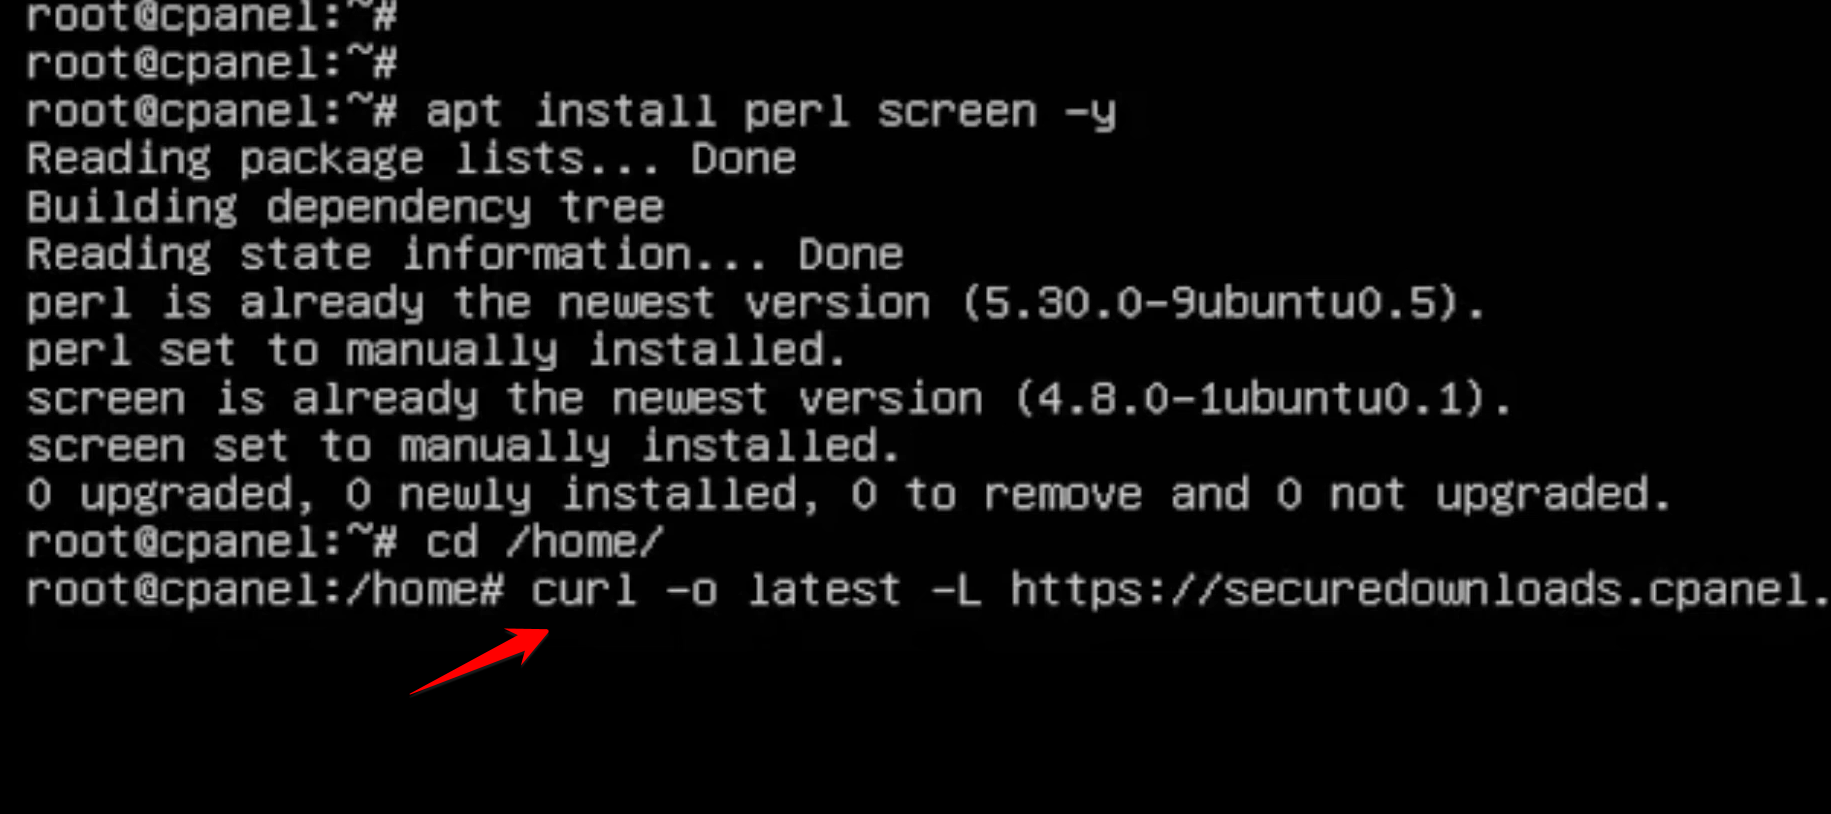
curl -o latest -L https://securedownloads.cpanel.net
Run the installation script:
sh latest
The installation process will take some time to complete.
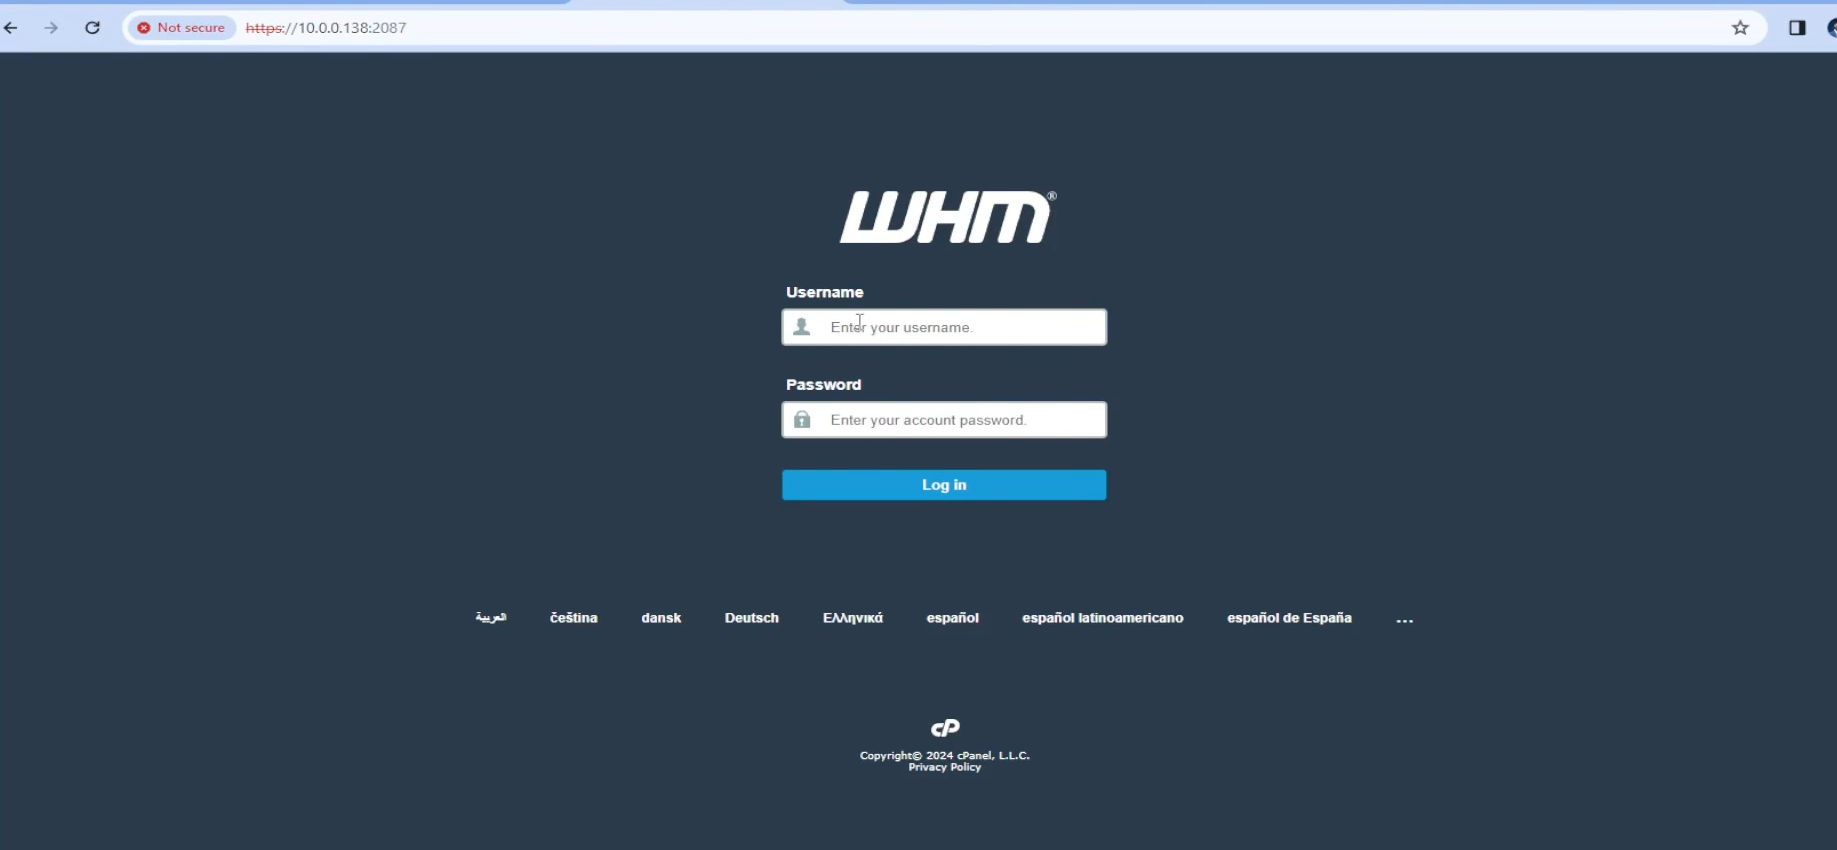
Step 5: Access cPanel
Once the installation is complete, you can access your cPanel WHM interface by entering your server IP address followed by port 2087 in a web browser:
From here, you can complete the initial setup wizard and start managing your hosting environment.
You have successfully installed cPanel on your Ubuntu server. Now, you can configure your hosting settings, create accounts, manage domains, and utilize all cPanel features for efficient server management.