
Step :01 (Prepare the Linux Environment)
- Install and update Linux (e.g., Linux Mint).
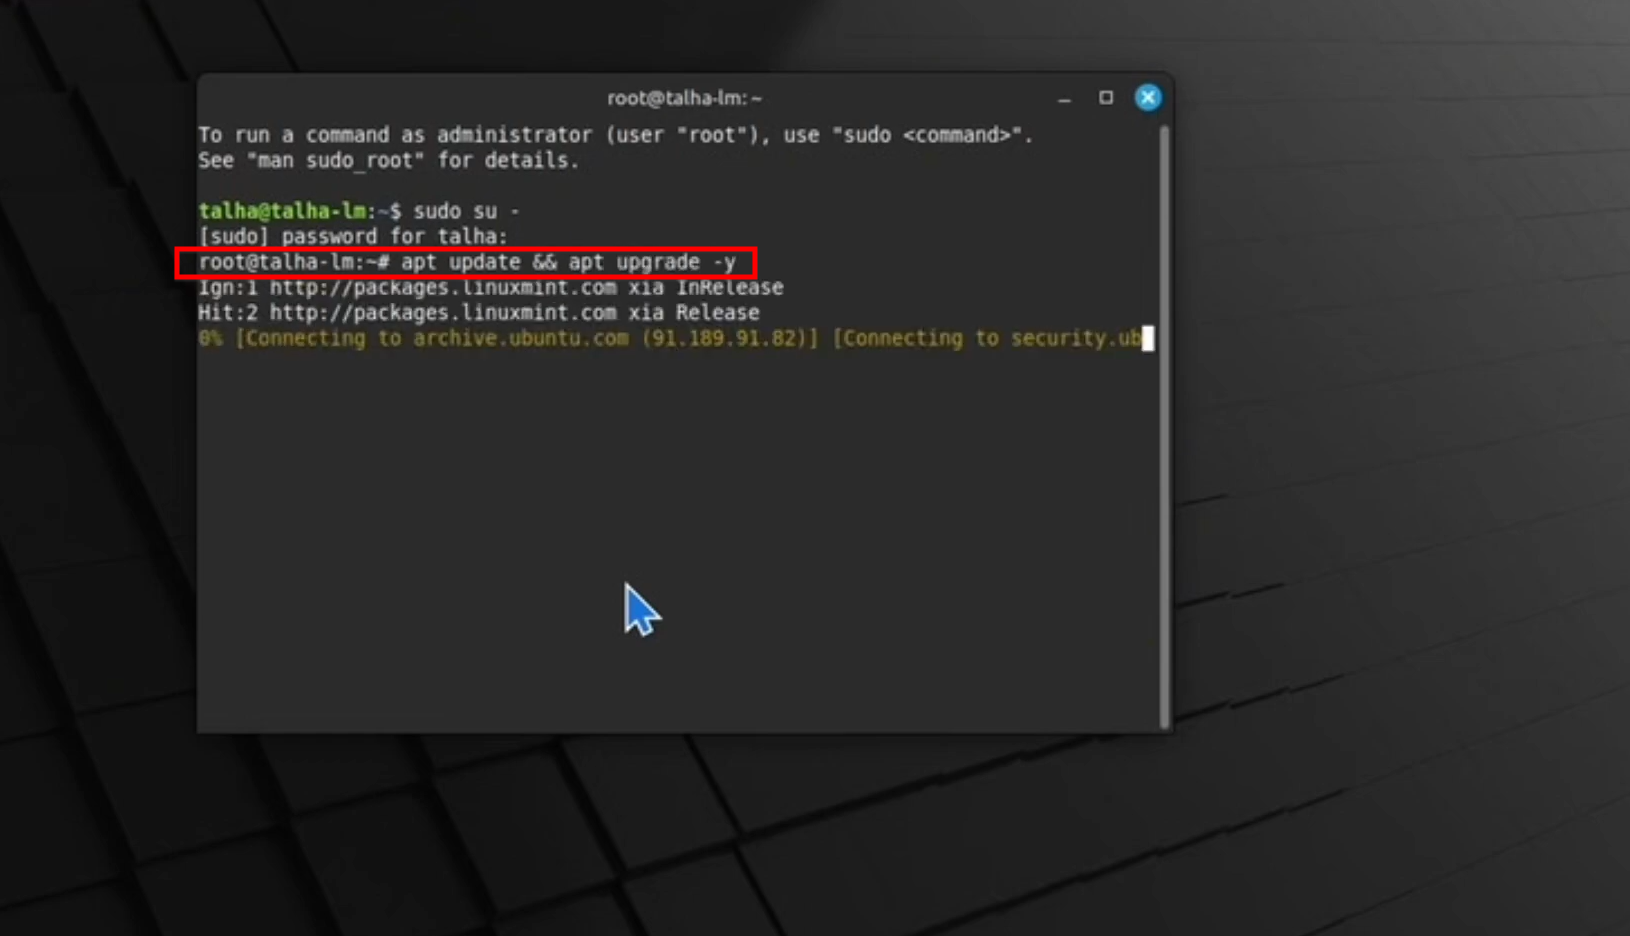
apt update && apt upgrade -y
- Install rclone using the command line
curl https://rclone.org/install.sh | sudo bash Step :02 (Configure rclone with Google Drive)
- Run
rclone configand create a new remote (e.g., named “Gdrive”).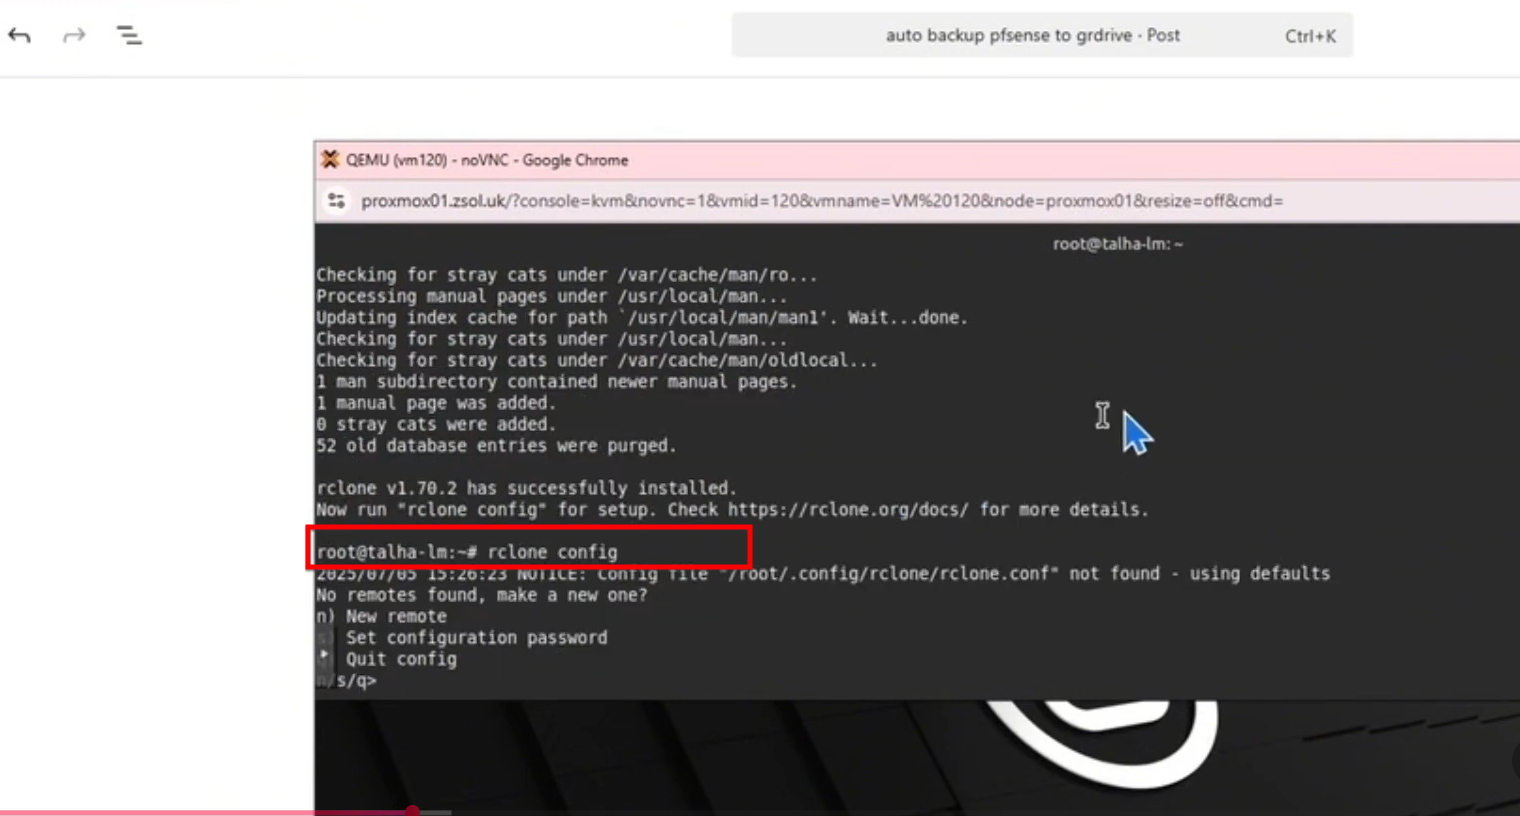
- Select Google Drive (option 22 in the video) and follow the prompts for full access.
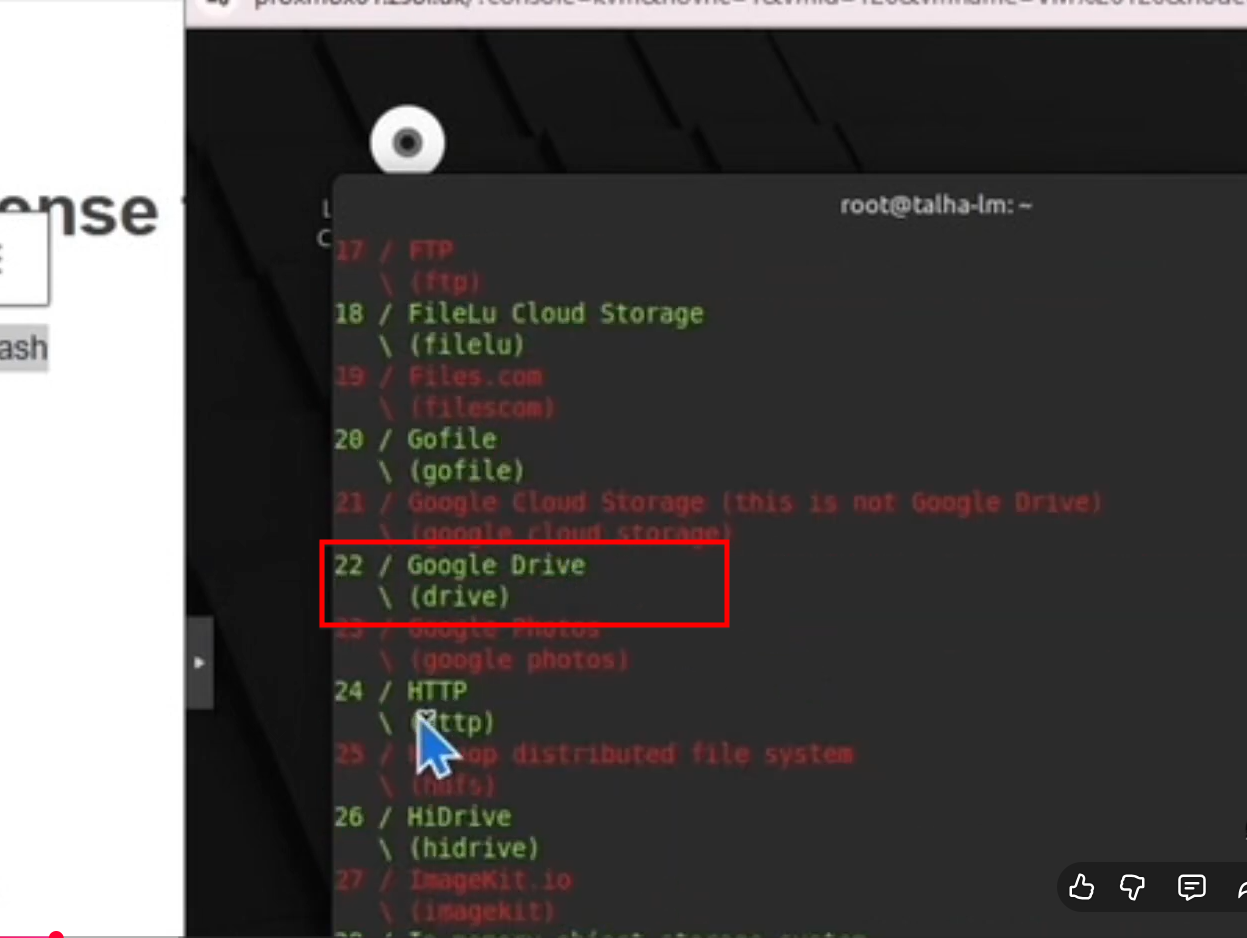
- Use the web browser on the Linux machine to authenticate rclone with your Google account.
Step :03 (Configure pfSense Backup User)
- In pfSense, go to System > User Manager and create a dedicated backup user.
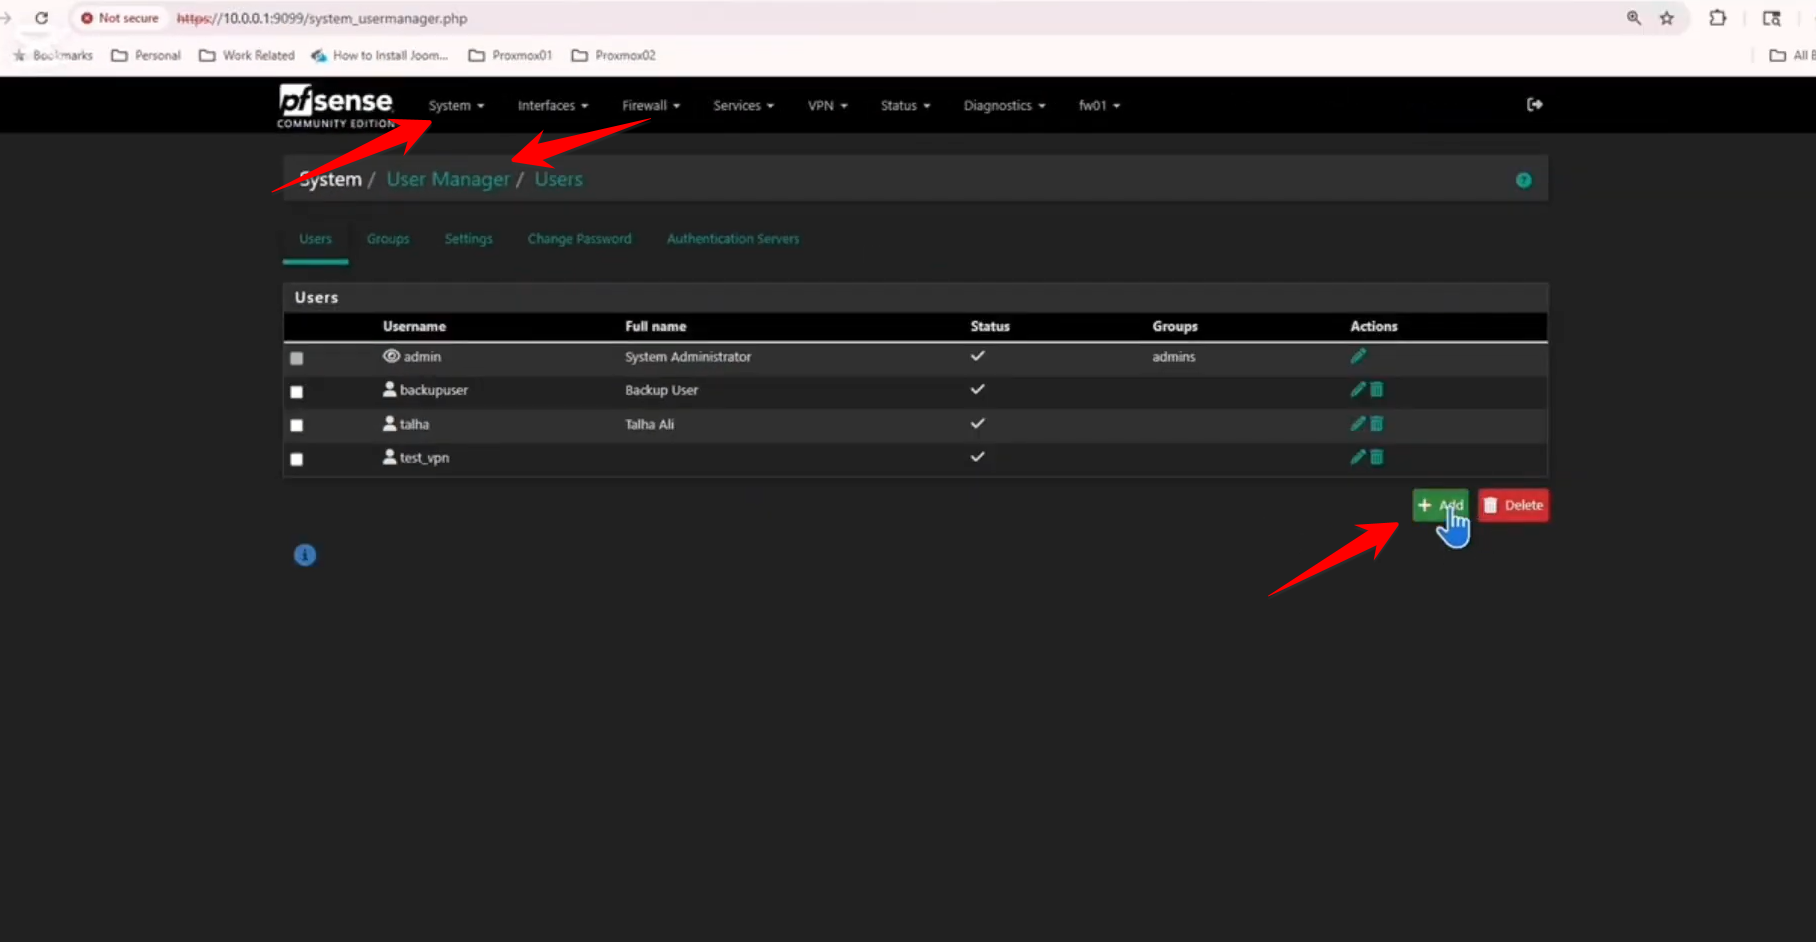
- Assign the privilege “WebCfg – Diagnostics: Backup & Restore” to this user so the script can access the configuration files.
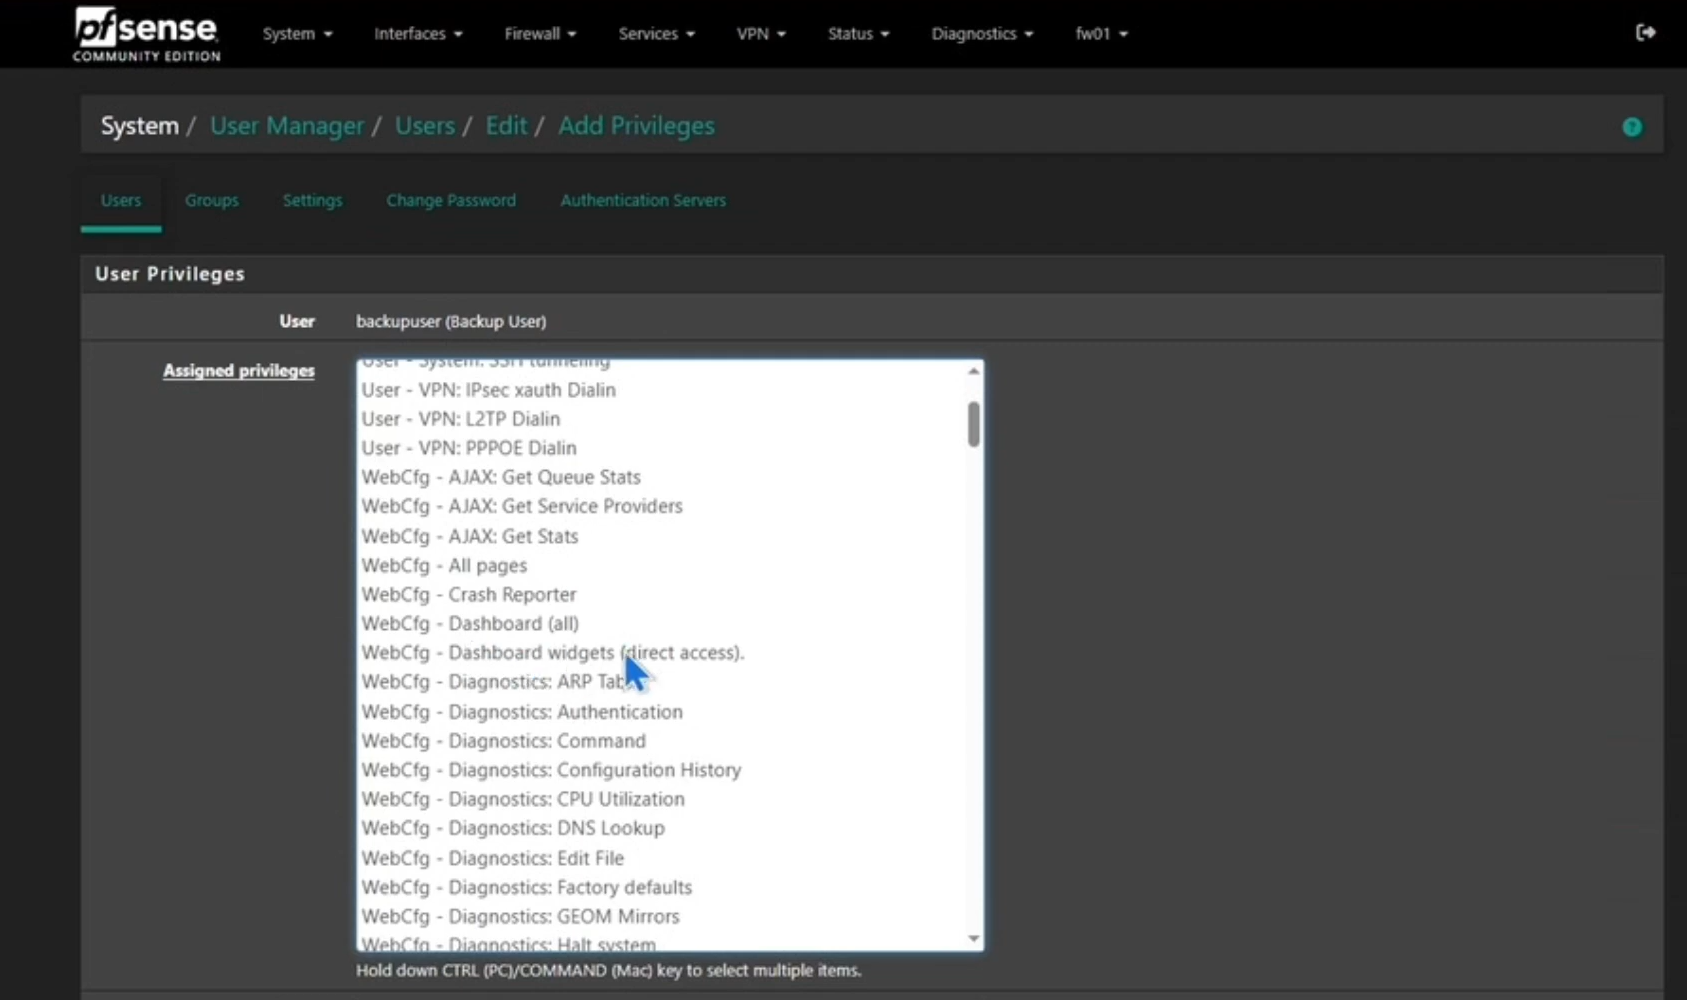
Step: 04 (Create and Run the Backup Script)
- Create a shell script on the Linux machine.
pfsense_backup.sh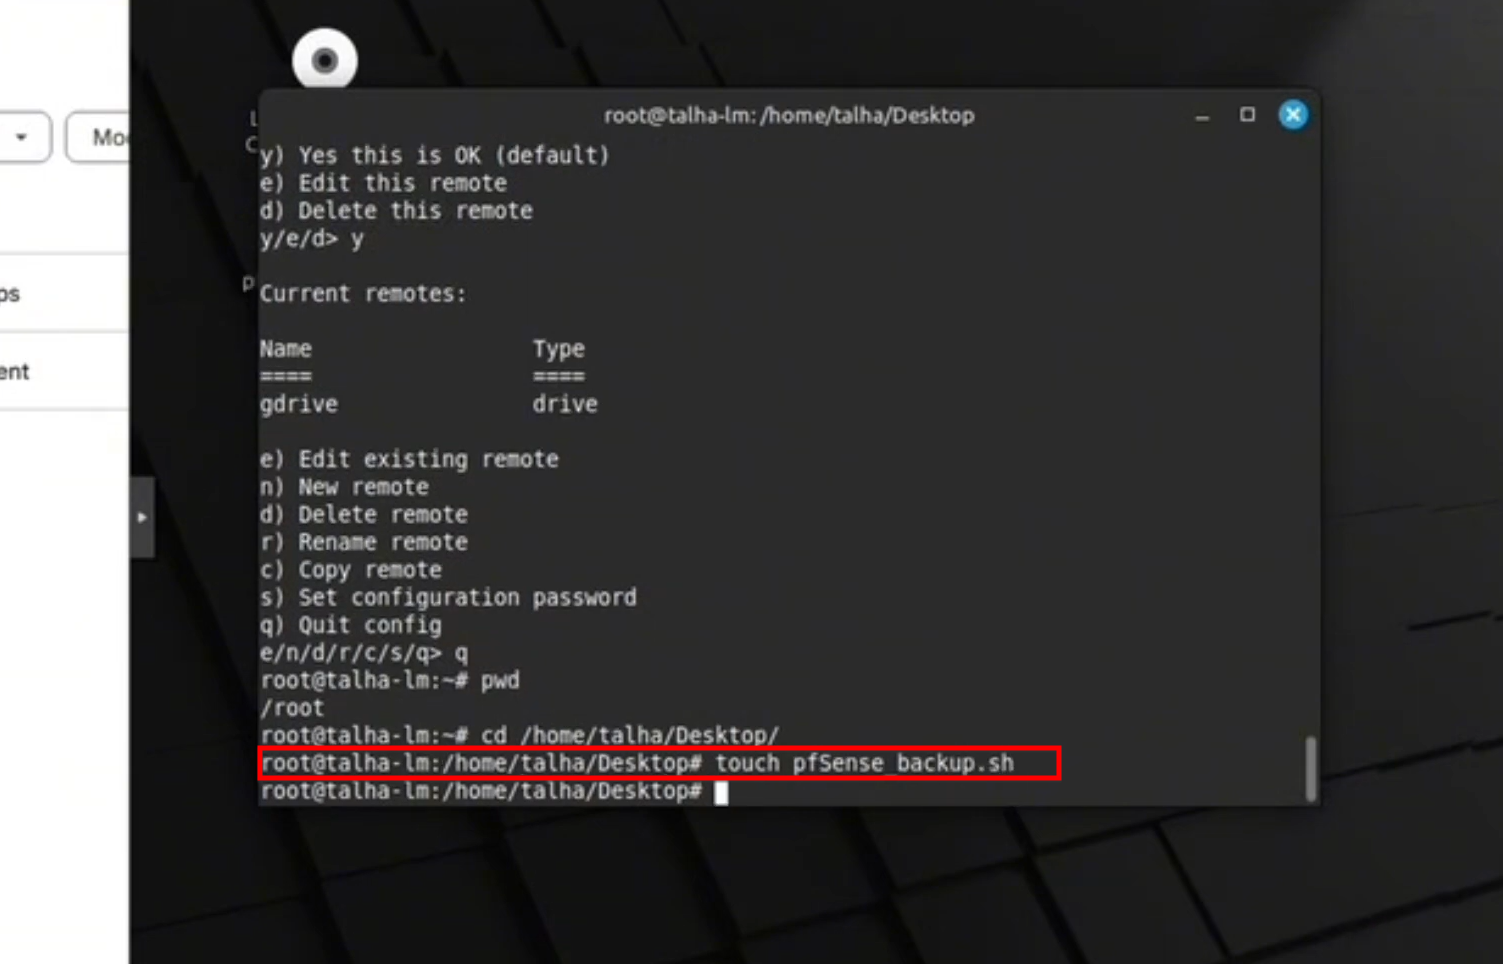
- Input the pfSense IP, port, backup username, password, and the rclone destination folder into the script.
- Make the script executable with
chmod +xand run it to verify the backup appears in Google Drive.
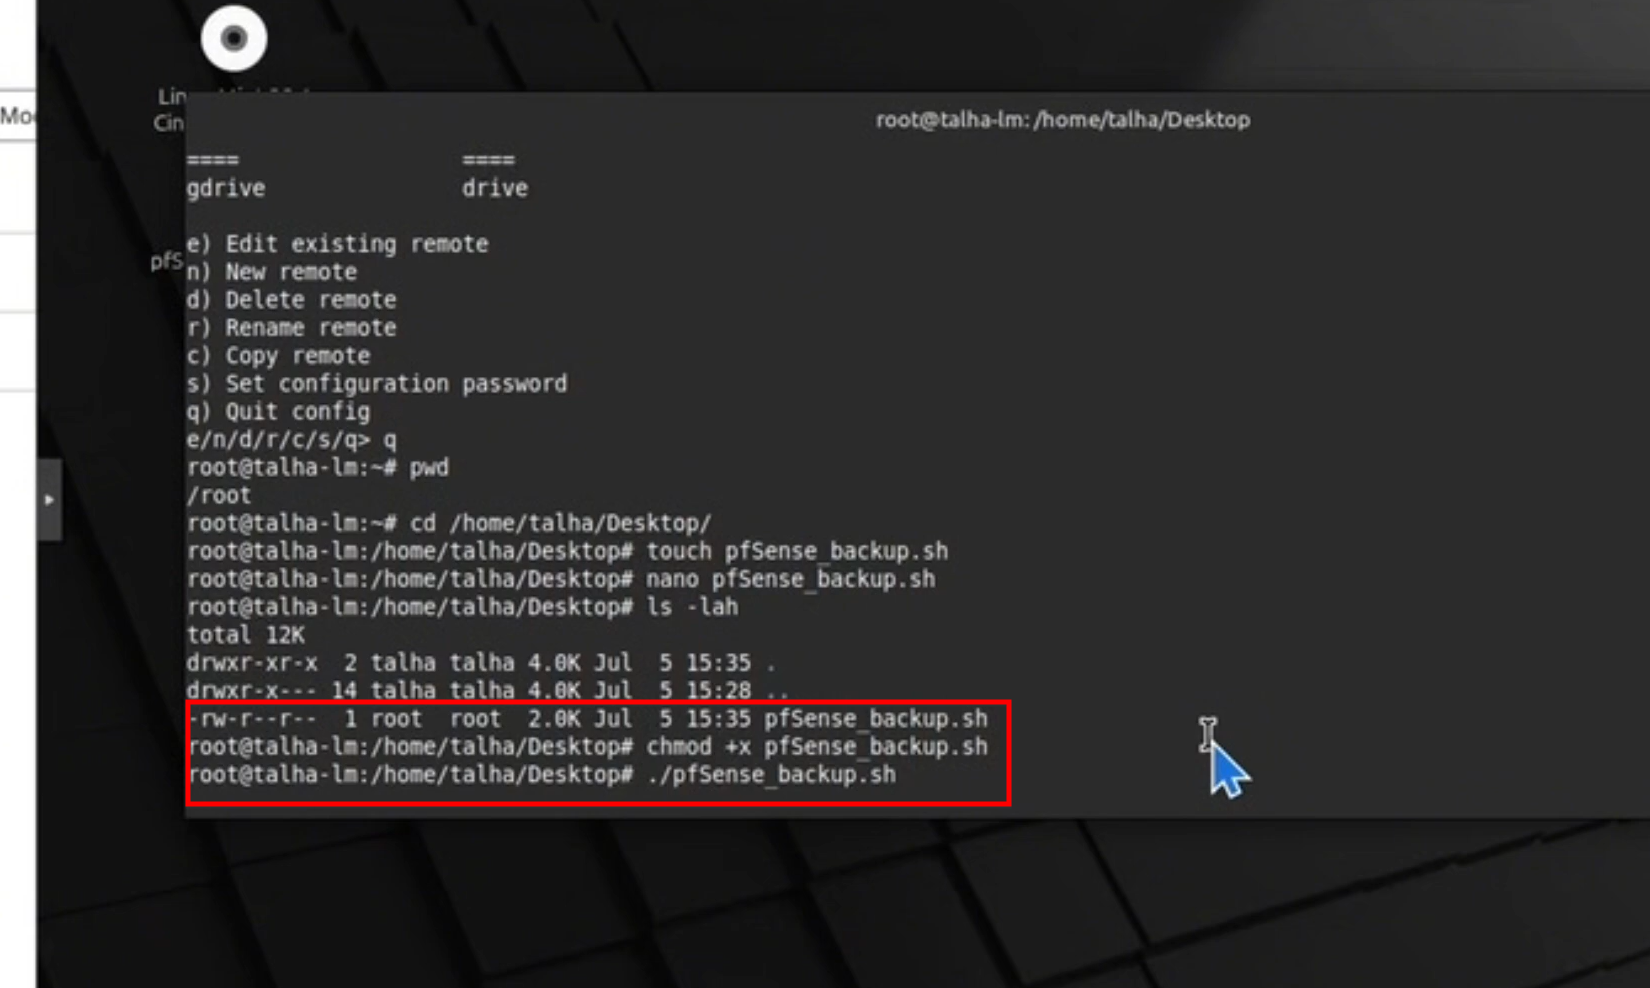
Step : 05 (Schedule the Backup Cron Job)
- Set up a cron job using
crontab -eto run the script automatically at a specific time.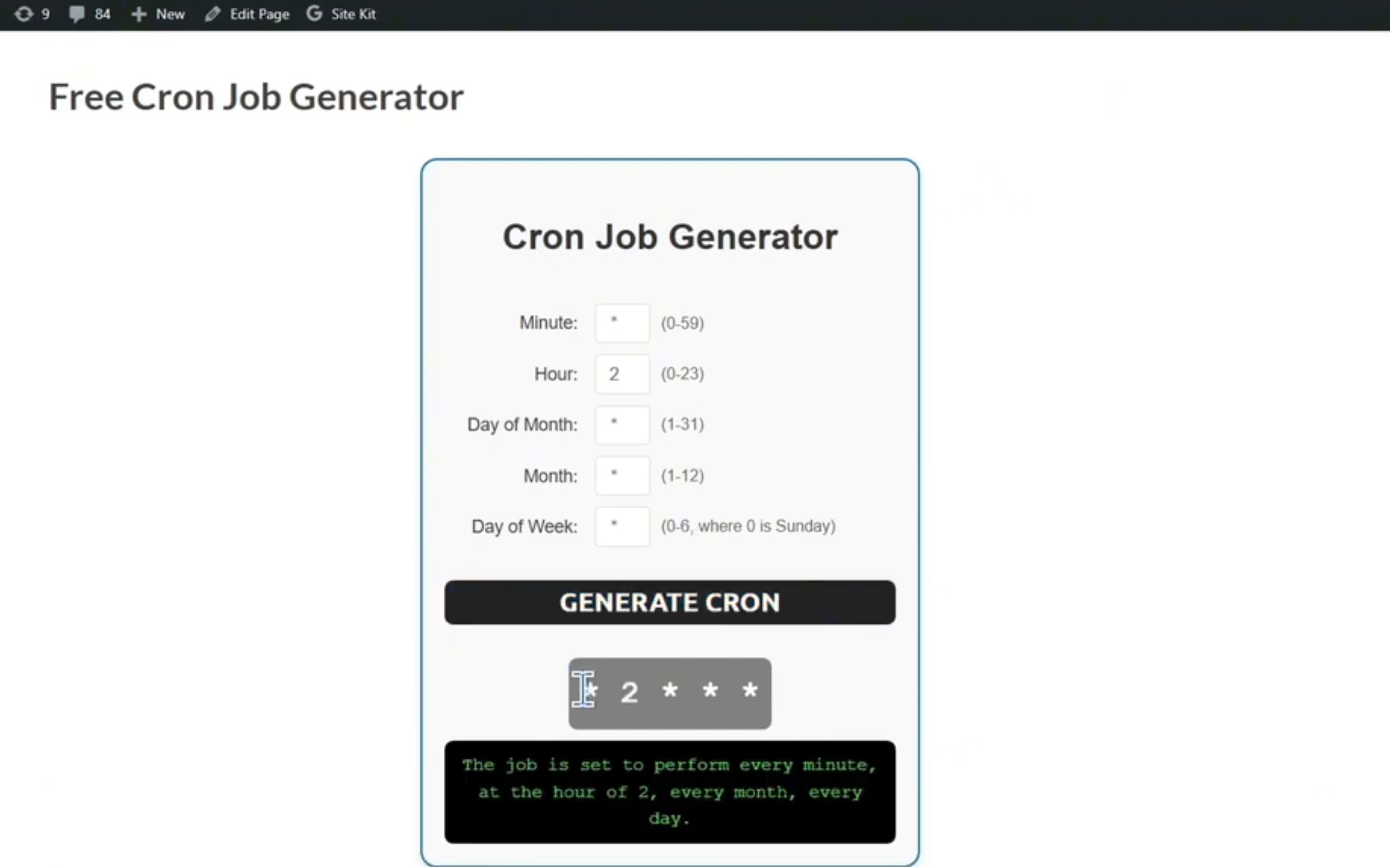
- After running the script, the pfSense configuration file (
.xml) is successfully uploaded to the specified Google Drive folder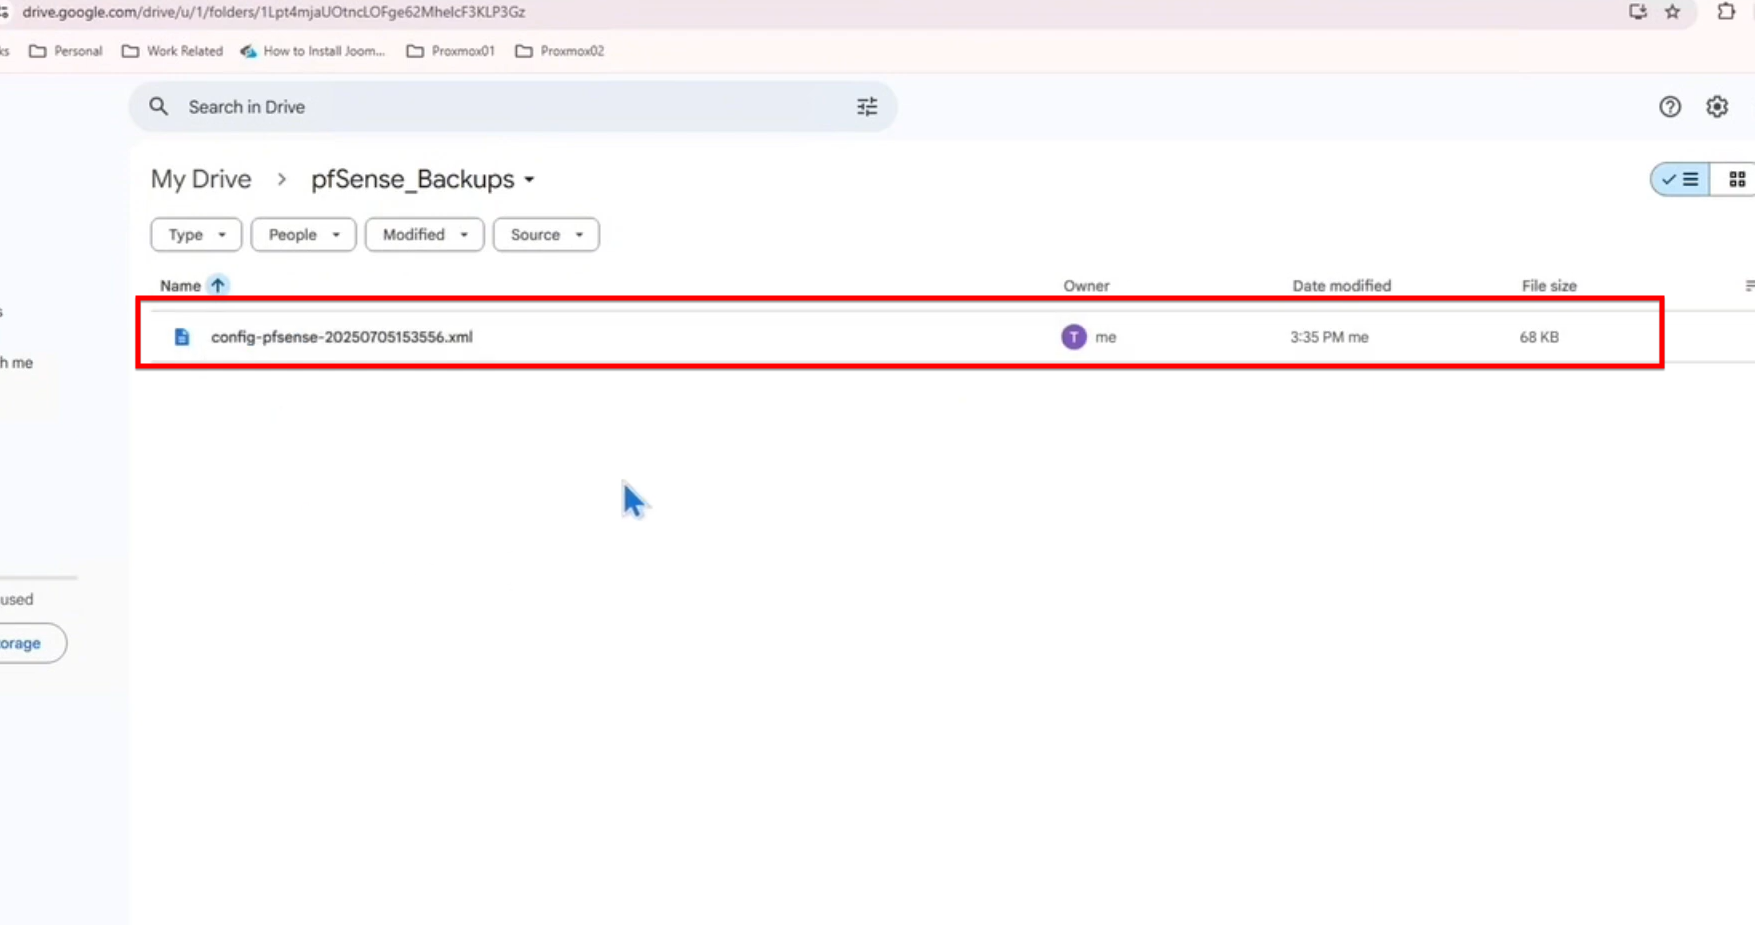 .
.


