OPNsense is a powerful, open-source firewall and routing platform packed with enterprise features like multi-WAN support, VPNs, and intrusion prevention. Whether you are using dedicated hardware or virtualizing it, the installation process requires a few specific steps to get it running.
This guide covers downloading the image and the crucial, non-obvious steps during the console-based installation.
1. Download and Prepare the ISO
-
Download the Image: Go to the OPNsense download page and select AMD64 architecture and DVD image type. Choose a mirror and download the file. Note that the downloaded file may have a .bz2 extension .

-
Extract the ISO: If the file is compressed (e.g.,
.bz2), you must use an extraction tool like 7-Zip to extract the actual .iso file. -
Create Bootable Media: Use a tool like Rufus or Etcher to write the extracted ISO file to a USB drive. This USB is used to boot the installation on physical hardware.

2. Virtual Machine Setup (Proxmox Example)
If you are installing OPNsense as a virtual machine (VM), you need to provision the required resources.
-
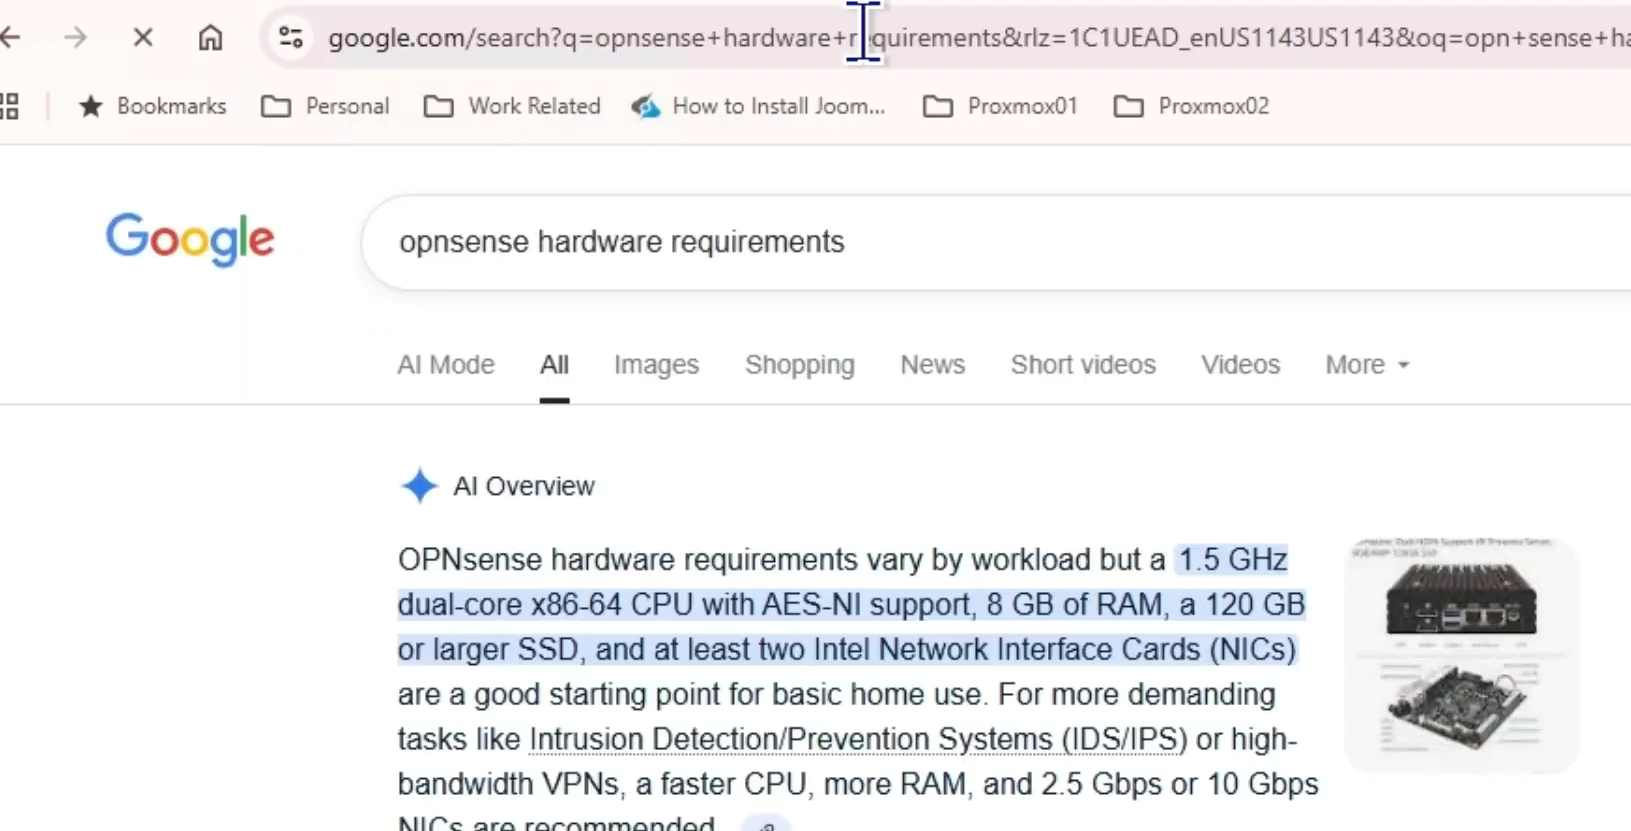
Hardware Requirements: OPNsense recommends a dual-core CPU, 8 GB of RAM, and a 120 GB SSD.
-
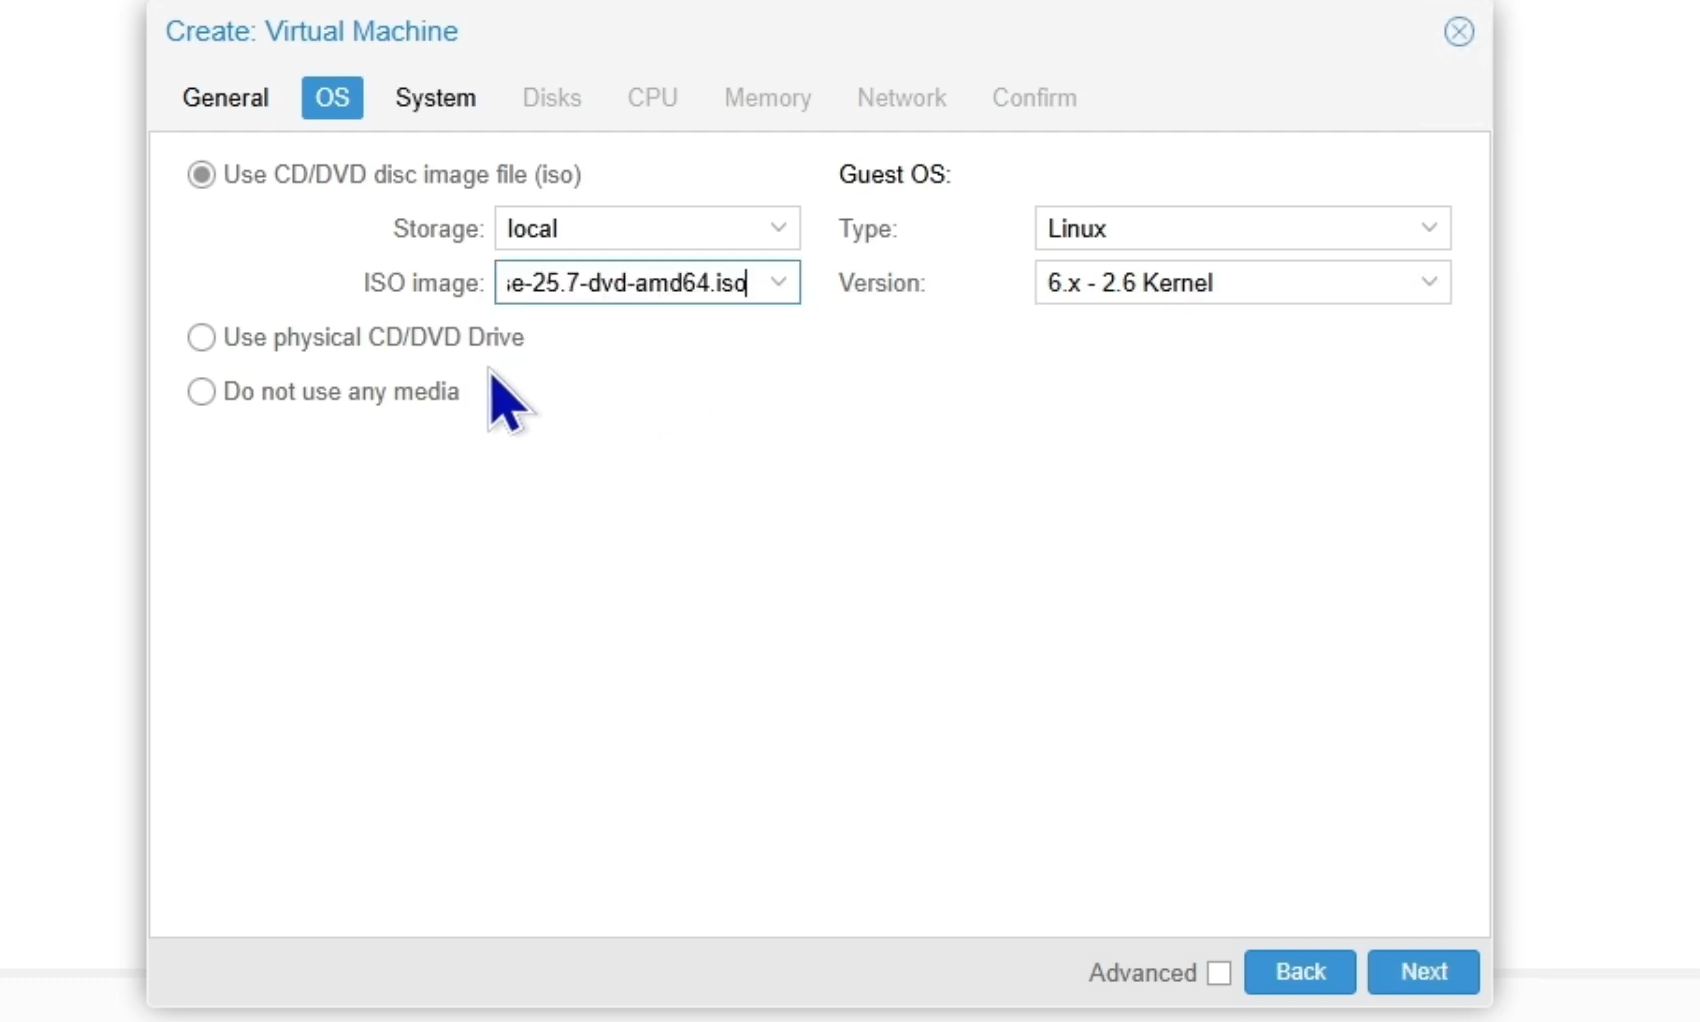
Create the VM:
-
Give the VM a name (e.g.,
OpenSense). -
Attach the downloaded ISO image.
-
-
-
-
Set the recommended resources (120 GB disk, 2 sockets/cores, 8 GB RAM).
-
Ensure the VM starts with at least one network interface. A second interface will be needed for the LAN side later.
-
-
3. The Console Installation Process (Crucial Step)
The OPNsense installer can be confusing because it looks like a live boot and asks for a login immediately.
-
Boot the System: Boot the server from the USB drive or start the VM.
-
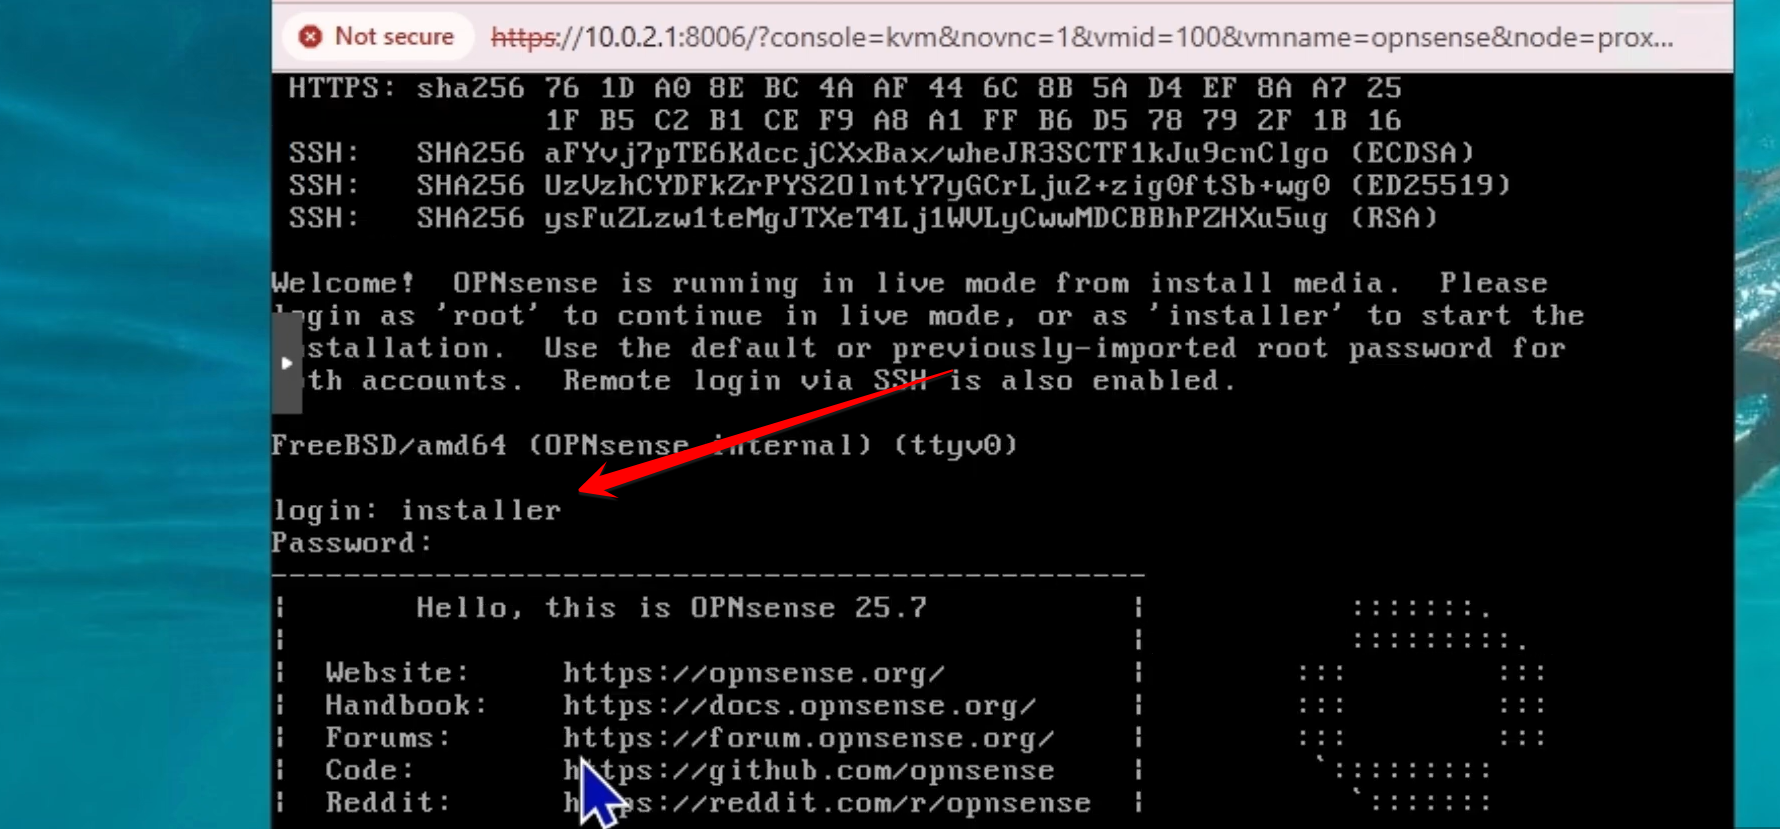
Log in to Install: When the system finishes loading services and presents the login prompt, do not log in as
root. The live mode prompt states:-
Log in as
rootto continue in live mode (no changes saved). -
Log in as
installerto start the installation.
Use the following credentials to begin the install:
-
Username:
installer -
Password:
opnsense.
-
-
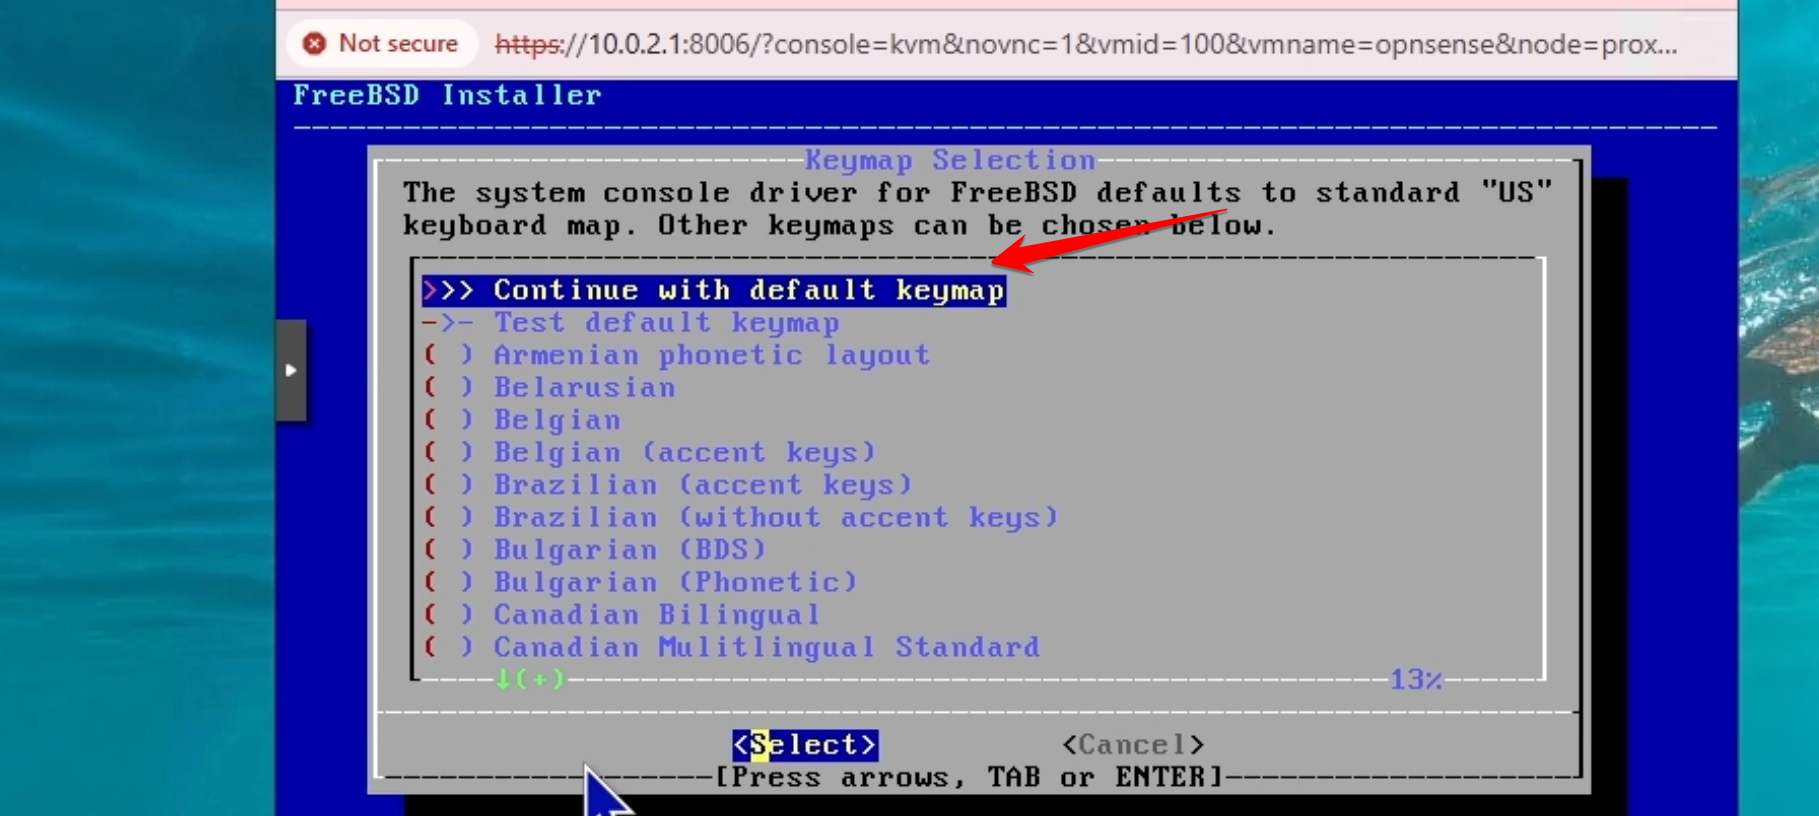
Keymap Selection: Choose the default keymap and select Continue .
-
Disk Action: Select UFS for single-disk installations (or ZFS if you need redundancy/multiple disks).

-
Select Target Disk: Choose your actual target hard drive (e.g., the 120 GB drive), not the small installer image.

-
Swap Partition: Select Yes to continue with the recommended swap partition size.
-
Confirm and Install: Select Yes and allow the installation to proceed.

-
Set Root Password: After the installation finishes, you will be prompted to set the root password for the actual firewall installation.
-
Complete and Reboot: Select Complete Install and Reboot .

-
Unmount ISO: Crucially, if using a VM, unmount the ISO file immediately so the VM boots from the hard drive.
OPNsense will now boot from the hard drive. You can log in as root with the password you set to see the console menu and the automatically assigned IP address (which will be used for the web interface).