
Step 01:Tools and Key Generation
- Download and install the Putty MSI installer, as it includes essential utilities like
puttygenandpageant.
- Open PuttyGen, click “Generate,” and move your mouse over the blank area to create a public and private key pair.
- Save both the public and private keys to your computer. It is highly recommended to set a passphrase for the private key for an additional layer of human-use security.

Step 02: Server-Side Configuration
- On the Ubuntu server, navigate to (or create) the
.sshdirectory in the target user’s home folder. Open theauthorized_keysfile and paste the public key code generated in PuttyGen.
- Initially, the server will recognize the keys. If you use Pageant (the Putty authentication agent) to load your private key, you can log in without entering a password.
Step 03: Disabling Password Authentication
- Once you’ve verified that key-based login works, you can further secure the server by disabling passwords entirely:
- Open the SSH configuration file (
/etc/ssh/sshd_config) and changePasswordAuthenticationto “no”.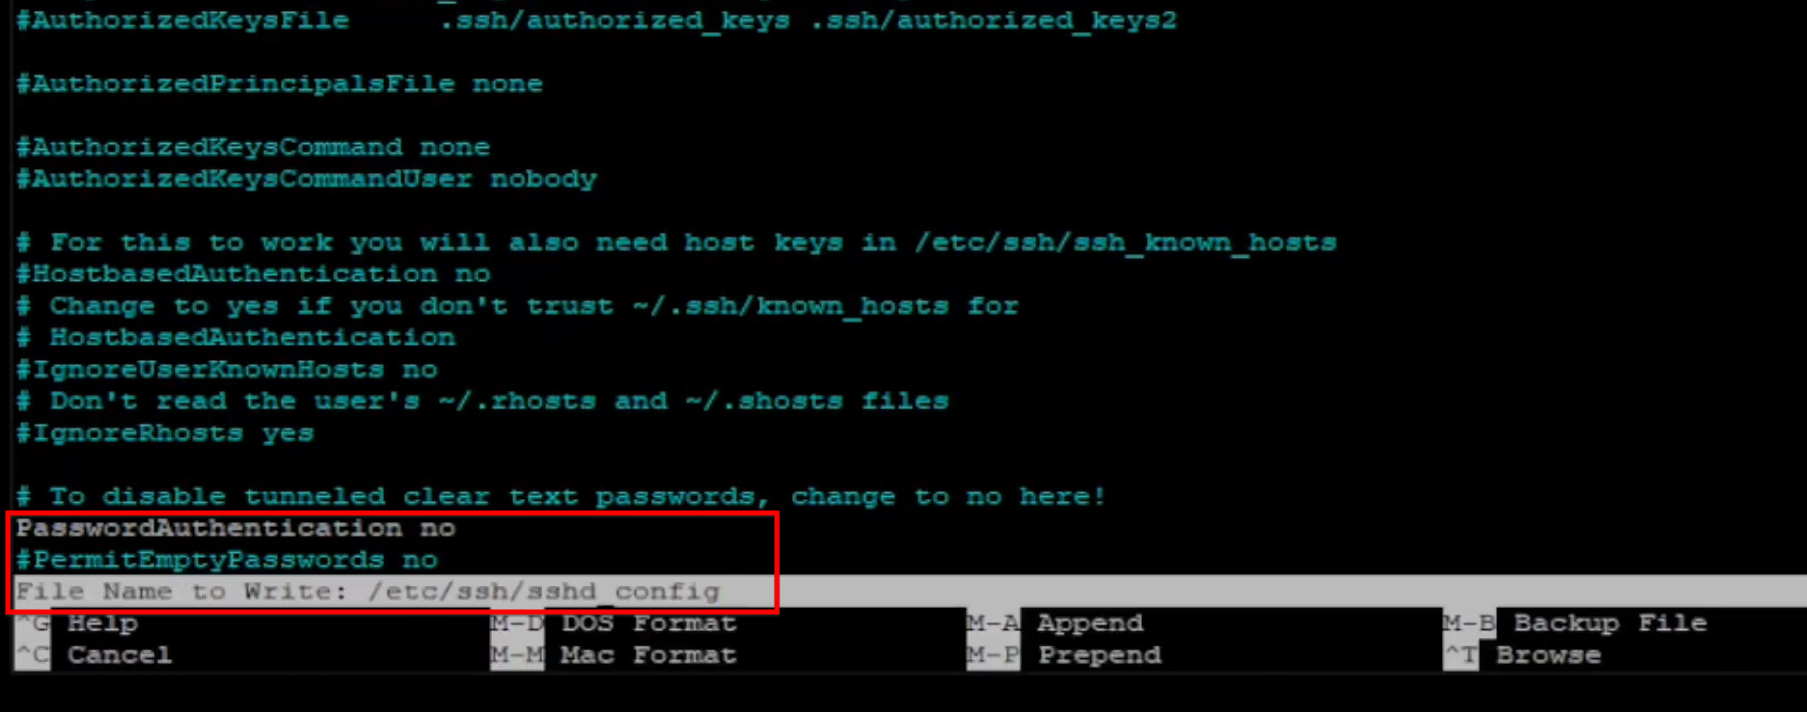
- Restart the SSH service to apply changes. After this, only users with a valid private key can access the server.
Step 04: Configuration for Non-Root Users
- The same process applies to non-root users (e.g., a user named “test”). You must ensure the public key is placed in that specific user’s home directory (
/home/[username]/.ssh/authorized_keys) for the authentication to work.
Step 05: Alternative Method (Without Pageant)
- If you prefer not to use an authentication agent, you can manually point Putty to your private key file within the session settings under Connection > SSH > Auth > Credentials. However, this will require you to enter your key’s passphrase every time you log in.



