
Step : 01
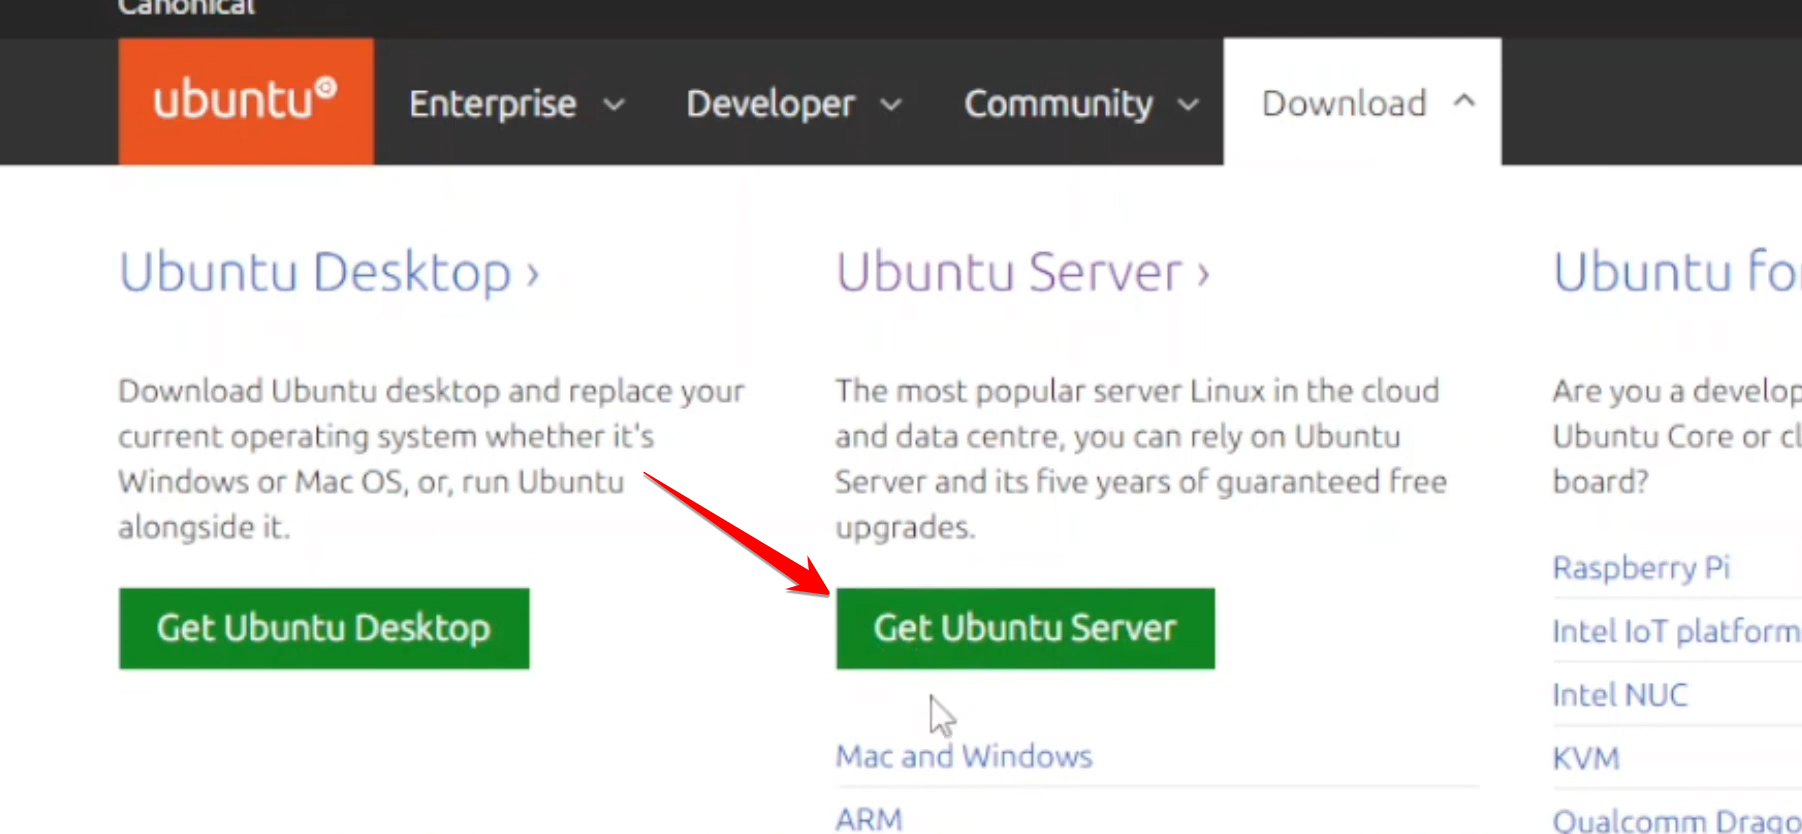
- Visit ubuntu.com and navigate to the download section to get the Ubuntu Server variant.
- Boot from the installer and select your language (e.g., English).
- Choose whether to update the installer or continue without updating
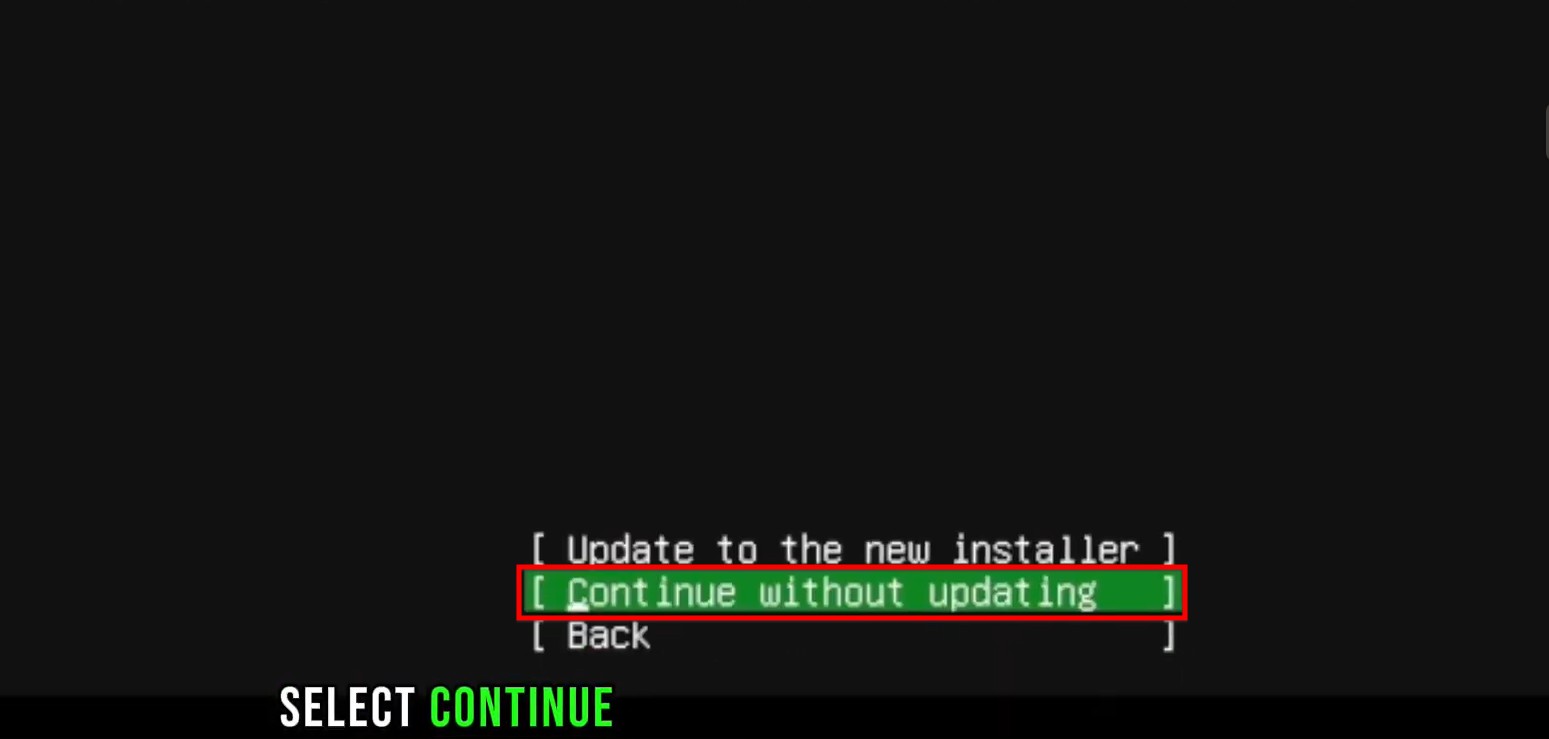 .
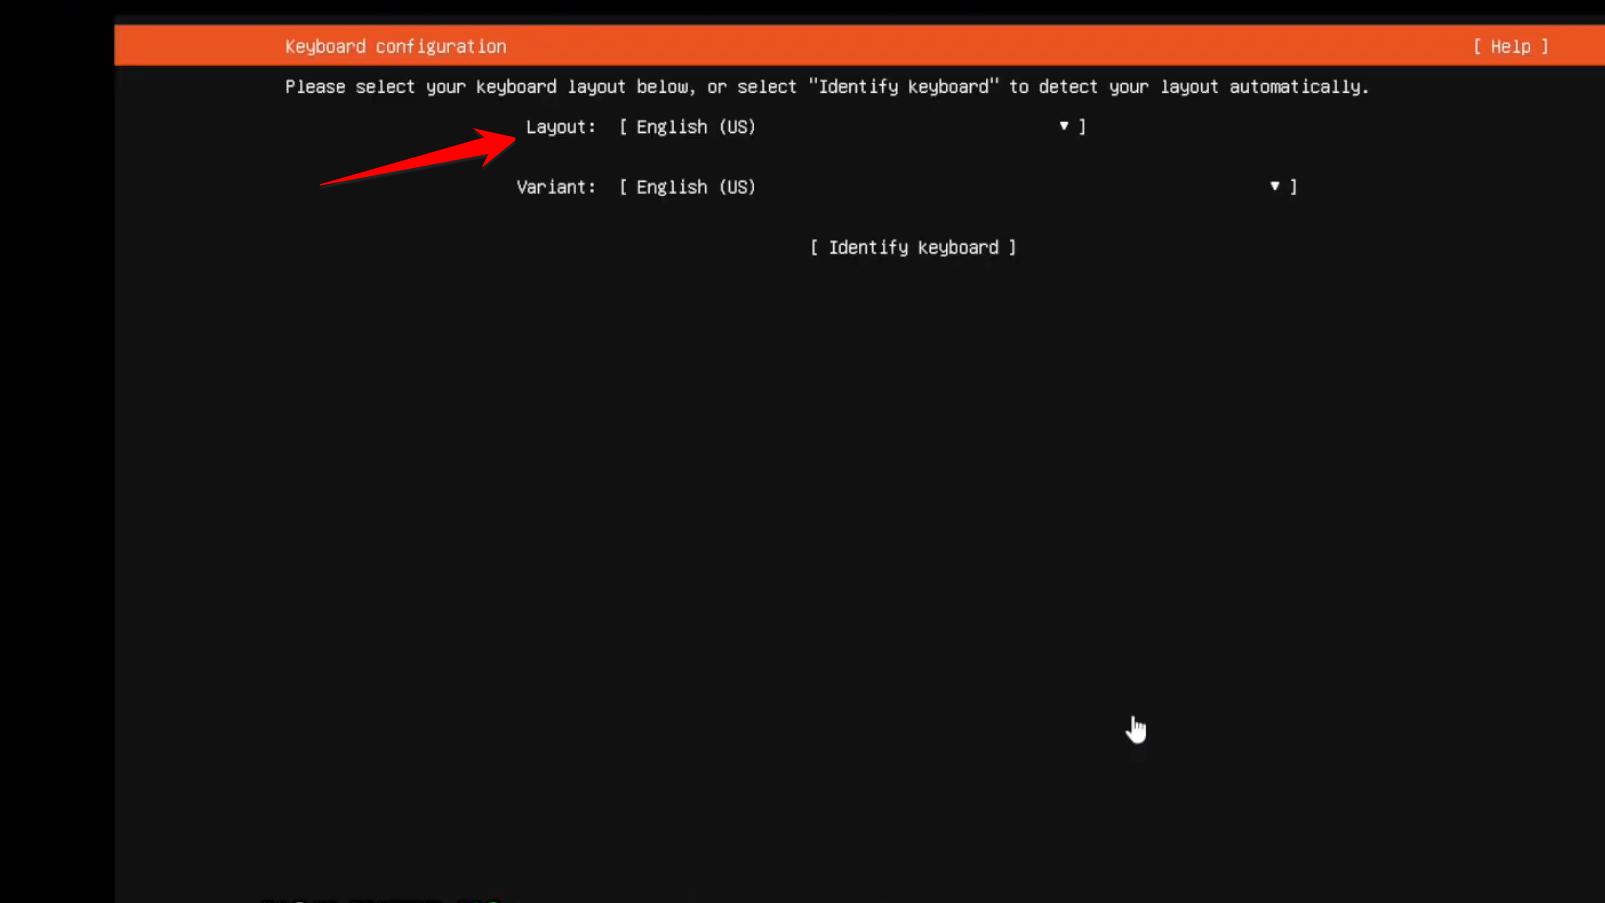
. - Select your keyboard layout.
Step : 02
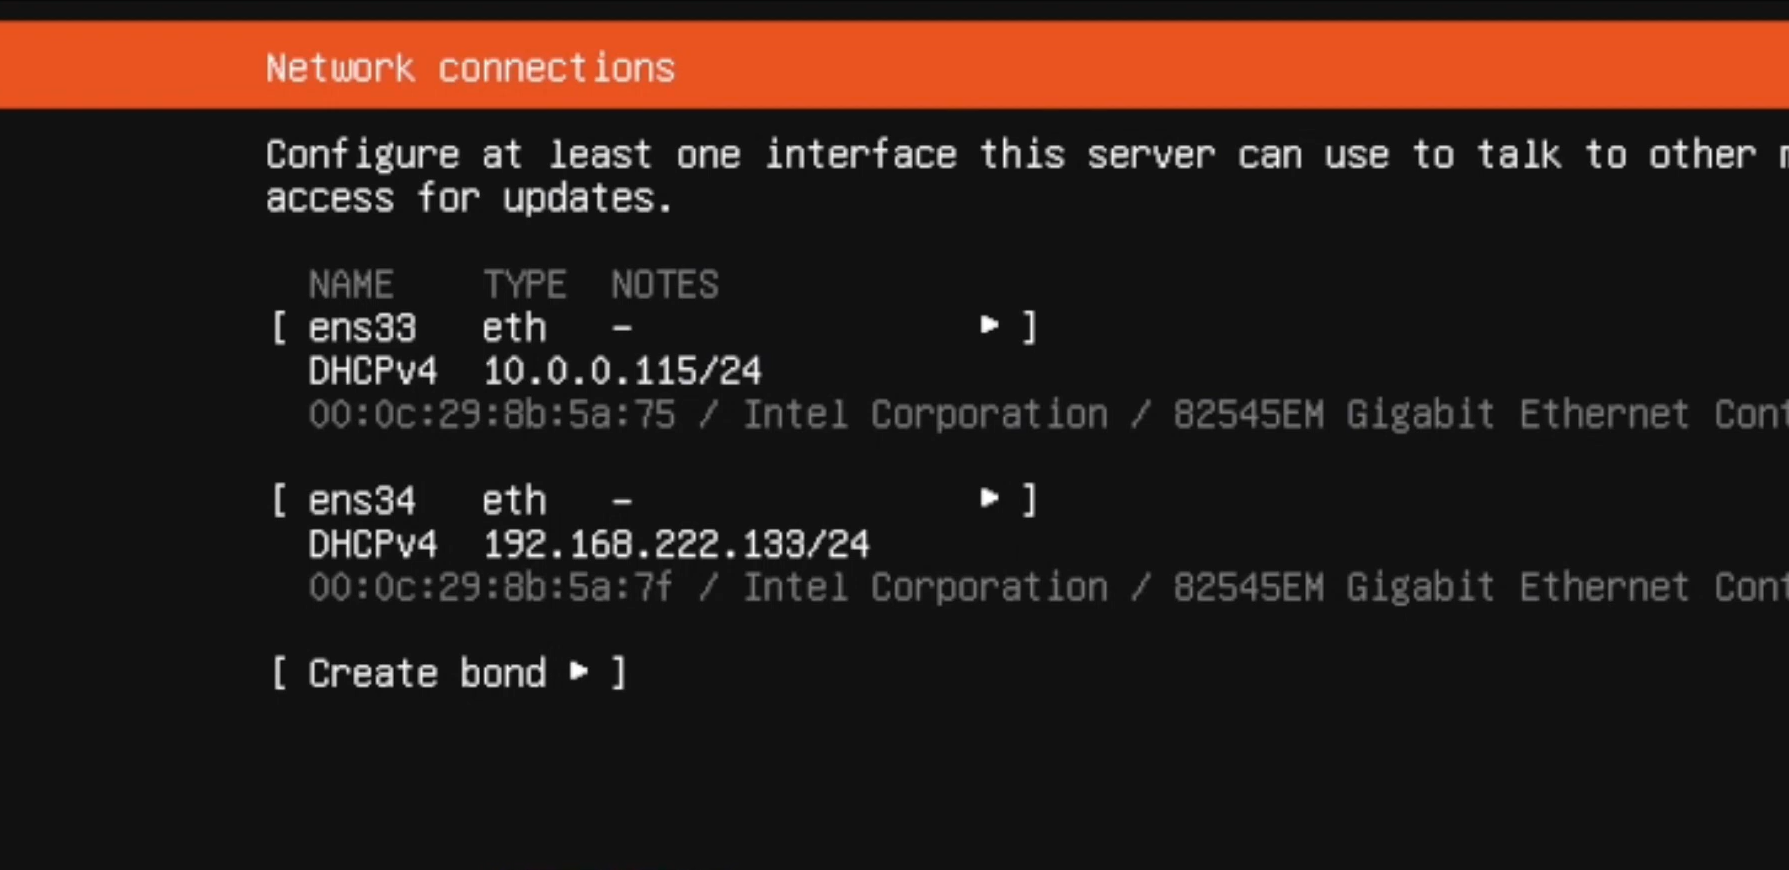
- The installer will show the IP address obtained via DHCP. An internet connection is recommended for a smoother installation.
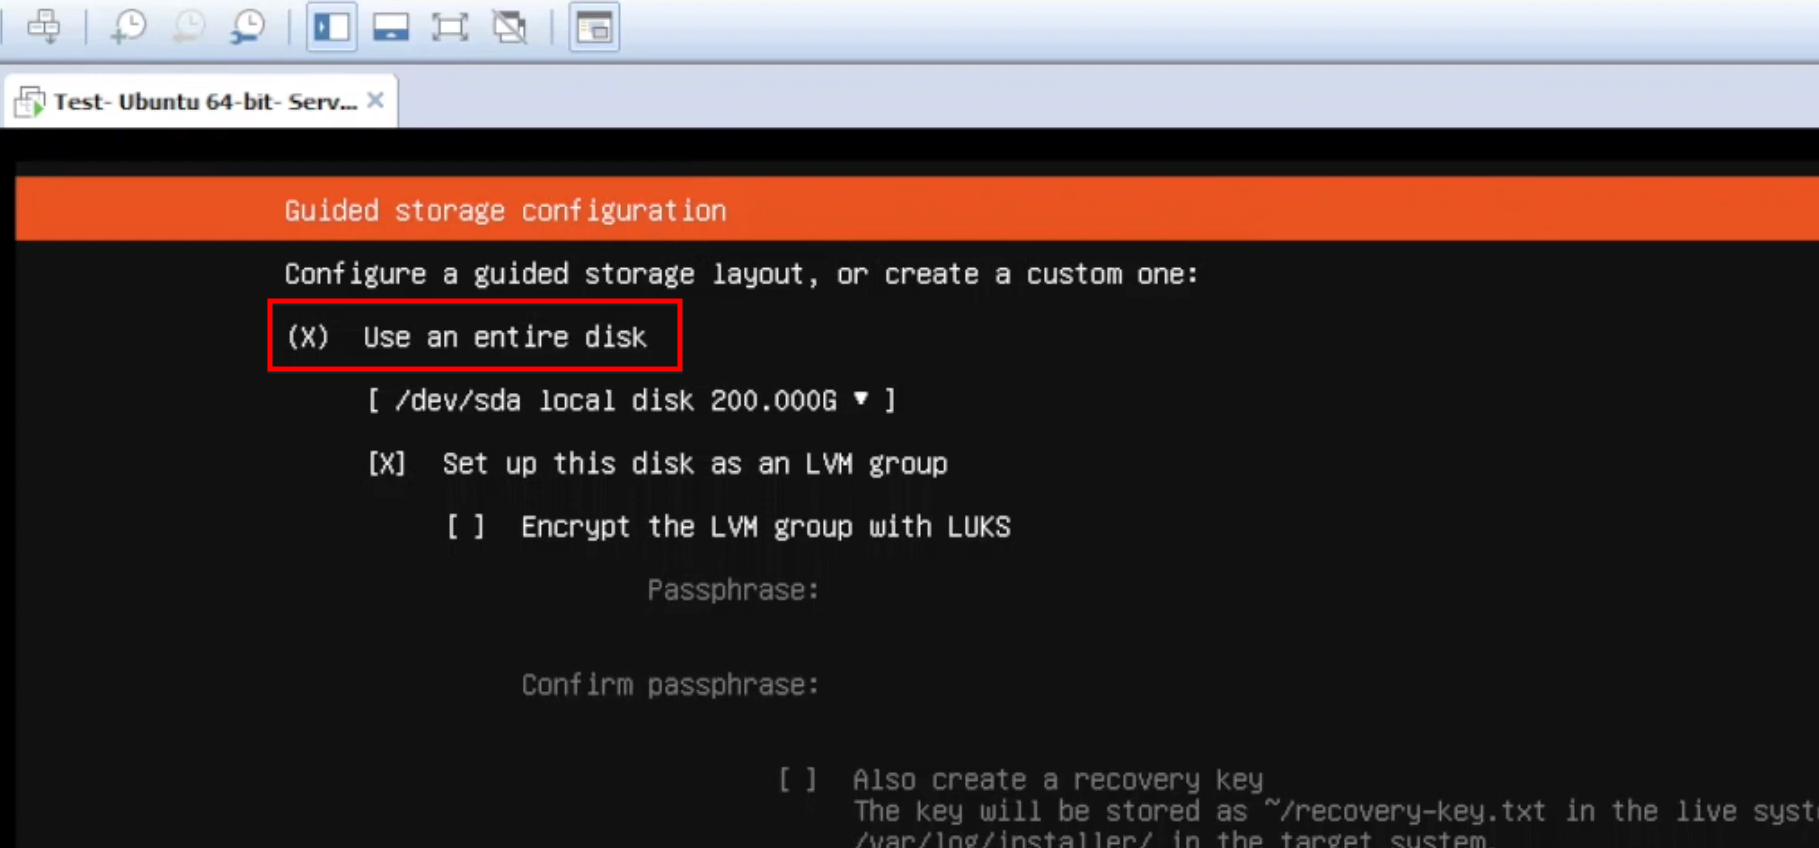
- For the hard disk layout, you can choose to “use an entire disk“ and set it up as an LVM group
 .
.
Step : 03
- Create your first user account (username and password).
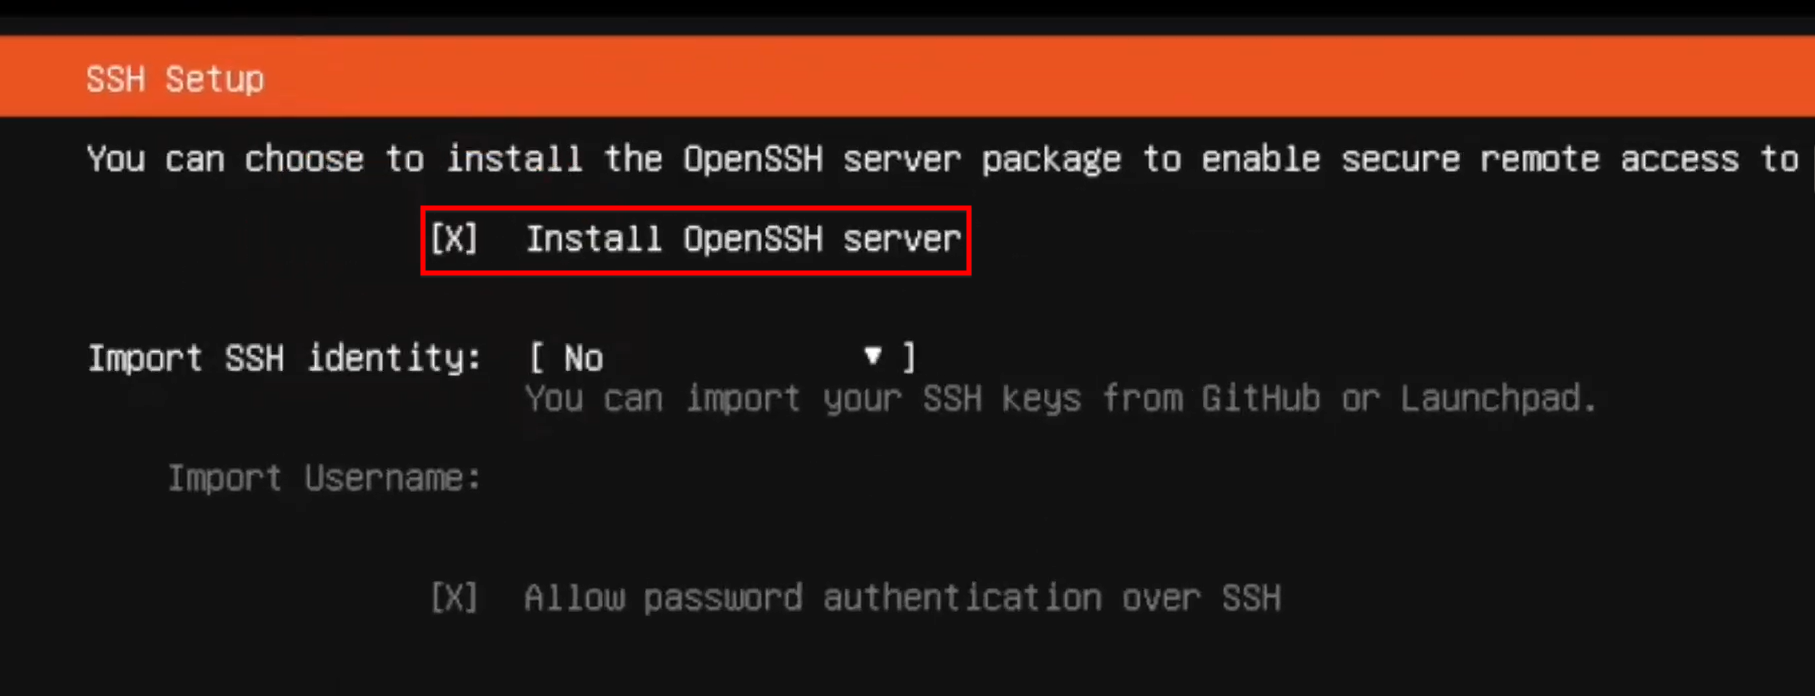
- Select “Install OpenSSH server“ during the setup. This is required for remote access later.
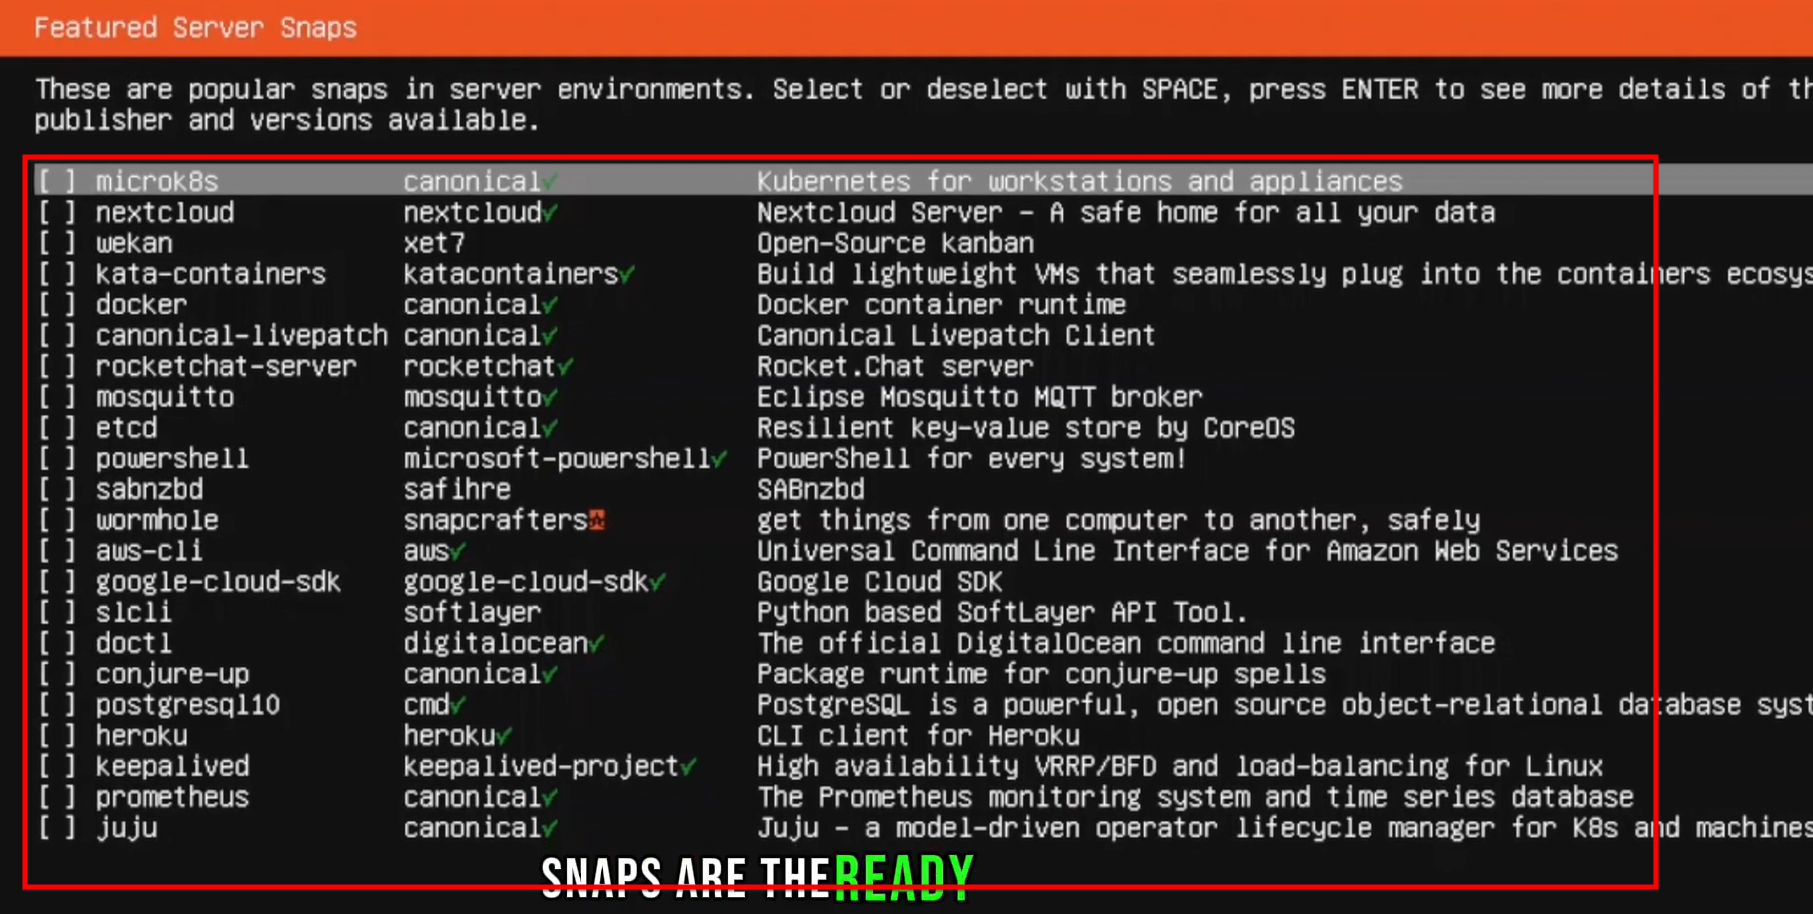
- You can skip installing additional “Snaps” (readymade services) to keep the everything uncheck.
Step : 03
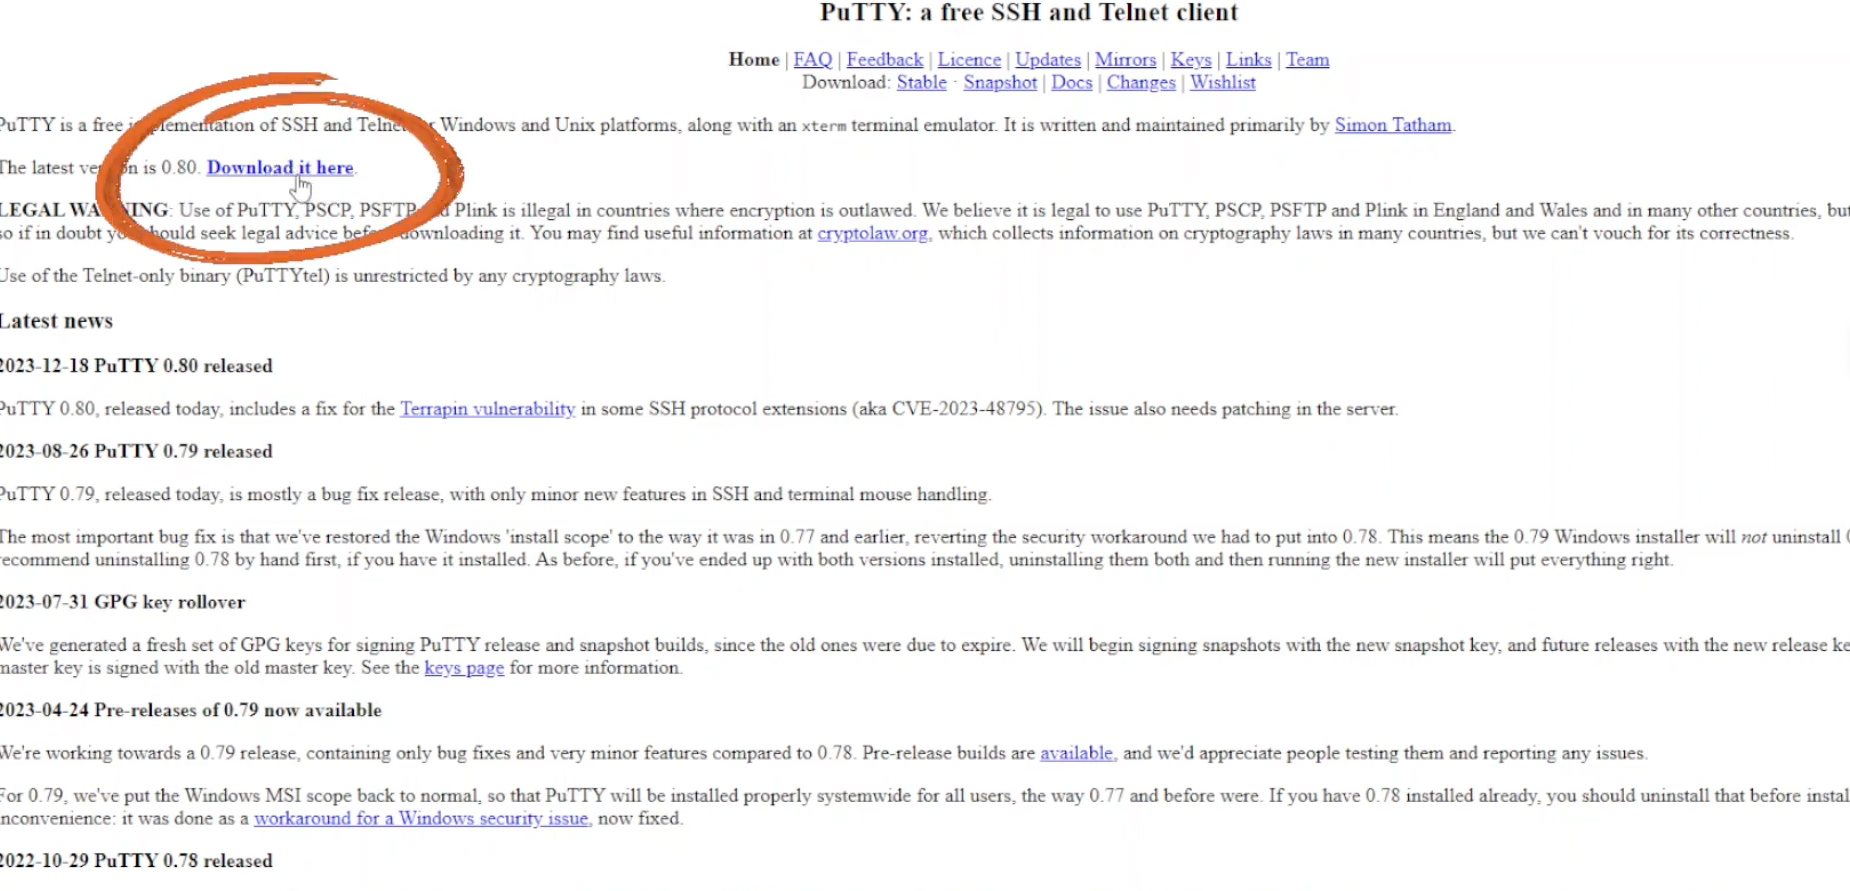
- Download and install the Putty application on your Windows computer.
- Open Putty, enter the server’s IP address, and click Open.
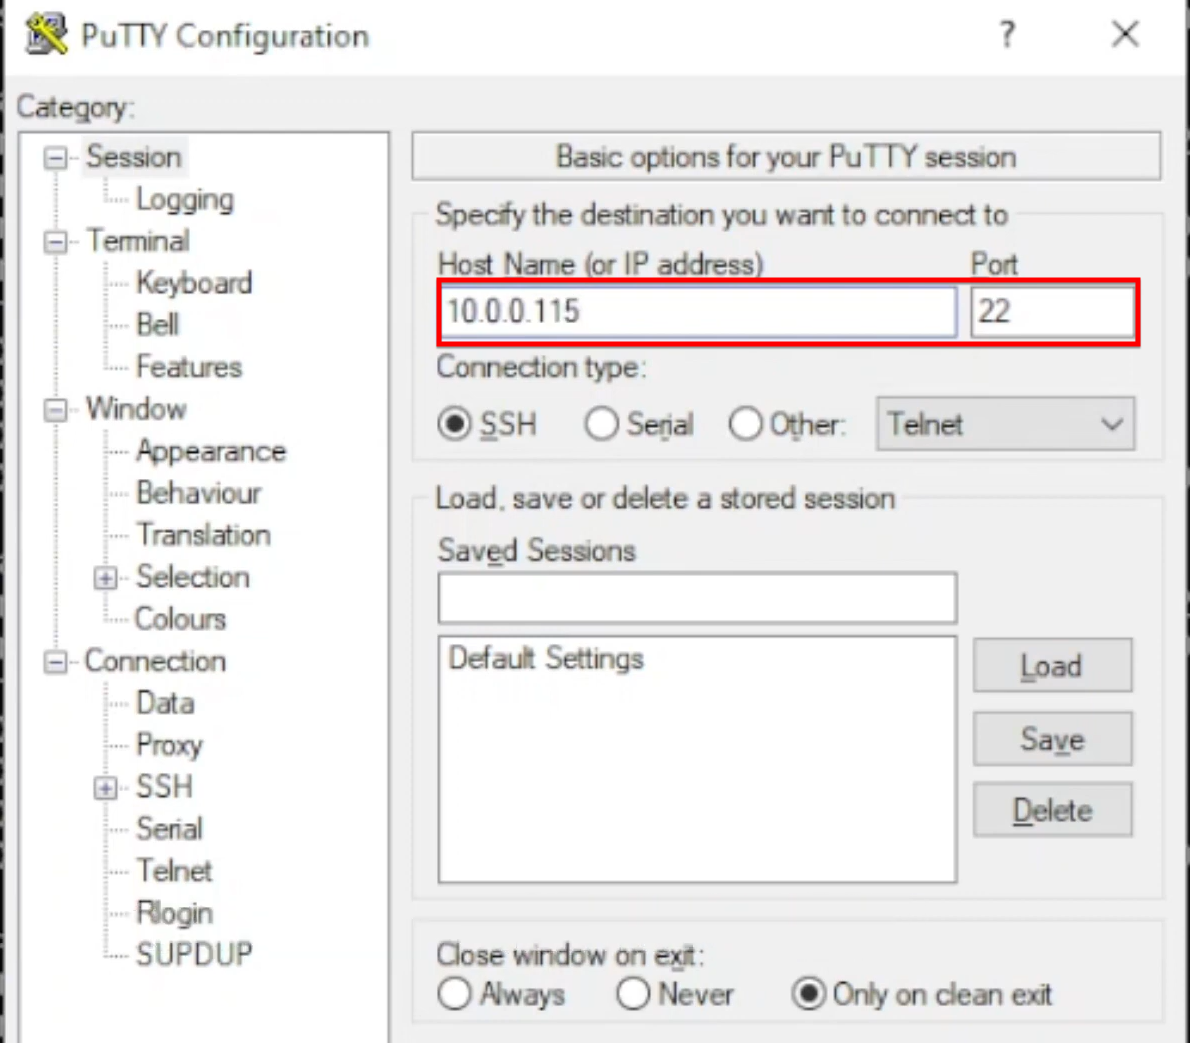
- Accept the security dialogue and enter your server’s username and password.
- Successfully logging in through Putty confirms that your server is running and accessible remotely within your network.


