
Installing a desktop environment on a Linux server is often desirable for easier management, but it can introduce new problems, especially network connectivity issues that prevent installing new apps. This guide walks you through installing the KDE Plasma desktop on Ubuntu Server and fixing the network to enable app installation.
Step:01
People often begin with installing the base Ubuntu Server OS. You set up your base Ubuntu Server environment right from the start. During the installation process, you handle partitioning carefully. Make sure to maximize the disk space allocation. Adjust the size so it uses the entire disk.
 You also want to install SSH during setup. Choose to install the OpenSSH Server option. This lets you manage things remotely later on.
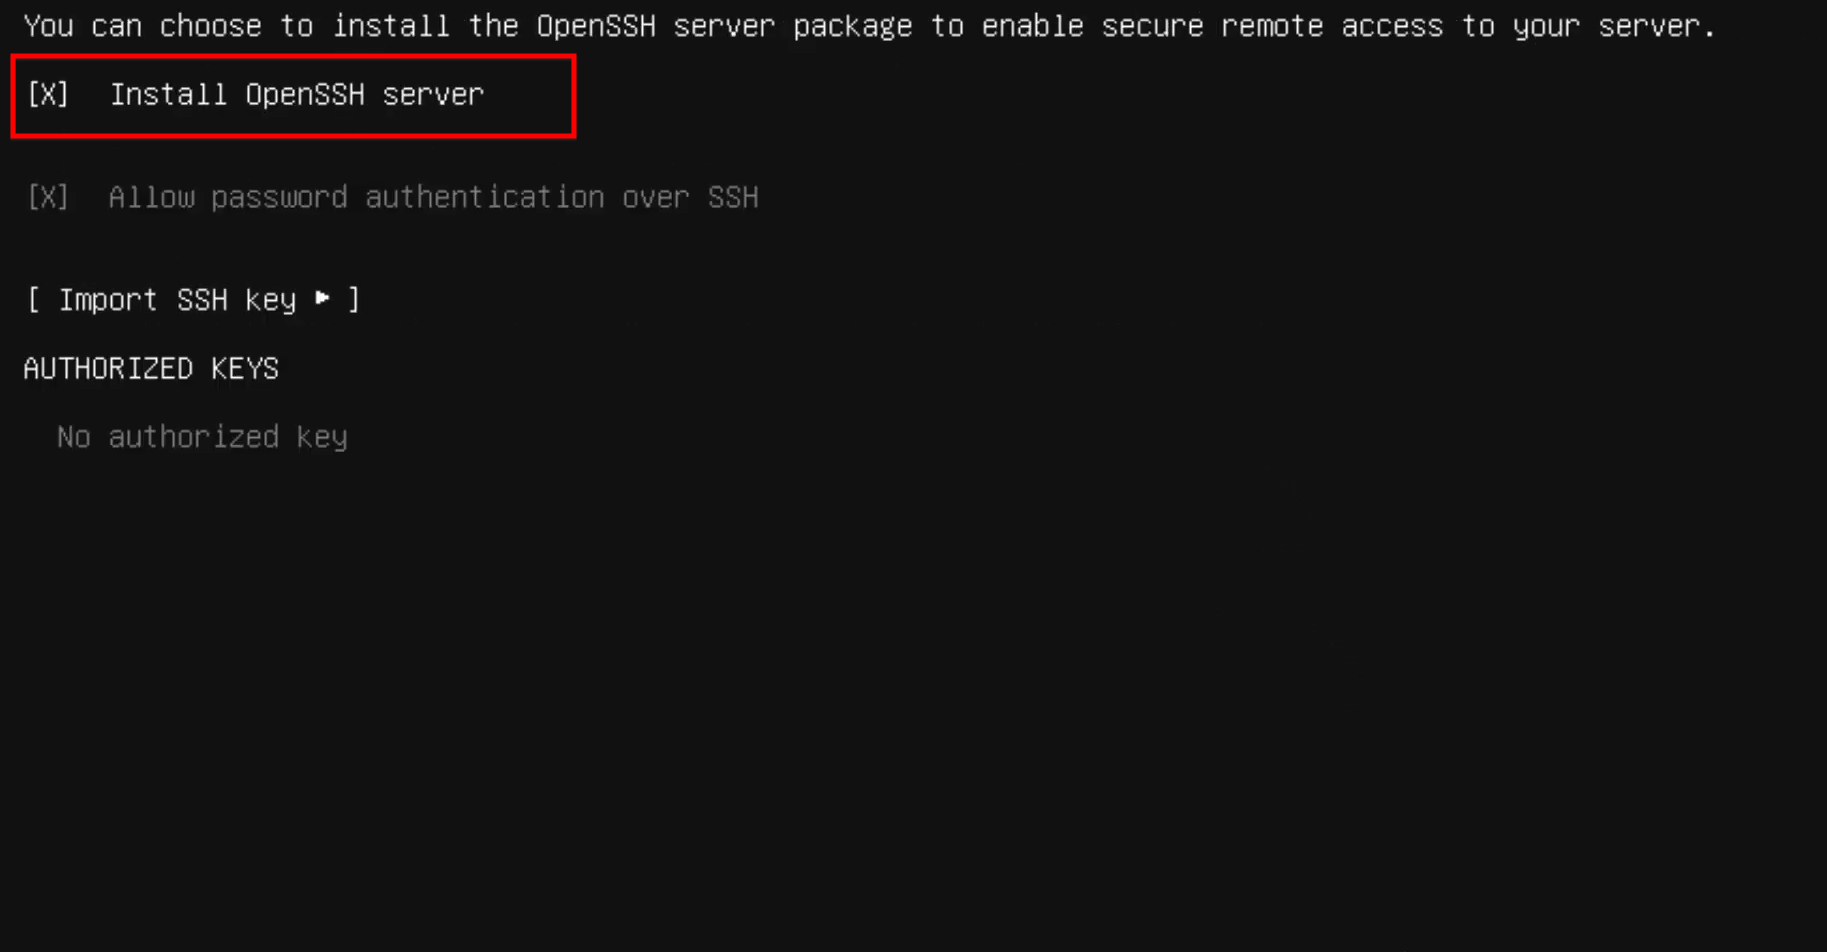 Once everything finishes, complete the installation. Then reboot into the command-line interface.
Step:02
Installing the KDE Plasma desktop environment. KDE Plasma stands out as a highly customizable and user-friendly desktop option. You log in first after the reboot. Ensure the system’s package list stays current. Run an update and upgrade command for that.
sudo apt upgrade
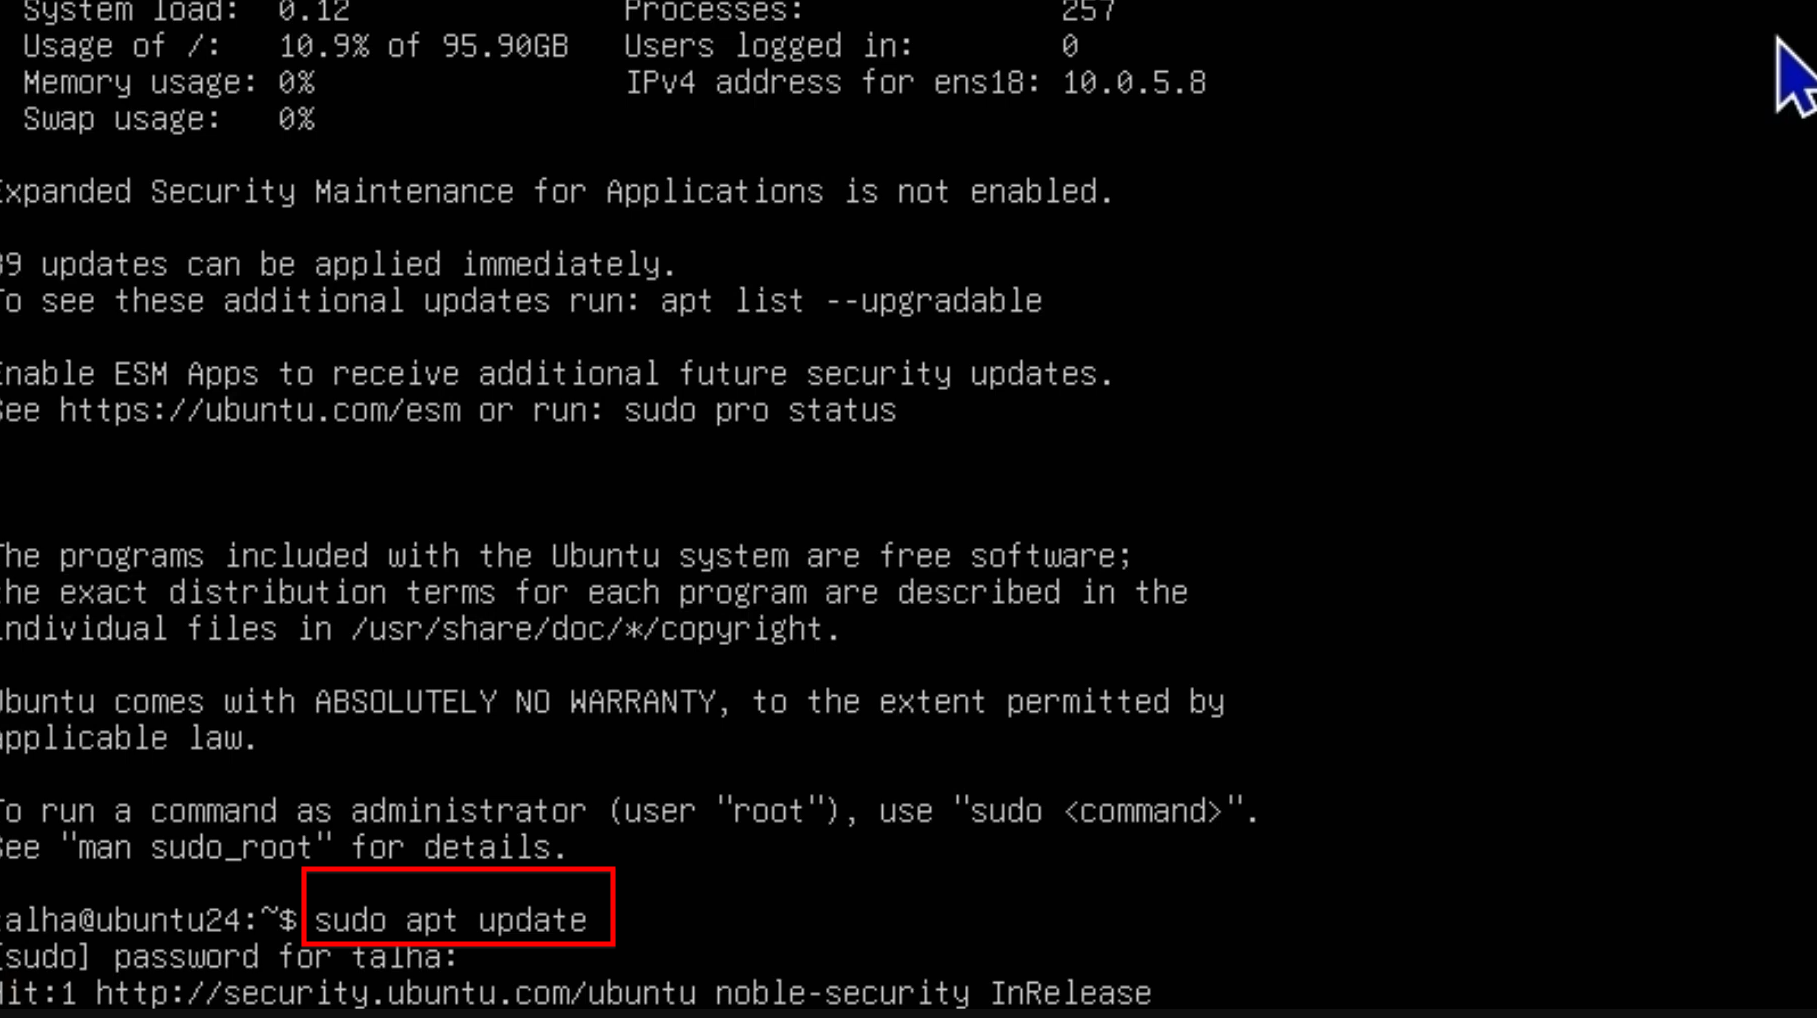 That keeps things fresh. Now install the Kubuntu desktop package. It brings in the full KDE Plasma setup along with all the needed apps and parts.
sudo apt install kubuntu-desktop
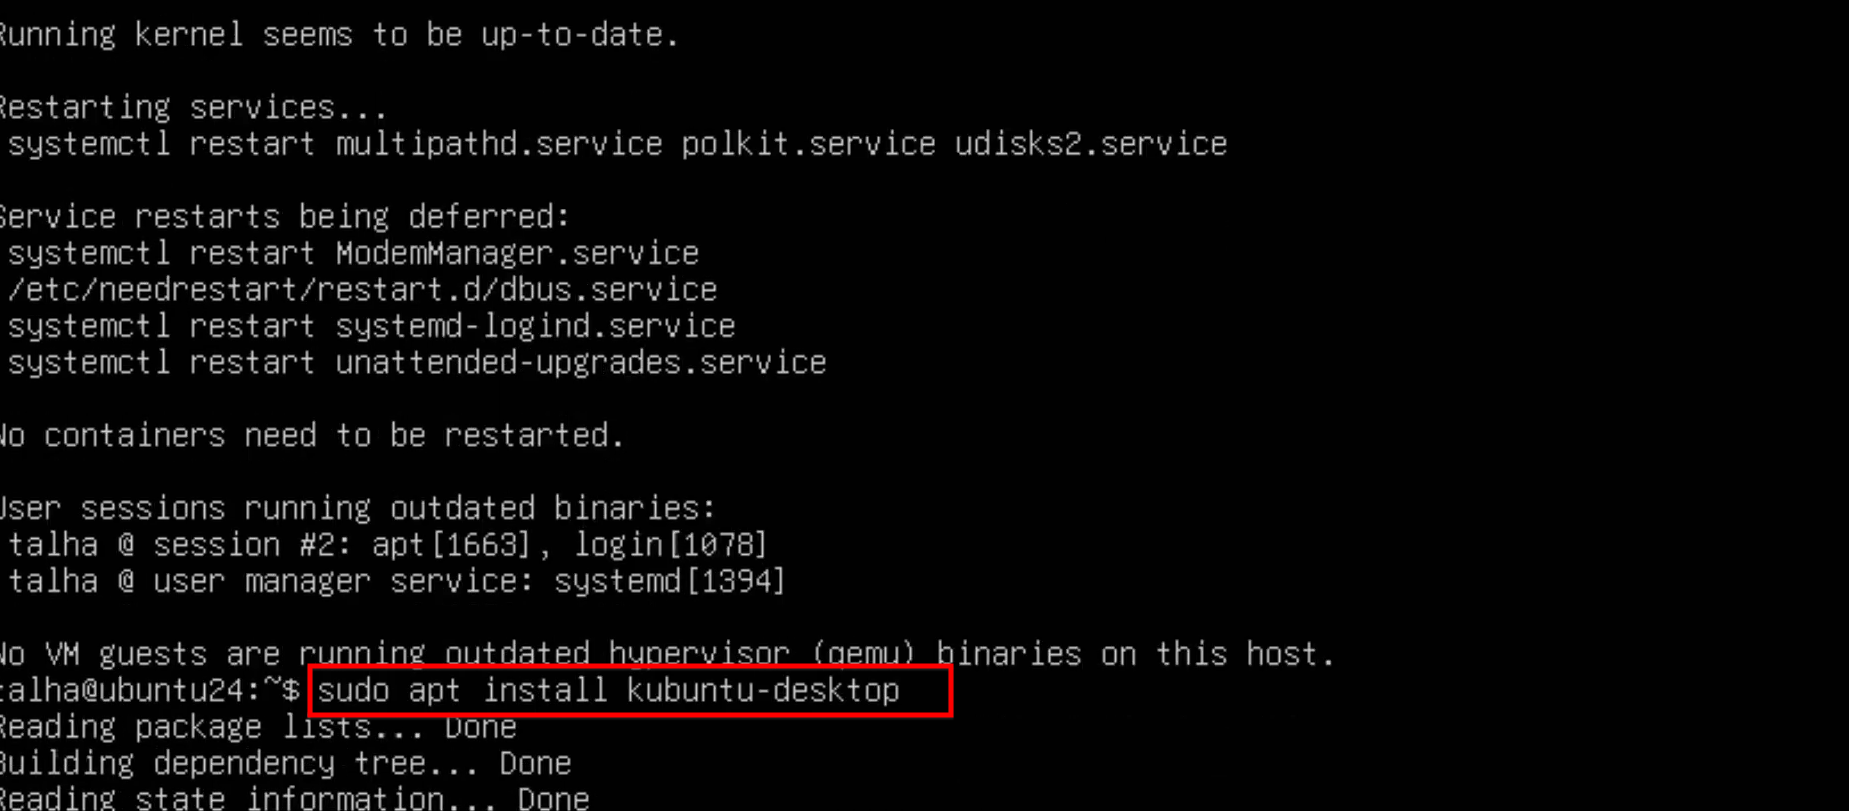 Keep in mind this install takes a lot of space. It runs about 3.5 GB in size. Expect it to take quite a while too.When the installation wraps up, reboot the server. This loads the new graphical environment properly.
Step:03
You might run into network issues once in the GUI. A typical problem shows up where the graphical network manager does not activate. This stops you from using desktop app stores easily. After logging into the KDE desktop, spot the error message. It says no network connection available.Trying to refresh the Discover app store fails too.To fix it, add the wired connection manually. Open System Settings or the Network Manager applet. Click the plus sign there. Select Wired Connection as the new type. Save the connection profile with a name like vEthernet. The fastest way to make it work is rebooting the system once more.After rebooting, check the network icon. It should display connected now. The Discover store can refresh packages without trouble.
Step:04
With the network sorted out, install applications as needed. You have options like the graphical store or command line for dot deb files. Start with graphical app installation using VLC as an example. Open the Discover store first. Search for the app you want, say VLC. Click the install button. The system asks for your user password to approve it.Since the network works, the app installs successfully.
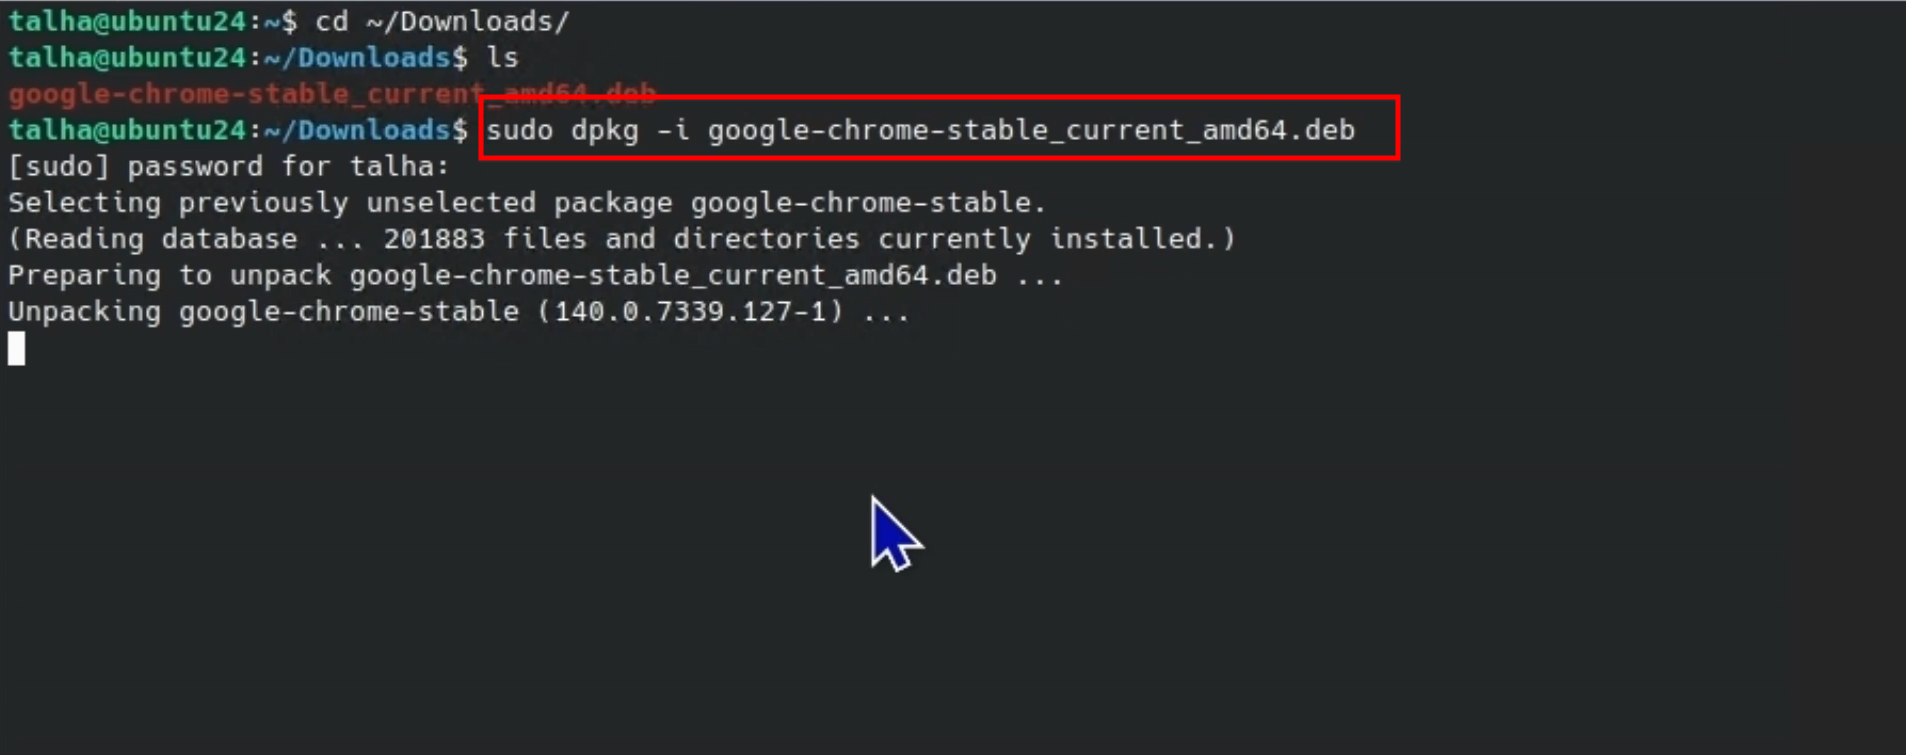
For installing dot deb packages, take Google Chrome as the example. These come as downloaded dot deb files. Use the terminal for that. Download the dot deb file into your Downloads folder. Navigate to the Downloads folder in the terminal. Run this command.
cd ~/Downloads/
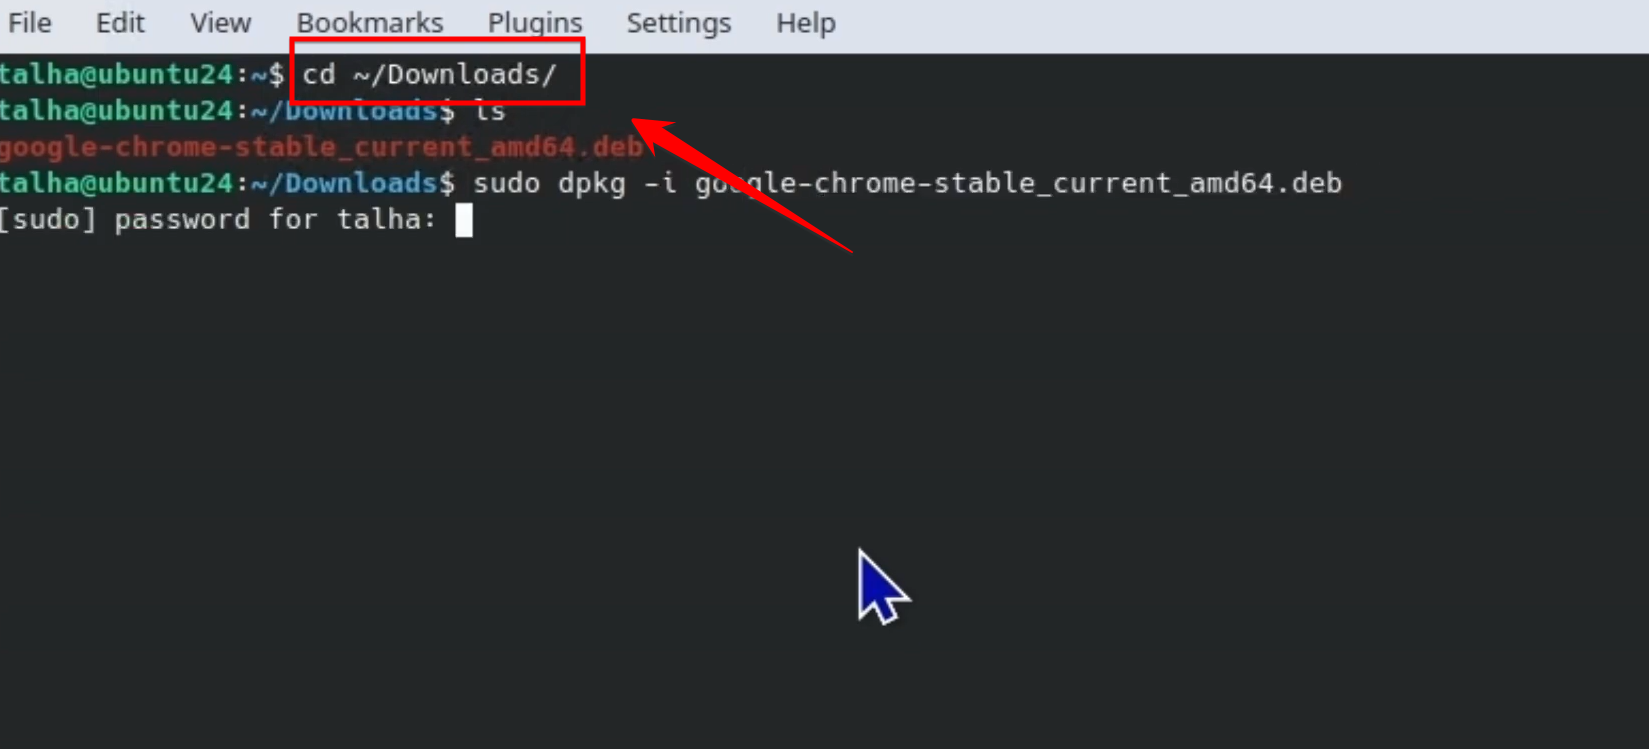 Install the package with dpkg for unpacking. Then use apt to check dependencies.
sudo dpkg -i google-chrome-stable_current_amd64.deb
 Follow with sudo apt install ./google-chrome-stable_current_amd64.deb
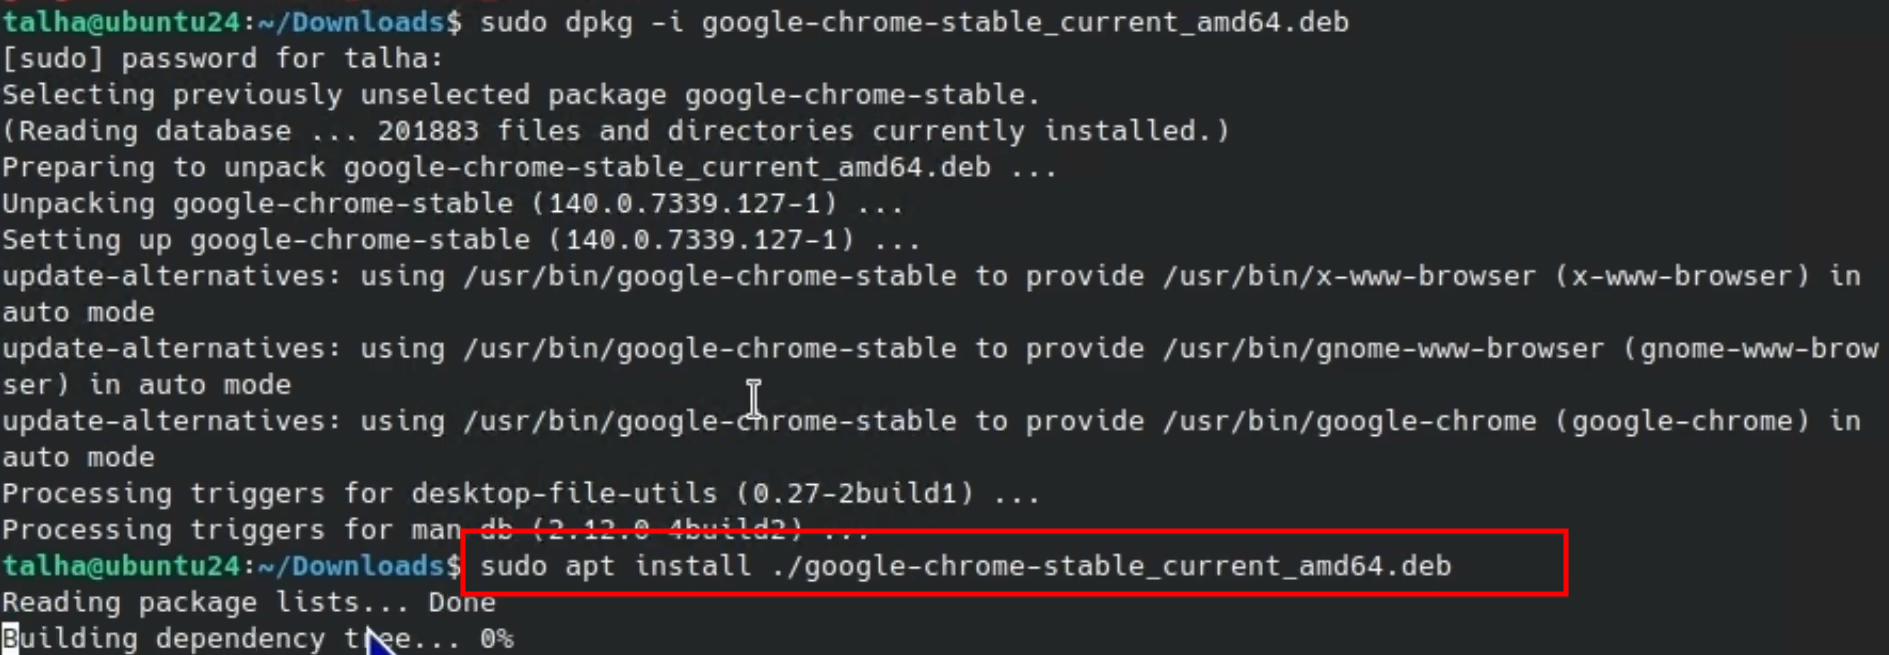 The dpkg command handles the unpacking part. It does that around. The apt install step fixes any missing dependencies. It finishes the whole installation.
Your Ubuntu Server setup now includes a fully working desktop environment. You can add any graphical or command-line applications you need.


