
Nginx Proxy Manager is a tool that simplifies managing reverse proxy configurations, allowing you to access web portals using subdomains instead of IP addresses and port numbers.
Step : 01 (Container Creation on Proxmox)
- The narrator creates a new container using Debian 12 as the template.

- 1 CPU core, 512MB of RAM, and 4GB of disk space.
- A static IP address is assigned (in the example,
10.0.0.151) for easier management.
Step : 02 (Installation Process)
- Once the container is running, access the shell and run an update/upgrade command use this command.

apt update && apt upgrade -y
sh -c "$(wget --no-cache -qO- https://raw.githubusercontent.com/ej52/proxmox/main/install.sh)" -s --app nginx-proxy-manager
- A specific GitHub script (credited to user EJ52) is used to automate the installation of Nginx Proxy Manager and its dependencies like Rust.
- The installation typically takes about 5 to 7 minutes.
Step : 03 (Initial Access and Configuration)
- After installation, the web interface is accessible via the container’s IP (
http://10.0.0.151:81).
- Upon the first login, the system prompts you to update your profile details and set a secure password.

Step : 04 (Setting Up Proxy Hosts)
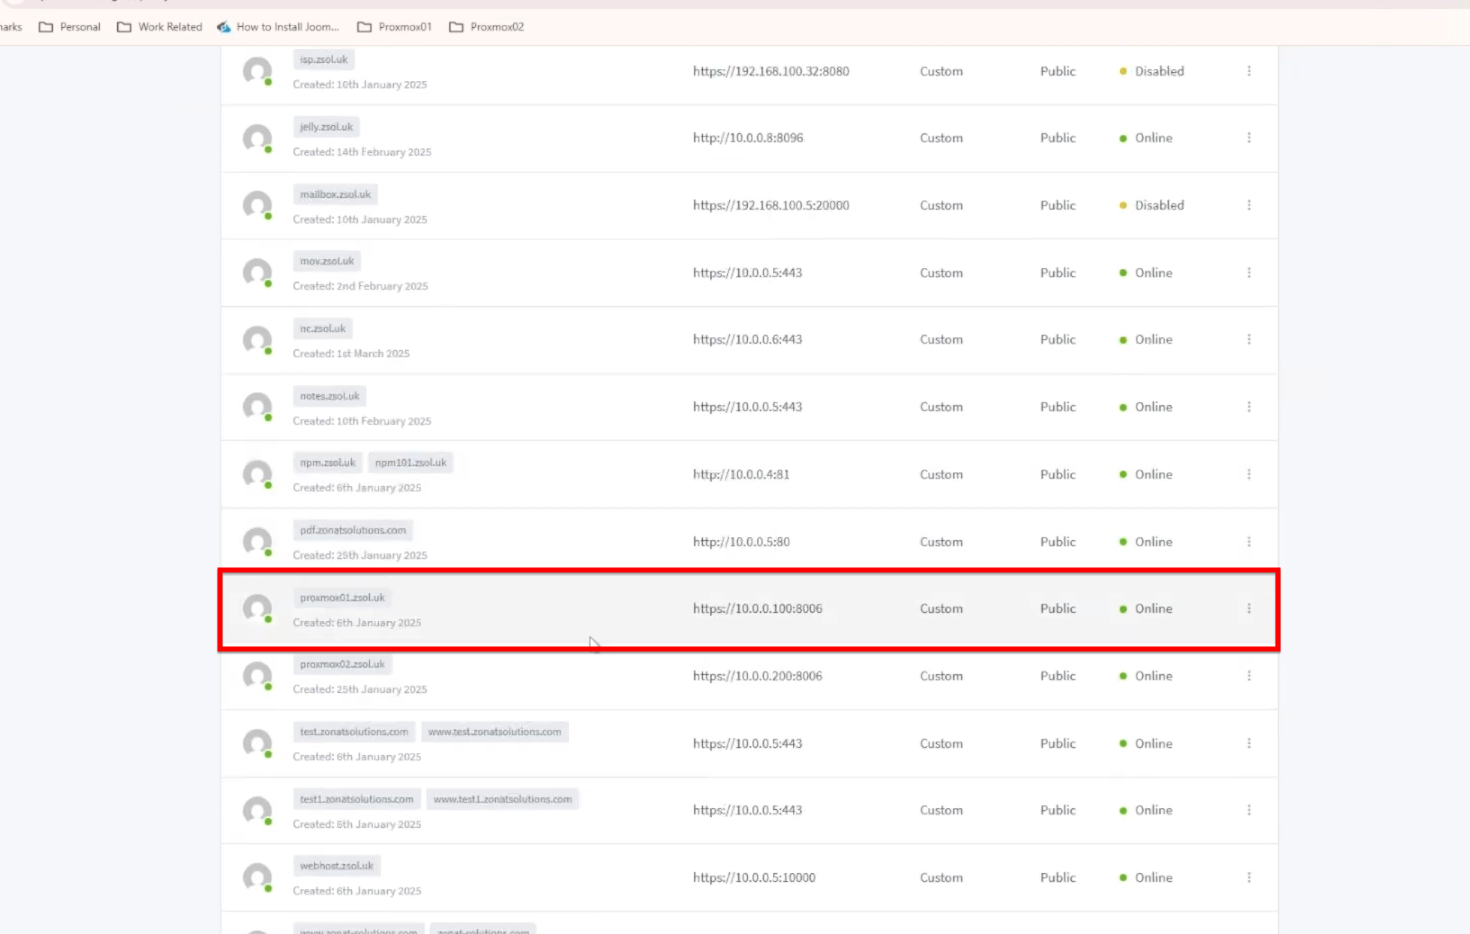
- To add a site, click on “Add Proxy Host”. You define the Domain Name, the internal Forward IP, and the Forward Port of the service you want to expose.

- The video shows examples of proxying a WordPress blog and a Proxmox node (port 8006).
- You can generate free “Let’s Encrypt” certificates directly through NPM or import your own (e.g., from Cloudflare) to enable secure HTTPS access.