In an era where data breaches are common, securing your digital life is paramount. Bitwarden is a leading, open-source password manager that allows you to store your credentials securely. But why rely on a third-party service when you can self-host?
This guide walks you through the comprehensive process of setting up your very own, private Bitwarden server on Ubuntu Server 24.04, giving you complete ownership and control over your vault data.
1. Prerequisites: What You’ll Need
Before diving into the commands, make sure you have the following ready:
-
Ubuntu 24.04 Server: You should have a machine with the recommended specs (e.g., 32 GB RAM, 100 GB storage are used in the demonstration) and Docker already installed

-
Domain Name: A custom domain is highly recommended, as accessing via an IP address may not work. You will also need to configure a reverse proxy (like Nginx Proxy Manager) and DNS records to route traffic to your server
-
SMTP Service: A mailing server (like a Gmail account configured for app passwords) is necessary to send account activation and password reset emails.
-
Installation ID & Key: You’ll need to obtain these unique identifiers from the Bitwarden website during the installation process.

MUST HAVE DOCKER INSTALLED
2. Setting Up the Dedicated Bitwarden User
For security best practices, we will create a non-root user specifically for running the Bitwarden service.
-
Create the User:
sudo adduser bitwardenYou will be prompted to set a password for this new user

-
Add User to Docker Group: This allows the
bitwardenuser to manage the necessary containers.sudo usermod -aG docker bitwarden -
Create the Installation Directory:
sudo mkdir /opt/bitwarden -
Set Permissions and Ownership: Ensure the directory is only accessible by the new user.
sudo chmod -R 700 /opt/bitwarden
sudo chown -R bitwarden:bitwarden /opt/bitwarden
This step ensures proper security and prevents root installation.

-
Switch to the New User:
su - bitwarden
curl -Lso bitwarden.sh "https://func.bitwarden.com/api/dl/?app=self-host&platform=linux" && chmod 700 bitwarden.sh
./bitwarden.sh install
Installer Prompts: Follow the script prompts, providing your configured domain name (
bitwarden.yourdomain.com).When asked about Let’s Encrypt, select No if you are using a reverse proxy manager (like Nginx Proxy Manager) to handle SSL certificates.
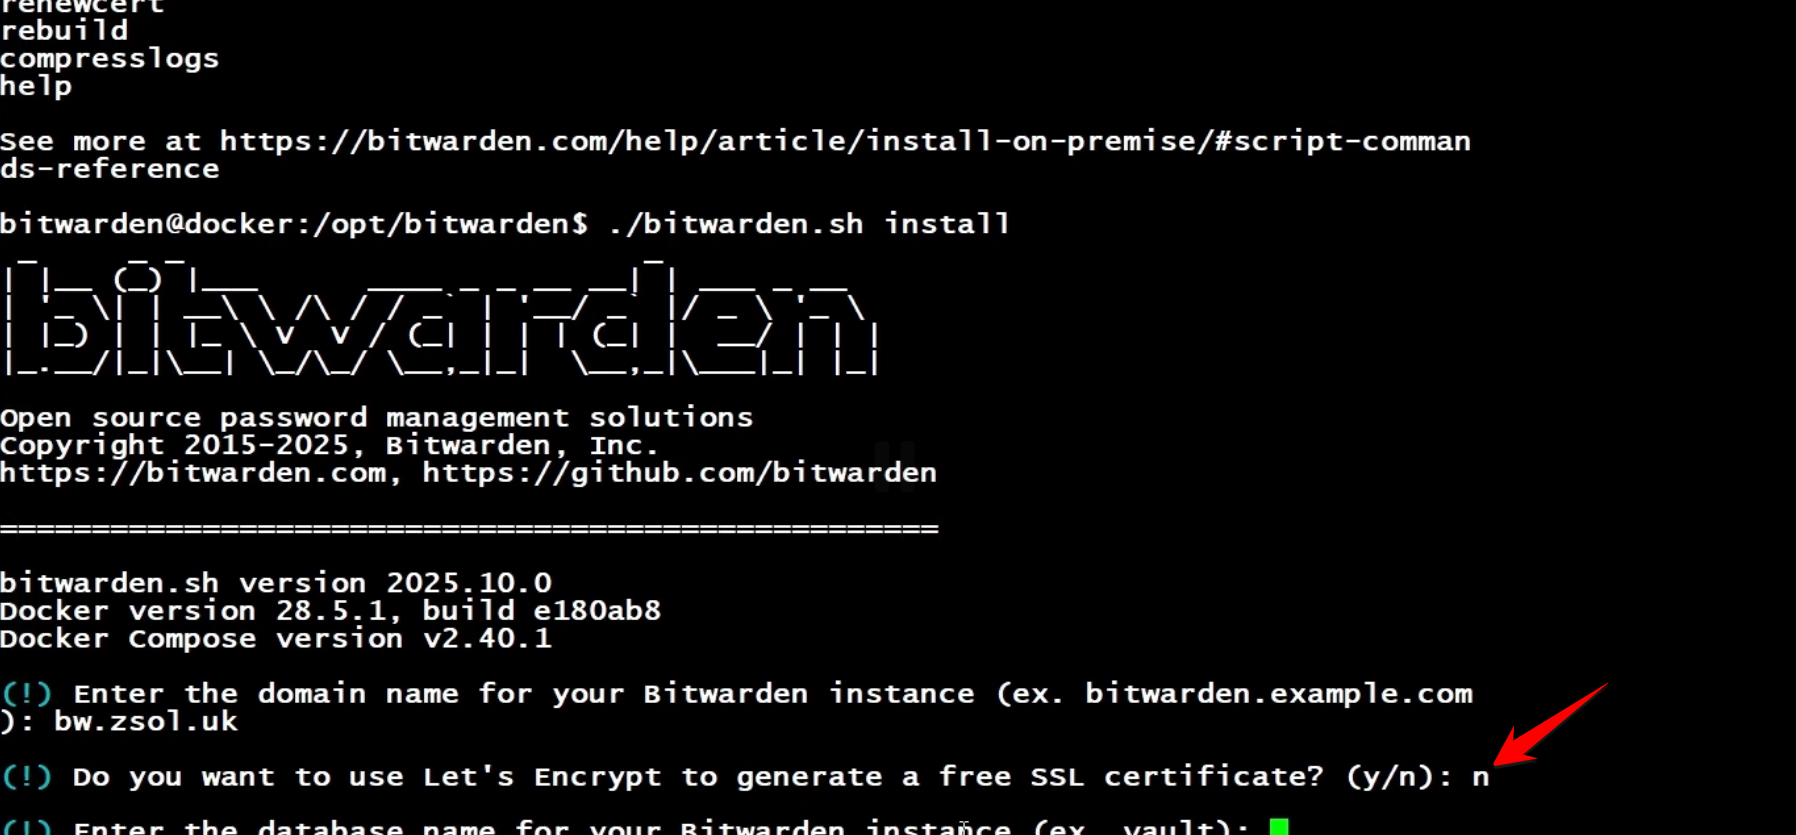 Enter your Installation ID and Installation Key when prompted.
4. Configuring SMTP for Email
The server needs to be configured with your SMTP details to handle user registration and administration emails.
Navigate to Environment Folder:
cd /opt/bitwarden/bwdata/envEdit the Environment File: Open the
global.override.envfile to set your mail server details.- Update the
globalSettings__mail__smtp__host,globalSettings__mail__smtp__port, and credentials.
-
Crucially,in the
adminSettingssection, set the correct administrative email address. - Save and Exit.
-
5. Starting the Bitwarden Server
Once the configuration is complete, you can bring the service online.
Start the Server:
./bitwarden.sh startThis will load all required services and containers. Wait for the confirmation message that the Bitwarden server is up and running.

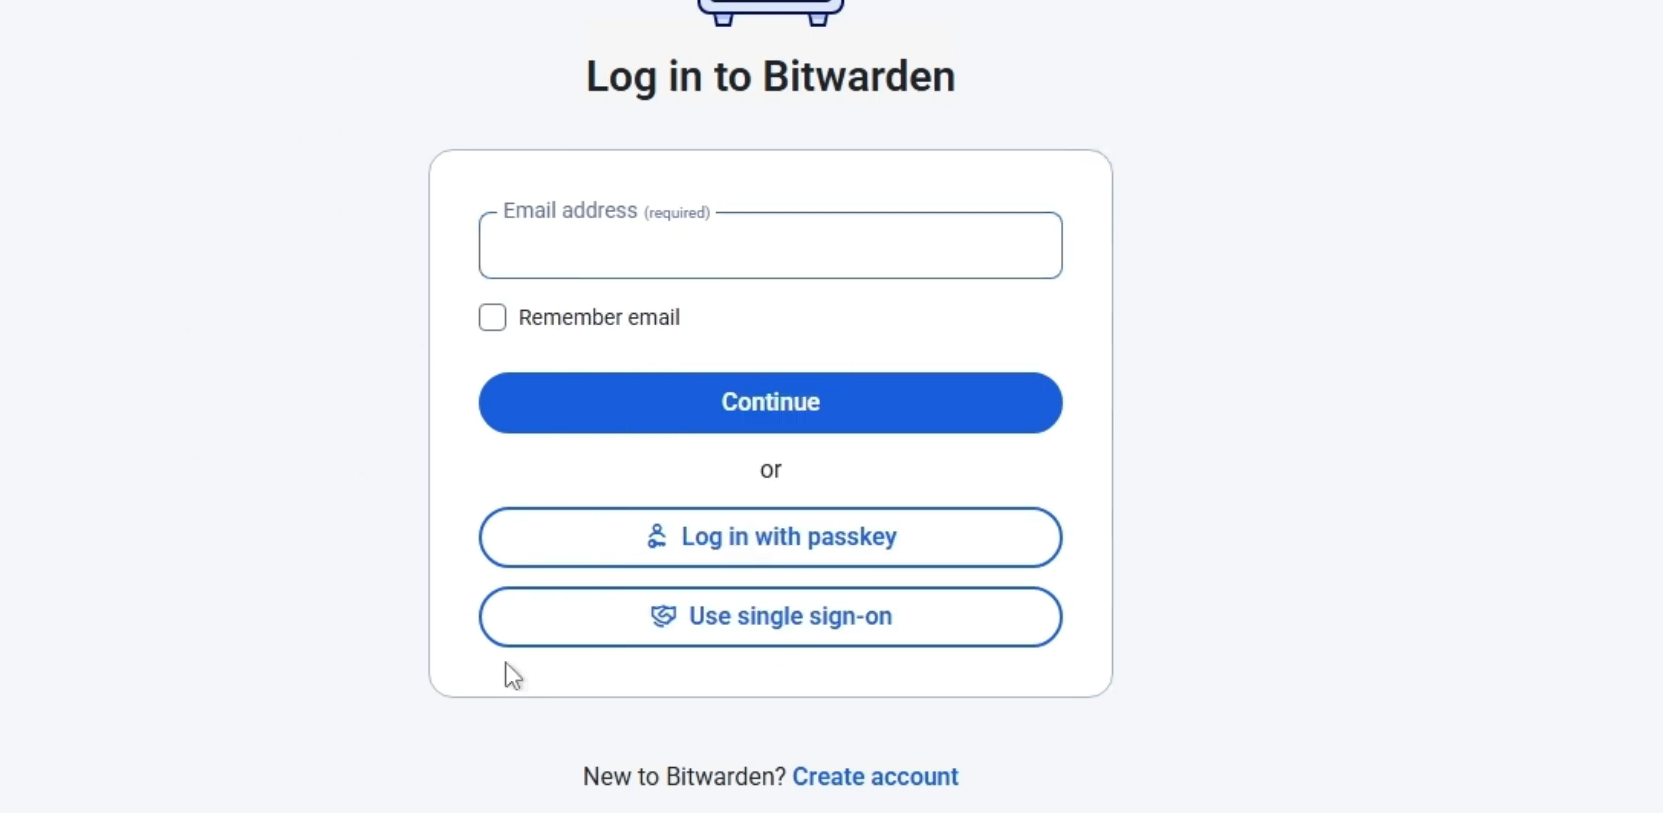
Access Your New Server: Open your domain name in a web browser to see the Bitwarden login page.
-
6. Admin Access and User Management
You now have a fully functional, self-hosted Bitwarden instance!
Create a New User Account: New users can click “Create Account” and register using their email address.
- Access the Admin Panel: Navigate to
https://yourdomain.com/admin. Log in using the administrative email you configured in step 4. Bitwarden will send you a temporary login email to confirm your identity.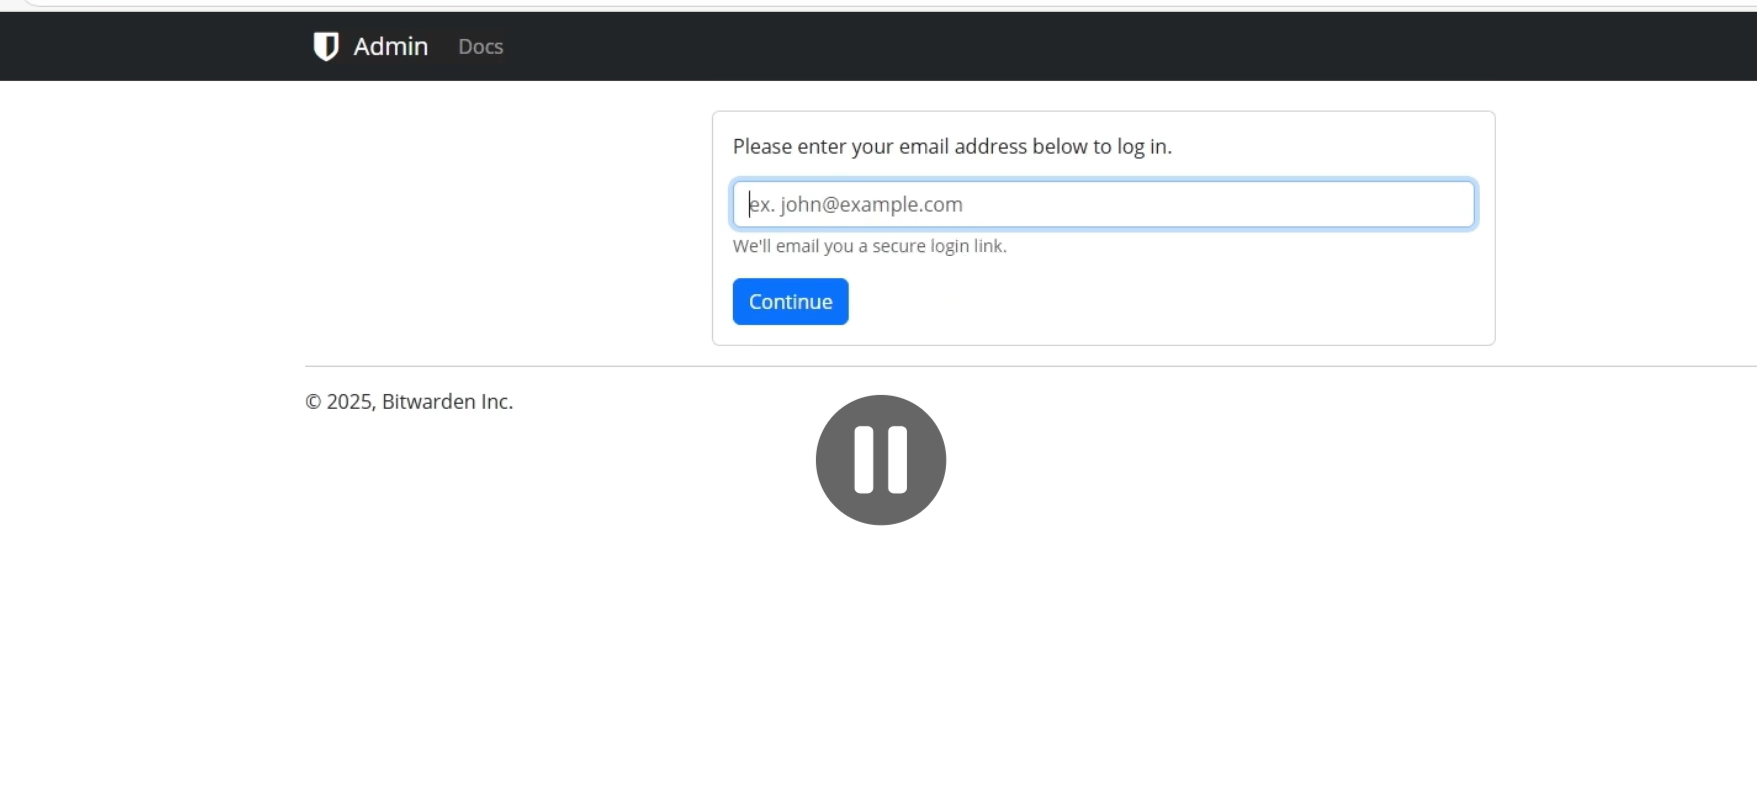
-
Manage Users: The admin dashboard only allows you to view and delete all registered users and organizations on your server.
-
That’s it. 🙂
- Update the