Step 01: Creating and Managing Users
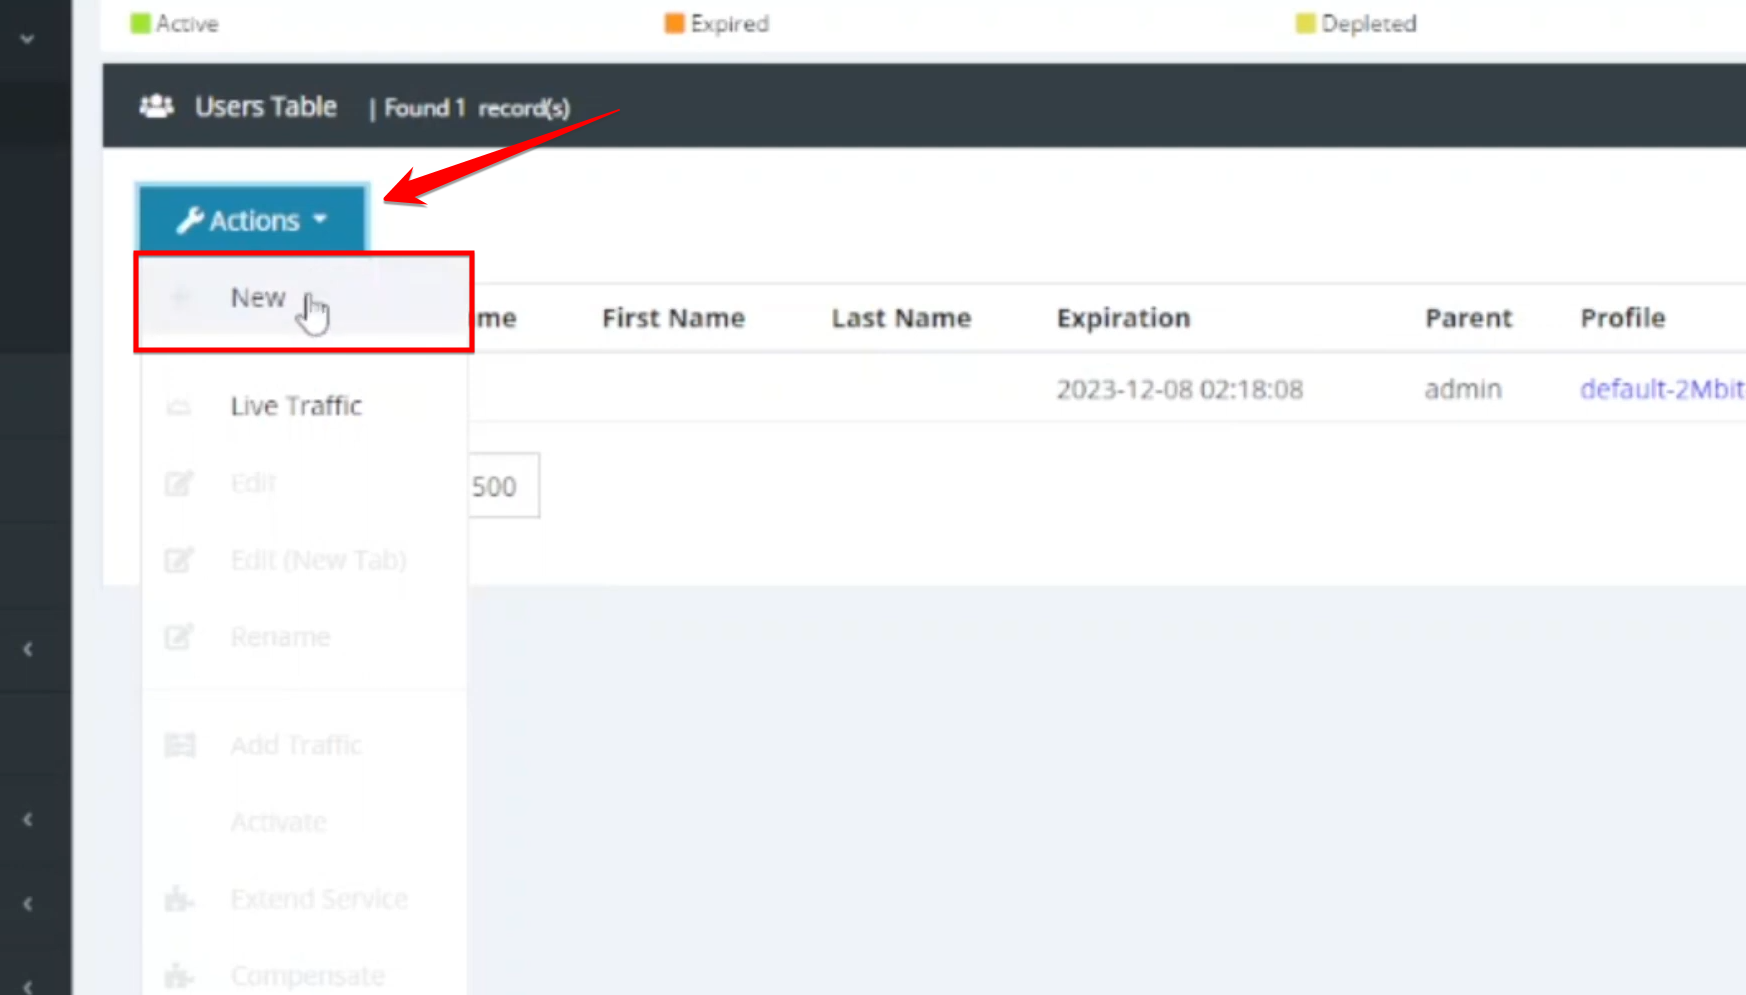
- To create a user, navigate to the Users List and click “New”. Required fields include the username, password, and selecting a service profile.
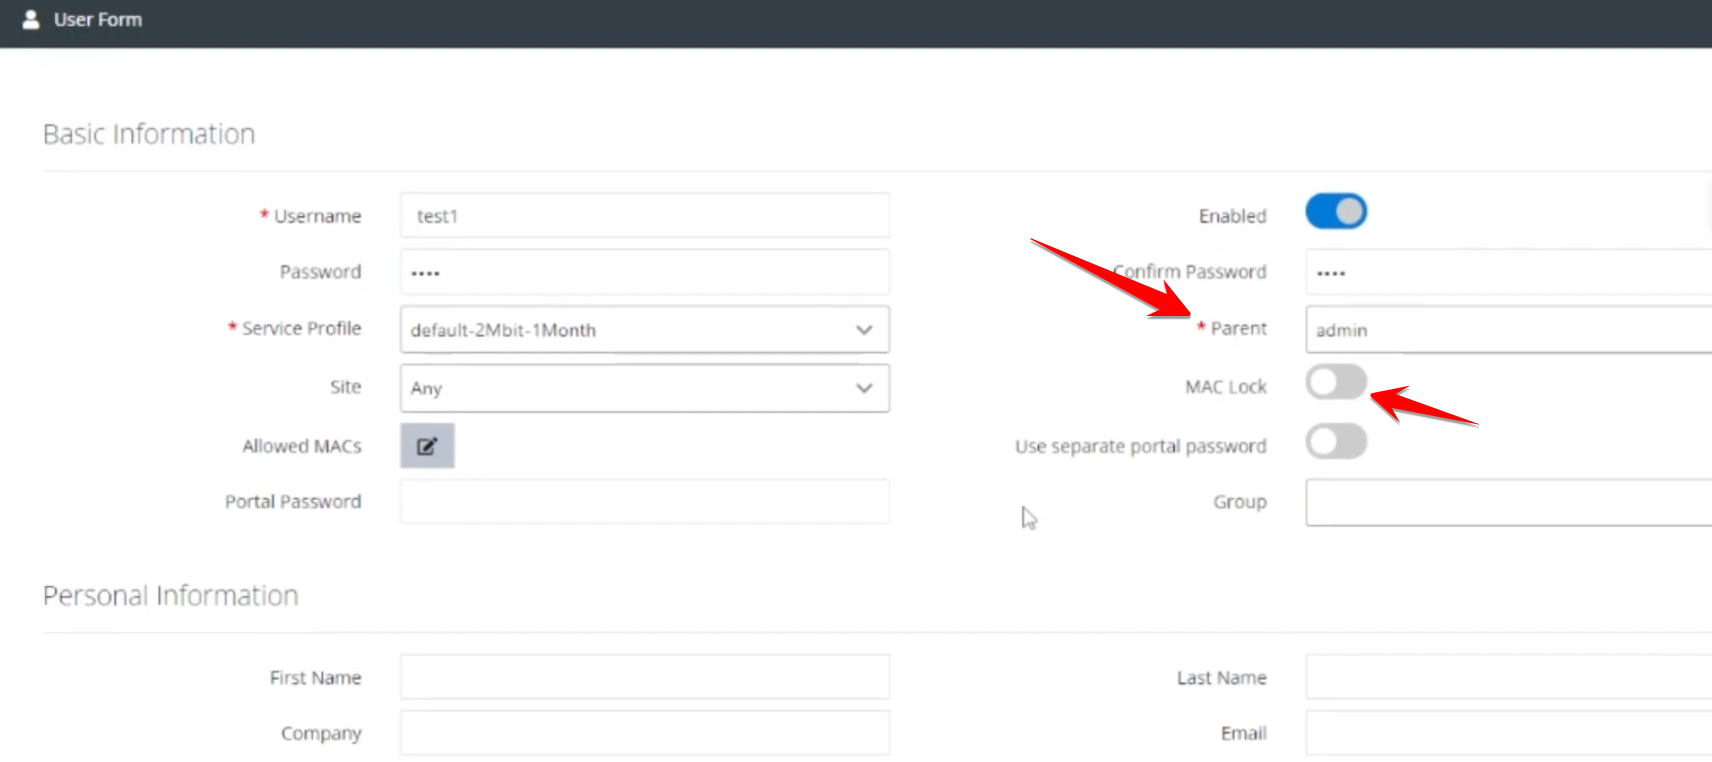
- Assign the user to a specific admin or manager for permission-based control.
- Restrict the account to a single MAC address for enhanced security.
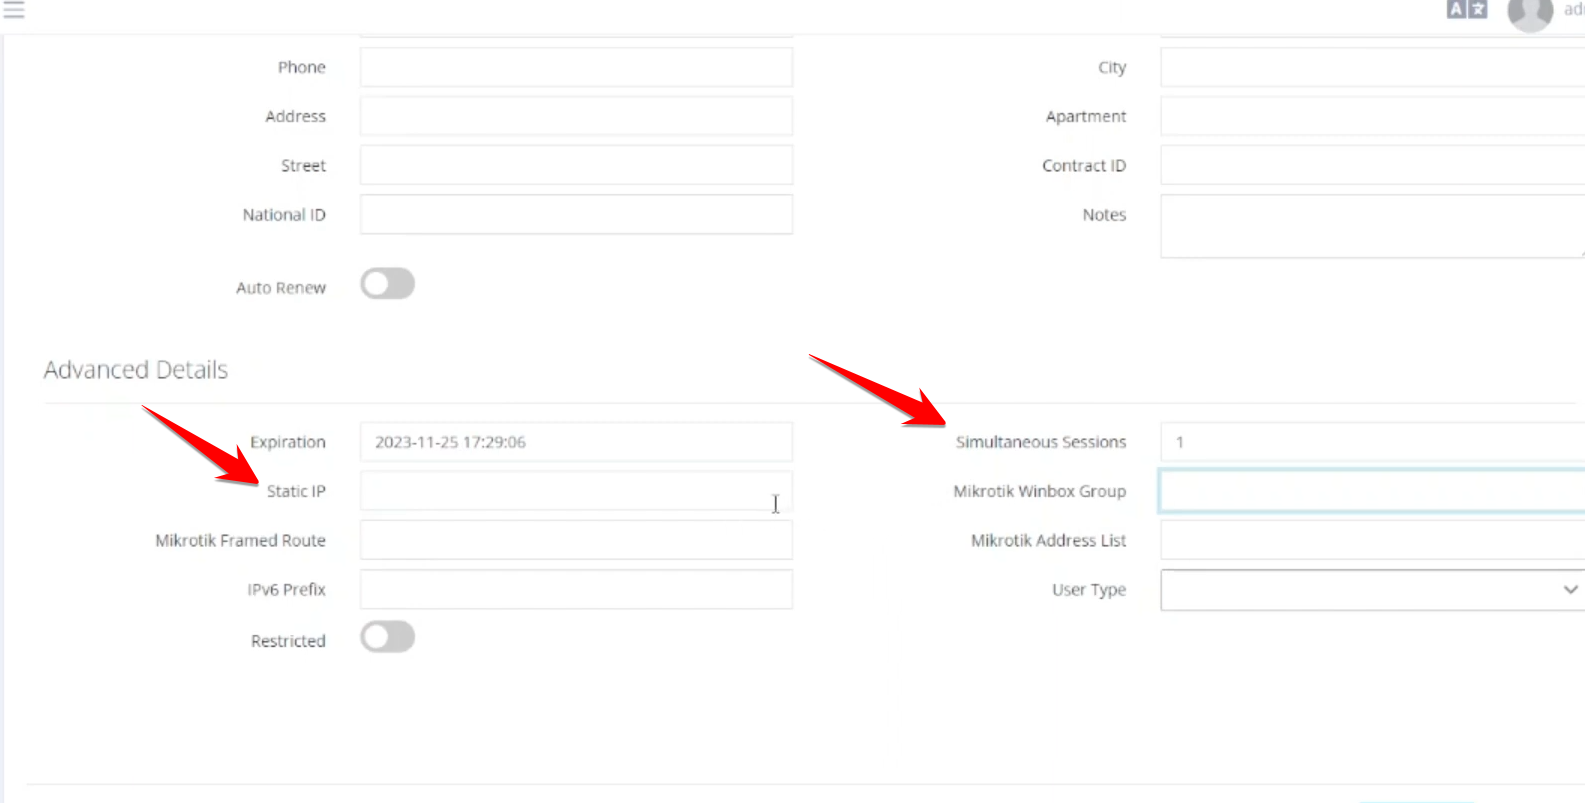
- Specify how many concurrent logins are allowed for a single user.
- Assign a dedicated IP address to a user if needed.
Step 02: User Status and Activation:
- New users initially appear in orange (expired/inactive).
- To activate a user, go to Actions > Activate, set the duration (units), and process the payment. Once active, the status turns green.
- Users can be edited, renamed, or deleted through the action menu.

Step 03: Monitoring and Support
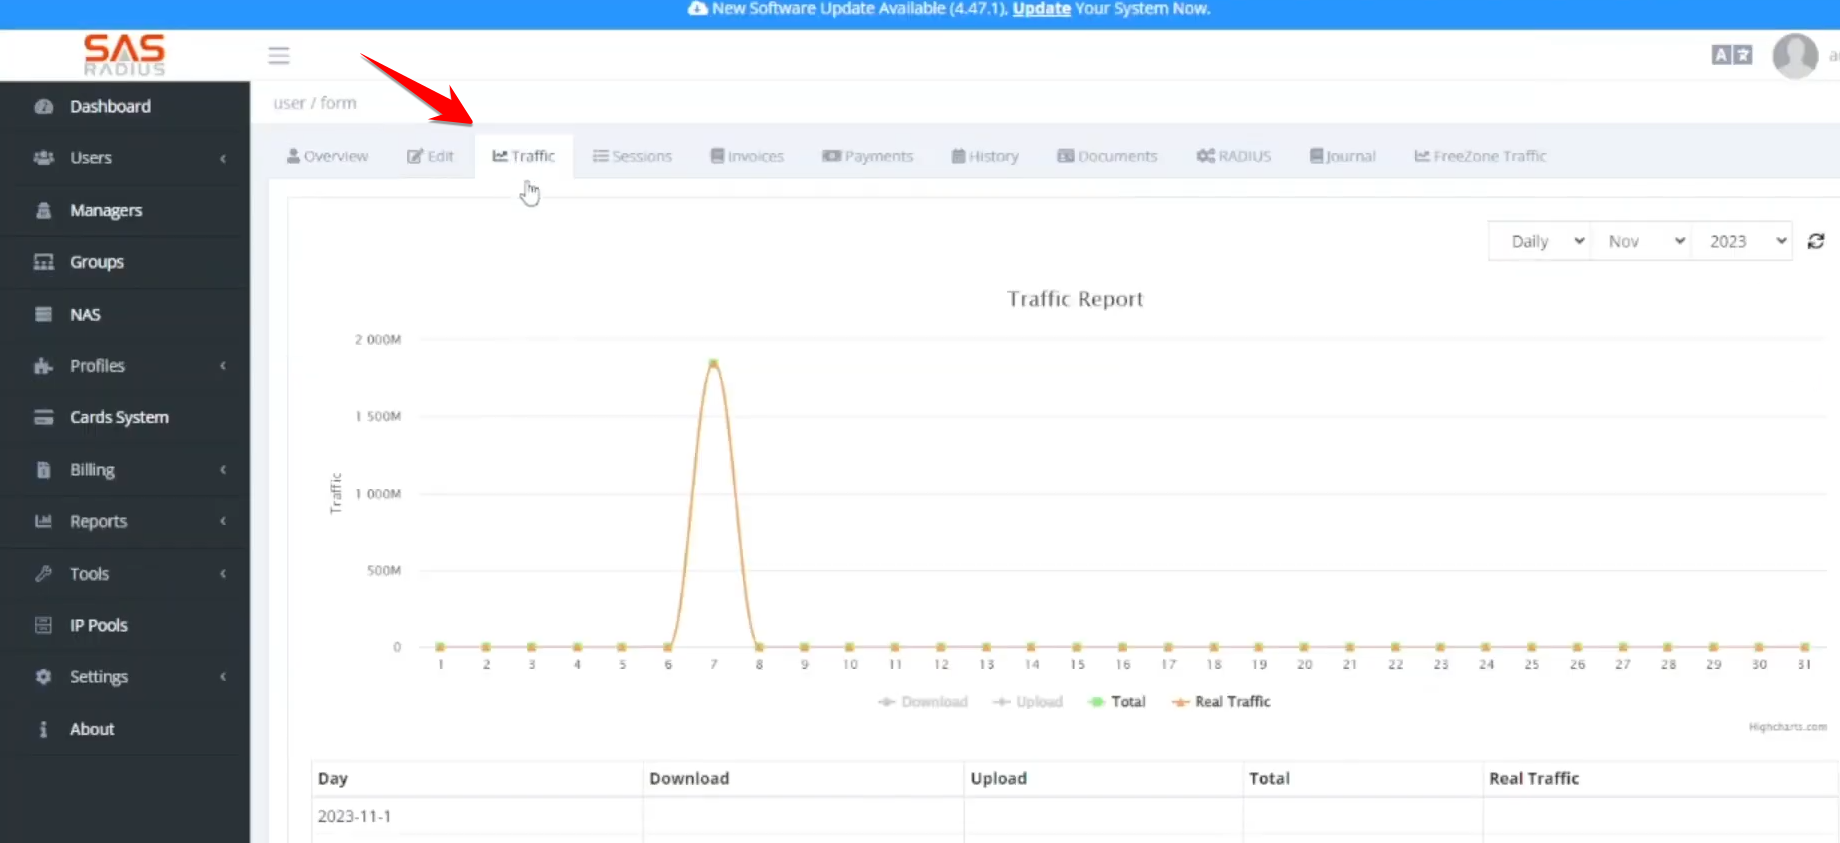
- View real-time and historical data usage (download/upload) and session history for each user.
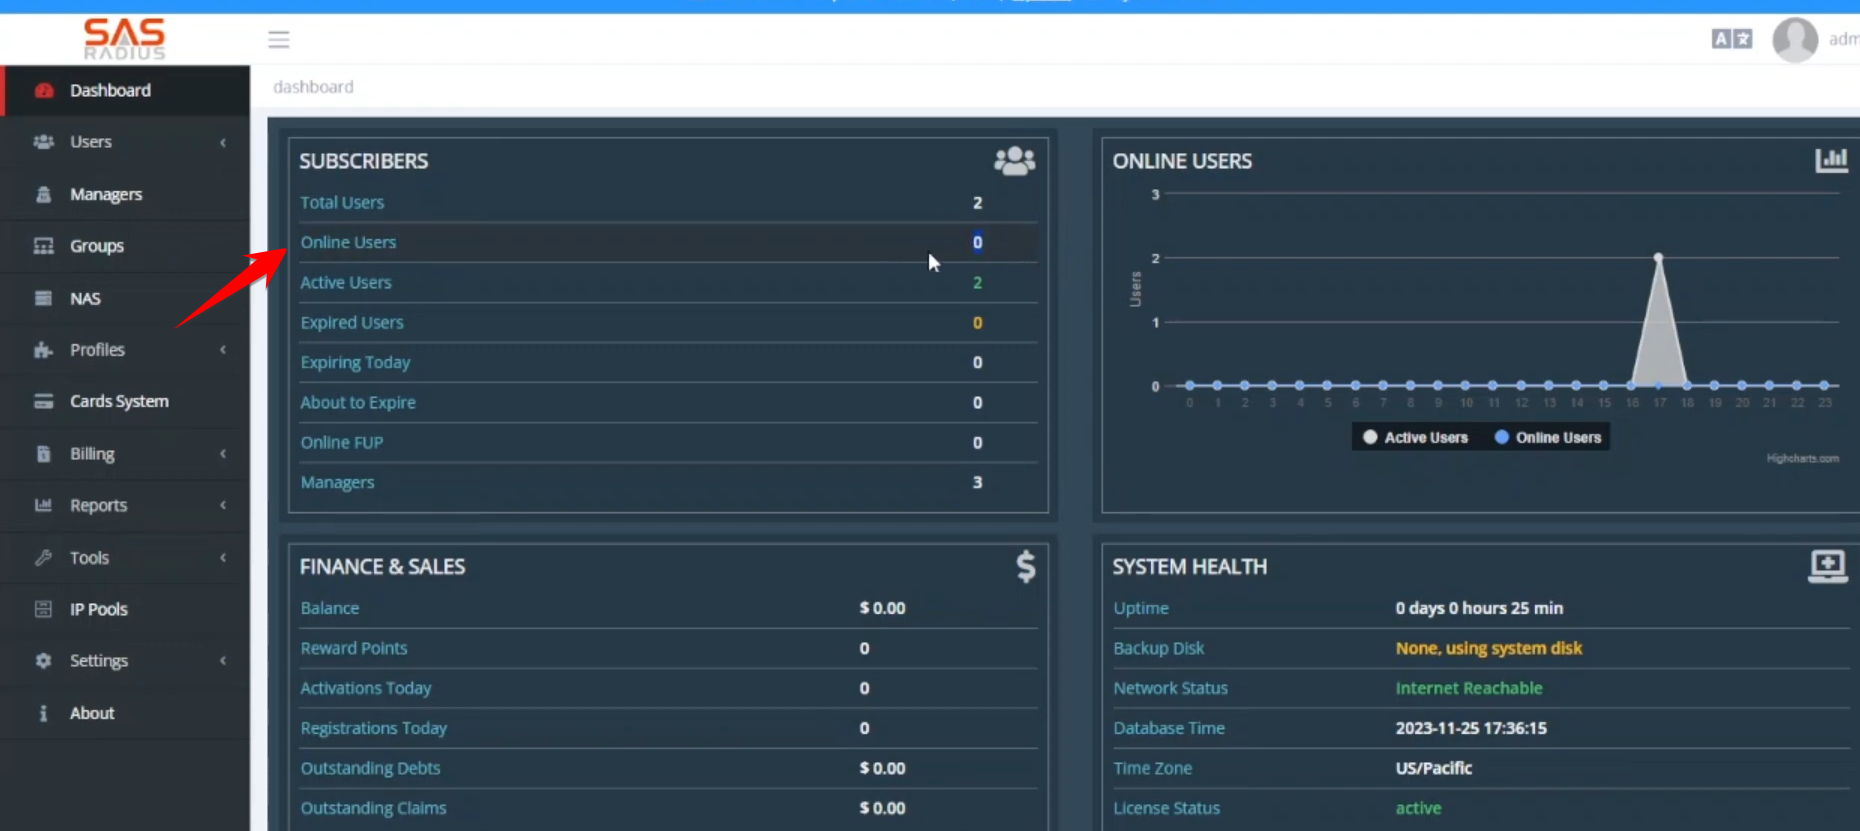
- A dedicated tab shows currently active users, who also appear on the main dashboard in blue.
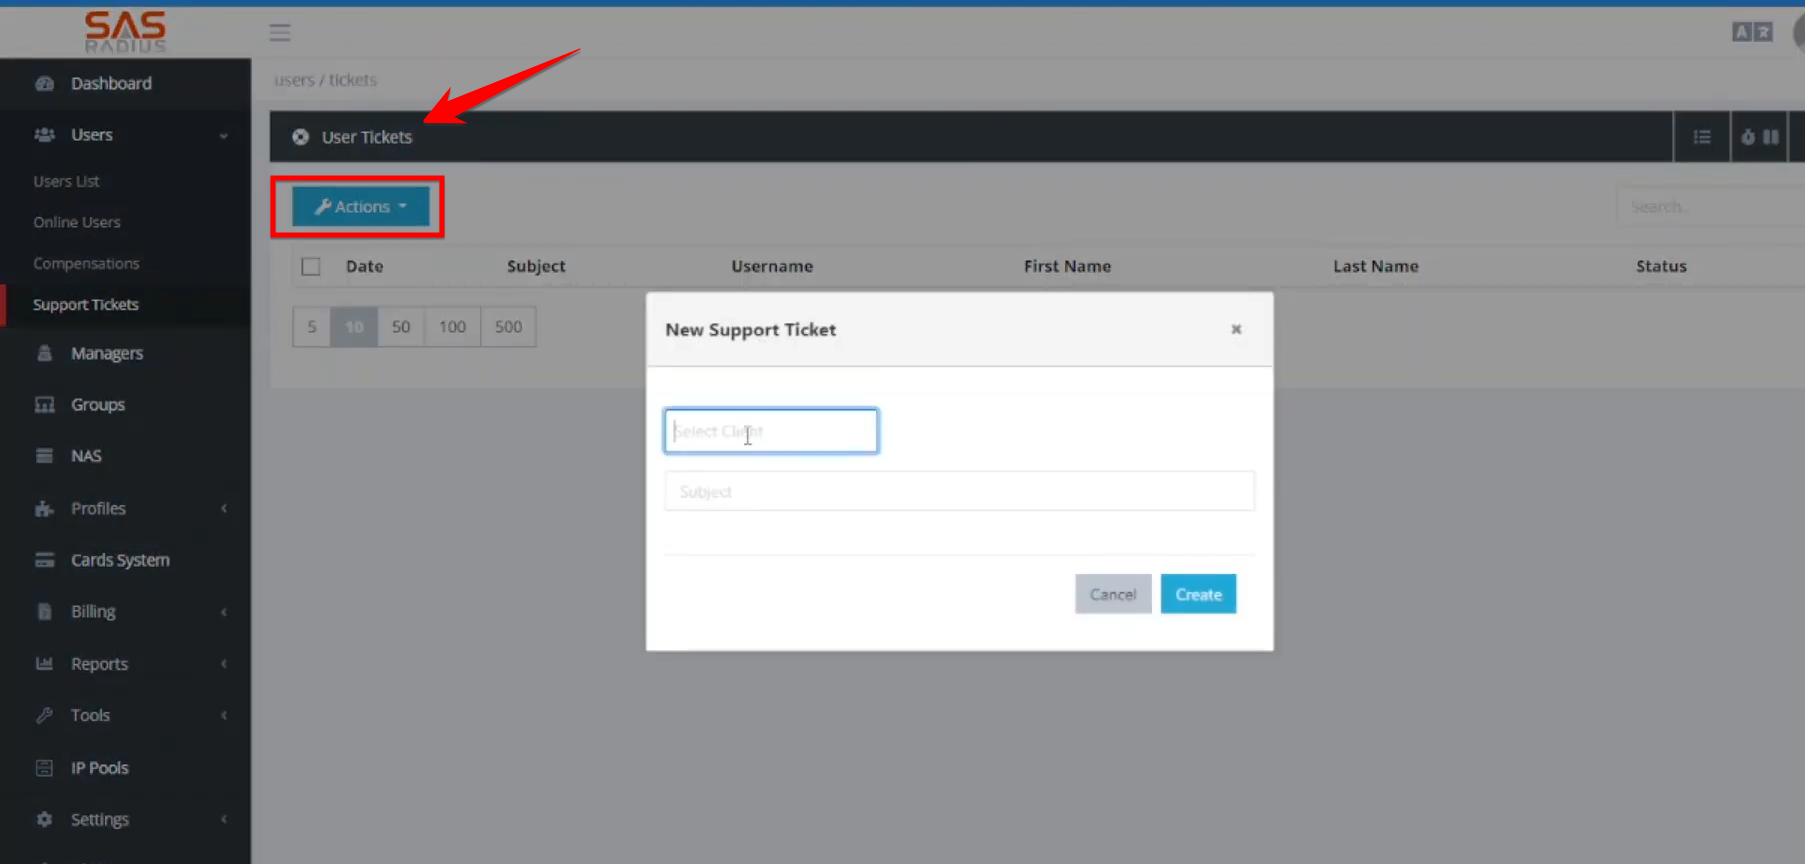
- Admins can create and track support tickets (e.g., for internet issues). Tickets can be assigned to different managers who can add notes and resolve issues.