Running both Windows and Linux Mint on the same computer is one of the best ways to enjoy the strengths of each operating system. Windows is great for productivity and gaming, while Linux Mint offers speed, stability, and customization.
In this step-by-step guide, you’ll learn how to set up a dual-boot system safely, from preparing partitions in Windows to installing Linux Mint and updating the GRUB bootloader.
1. Open Disk Management in Windows
First, prepare space for Linux Mint.
-
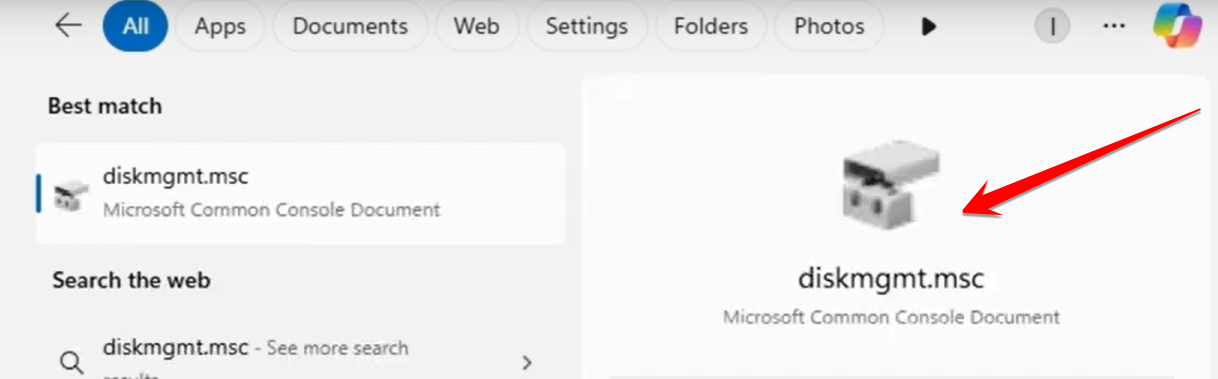
Press Win + R to open the Run dialog.
-
Type
diskmgmt.mscand press Enter. -
The Disk Management window will open, showing all your drives and partitions.
From here, shrink your Windows partition to free up space for Linux Mint.
2. Download Linux Mint
Next, download the Linux Mint installer.
-
Go to the official website: linuxmint.com.
-
Head to the Download section.
-
Choose the latest version of Linux Mint.

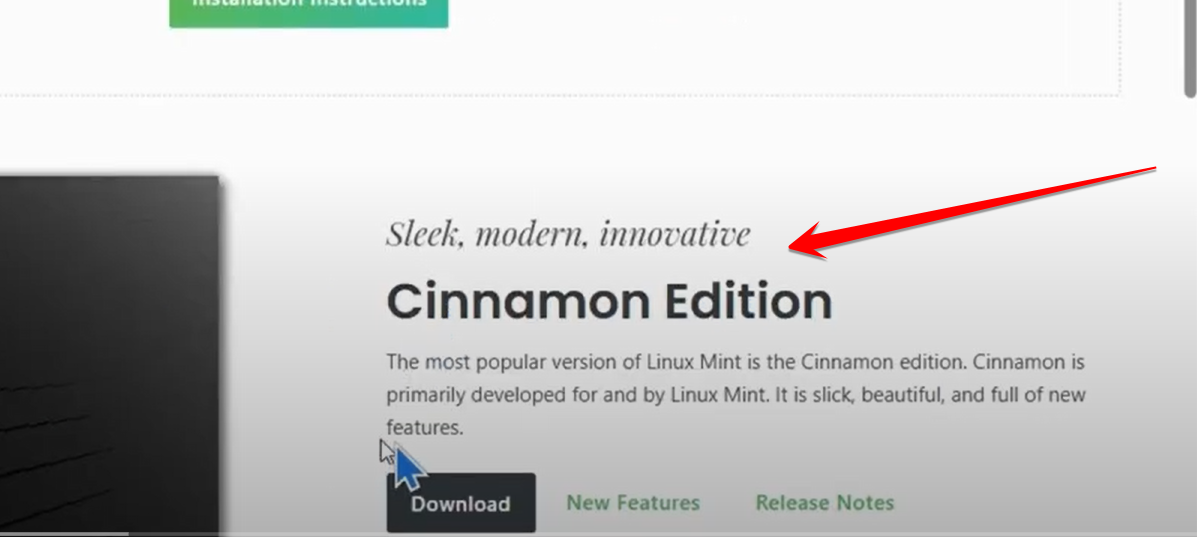
3. Select the Cinnamon Edition
Linux Mint offers three editions: Cinnamon, MATE, and Xfce.
-
Cinnamon → Recommended for most users.
-
MATE → Lighter, stable, good for older PCs.
-
Xfce → Very lightweight for low-spec systems.
For the best modern experience, download the Cinnamon Edition
4. Select the EFI System Partition During Installation
When installing Linux Mint:
-
Choose Something Else when asked about installation type.
-
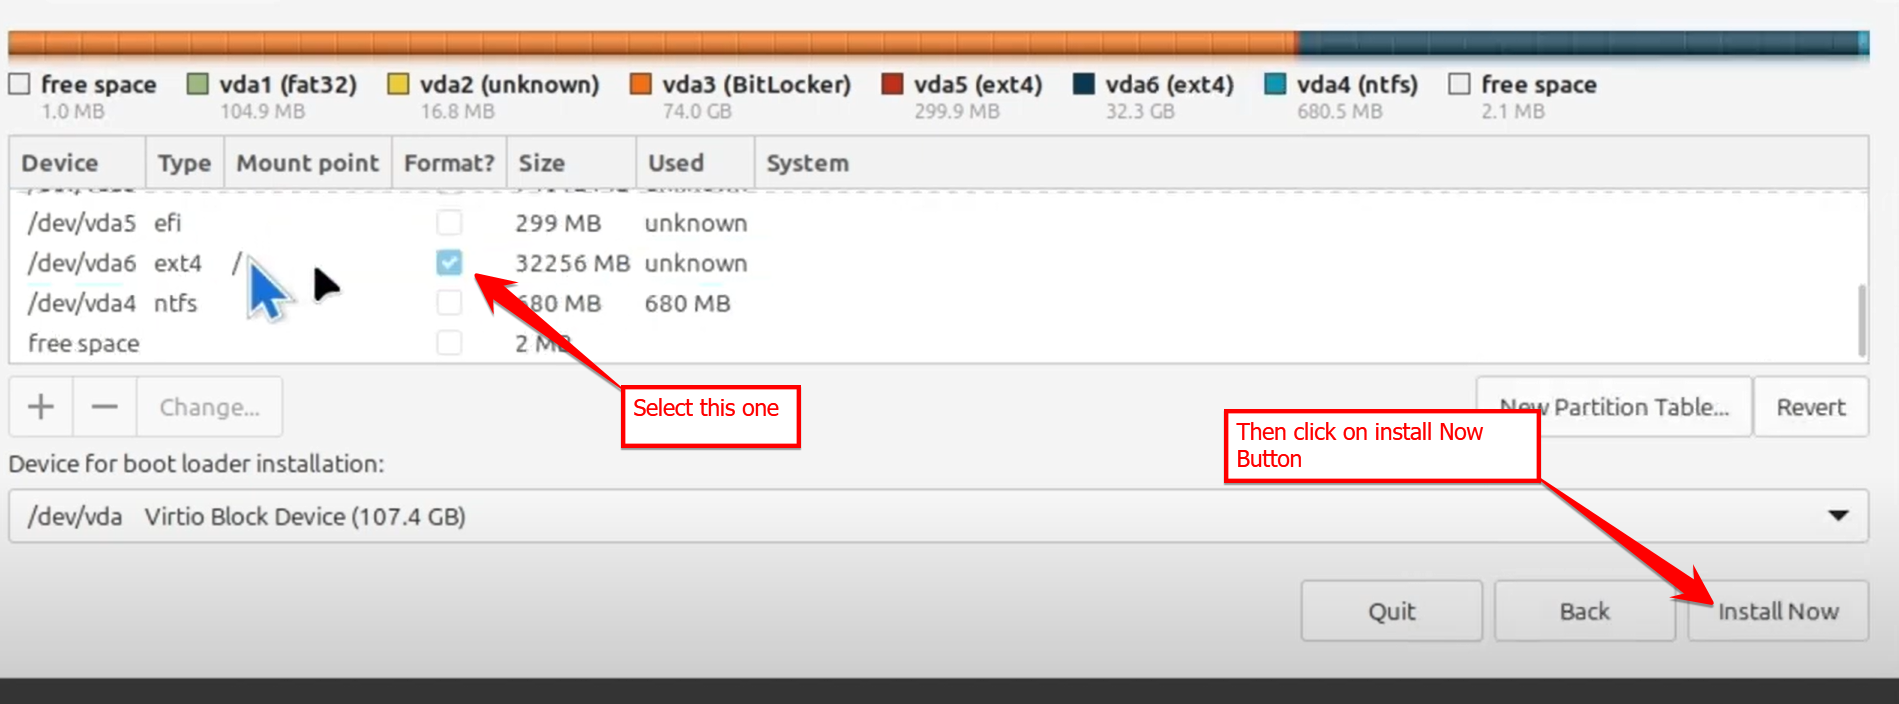
Locate your EFI System Partition (ESP) (100–500 MB, FAT32).
-
Set it as EFI System Partition but do not format it.
This ensures GRUB works alongside Windows Boot Manager.

5. Create the Root Partition (Ext4, Mount Point /)
Now create the main partition for Linux Mint.
-
Select the remaining unallocated space.
-
Format it as Ext4 journaling file system.
-
Set the mount point to
/.
This is where Linux Mint will be installed.

6. Select the Root Partition (/dev/vda6)
In this example, the root partition is /dev/vda6.
-
Highlight it.
-
Confirm it’s set to Ext4 with the mount point
/. -
Use this partition as the installation target.
7. Restart and Remove the USB Drive
After the installation finishes:
-
Click Restart Now.
-
Remove your Linux Mint USB installer.
-
Press Enter to reboot.
Your system will restart into the GRUB bootloader menu.
8. Boot Into Linux Mint 22.1 Cinnamon
At the GRUB menu:
-
Select Linux Mint 22.1 Cinnamon.
-
Press Enter.
-
After a short load, the Linux Mint desktop will appear.
You now have Linux Mint installed alongside Windows! 🎉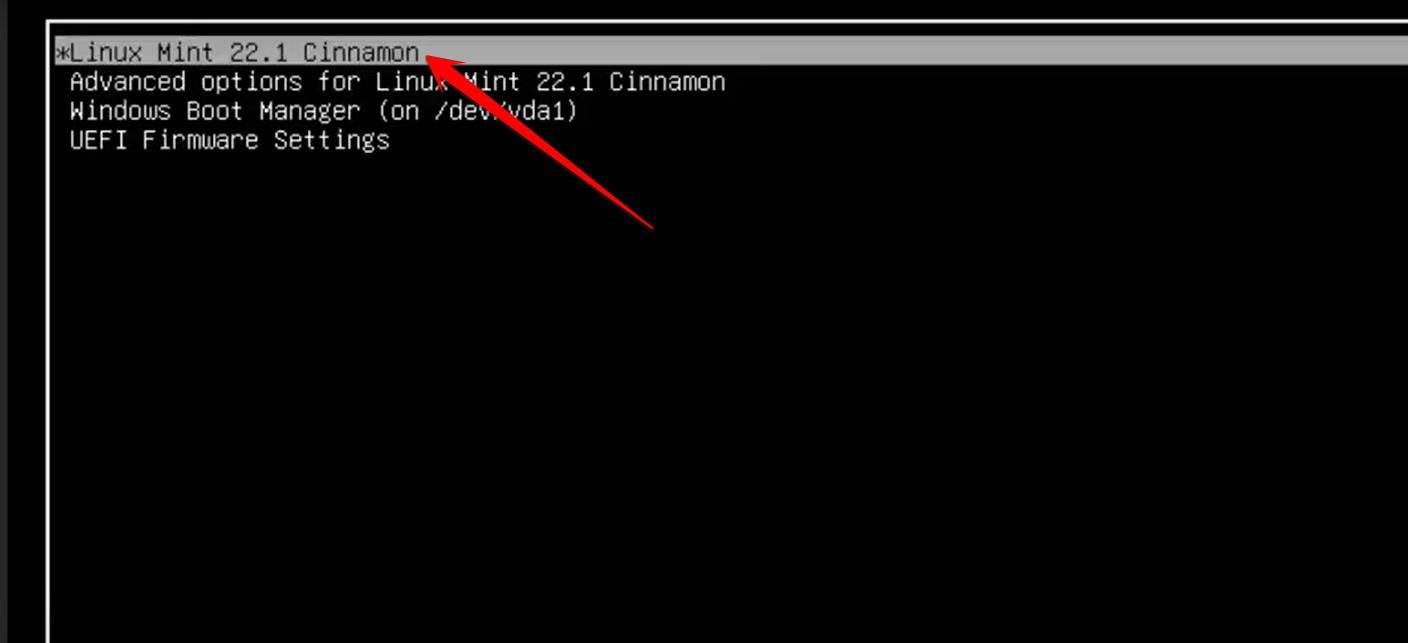
9. Update GRUB to Detect All Operating Systems
Finally, update the bootloader so it recognizes Windows.
-
Open the Terminal (
Ctrl + Alt + T). -
Type the following command at the prompt (
:~$):
-
Enter your password.
-
GRUB will scan your drives and add entries for Windows and Linux.
Pro Tip: If Windows doesn’t show up, run:
sudo apt install os-prober

sudo update-grub

Congratulations You’ve successfully set up a dual-boot system with Windows and Linux Mint Cinnamon. Now you can enjoy the flexibility of switching between Windows for productivity or gaming and Linux Mint for development, security, or everyday computing.