
The setup involves four simple steps: identifying interfaces, assigning IPs, creating NAT rules, and finally, adding the critical ECMP route.
Step 1: Configure Your WAN Interfaces (IP Addresses)
First, ensure your MikroTik router can connect to both ISPs.
-
You can rename or comment your WAN ports for clarity (e.g.,
WAN 1andWAN 2). -
Configure the IP addresses and subnet masks provided by your ISPs on their respective interfaces (e.g.,
ether1andether2).
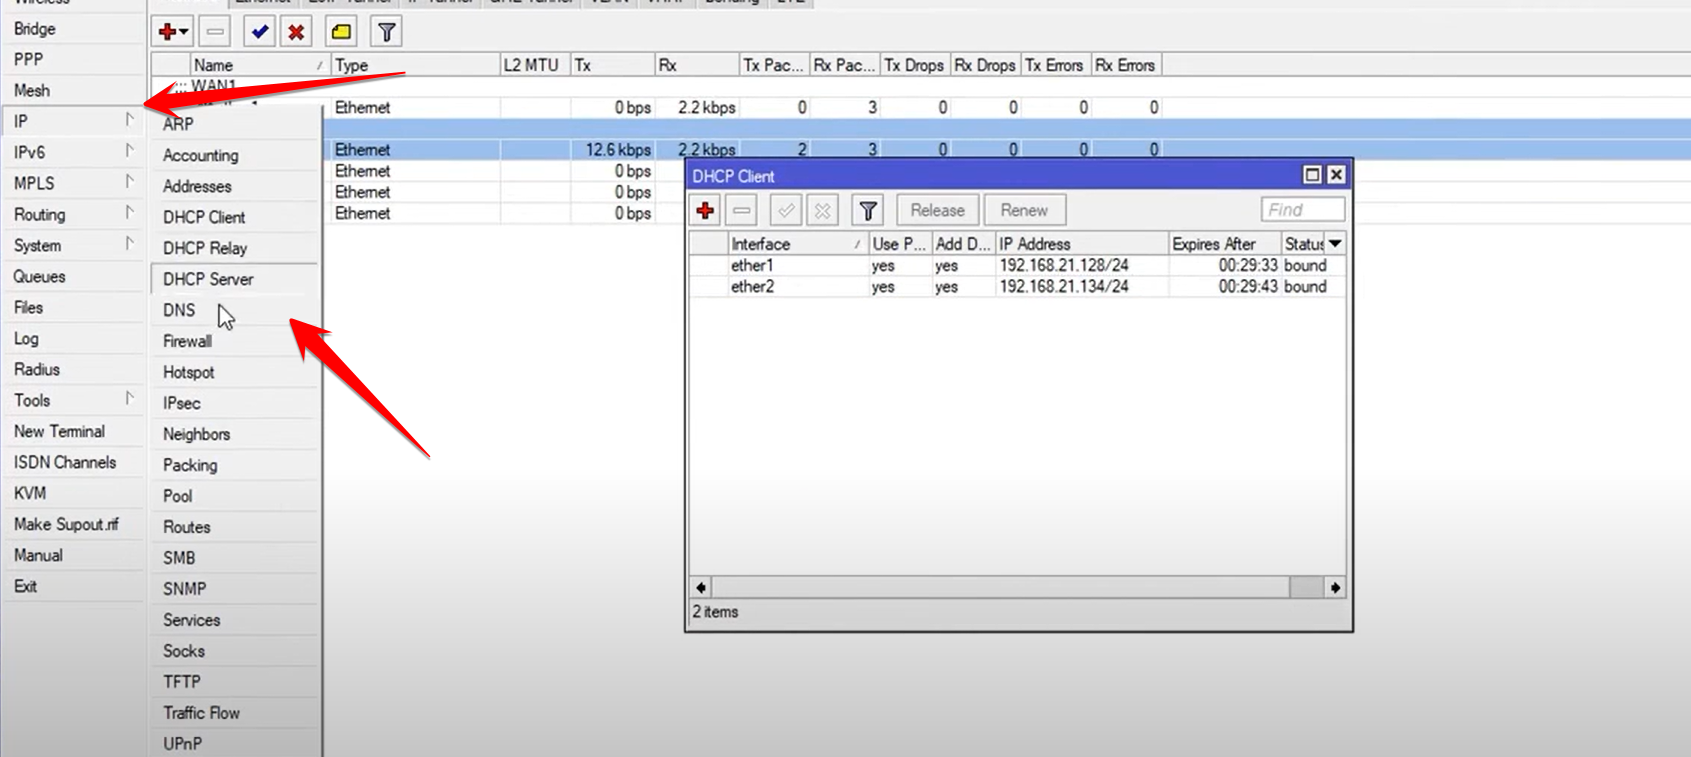
If your ISP assigns IPs dynamically, you can use the DHCP Client feature on both interfaces.


Step 2: Add DNS and NAT Masquerade Rules
For your internal network (LAN) to access the internet, you must set up DNS and a NAT rule.
-
Configure DNS: Go to IP > DNS and add your preferred DNS servers (e.g., your ISP’s DNS or public servers like 8.8.8.8 and 1.1.1.1).
-
Create Masquerade NAT: You need to configure a NAT rule for each outgoing WAN interface.
-
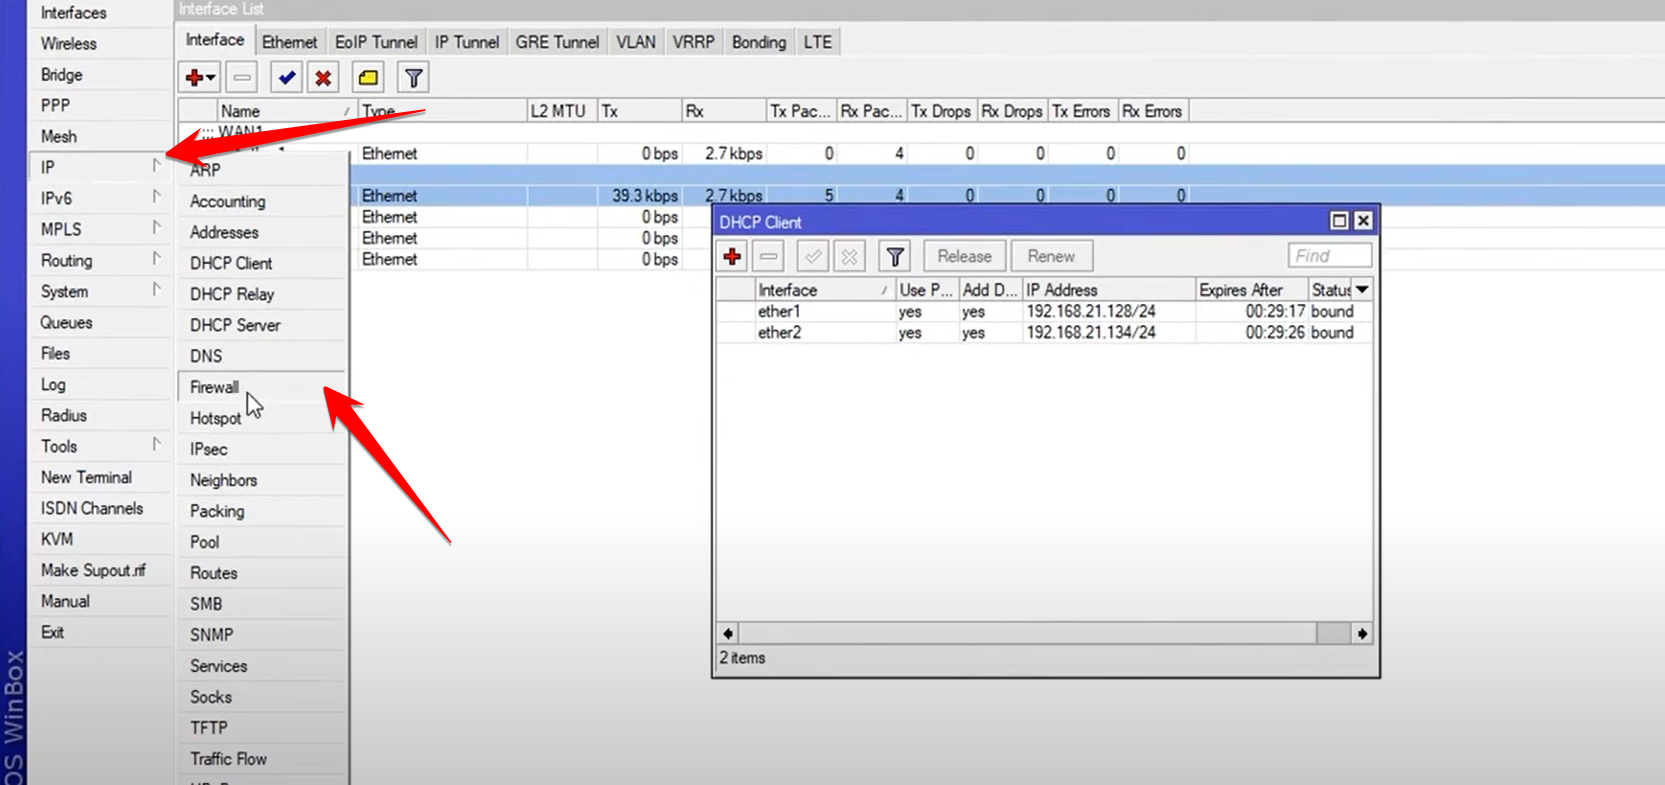
Go to IP > Firewall > NAT.
-
Click + to add a new rule.
-
Chain:
srcnat -
Out. Interface: Select your first WAN interface (e.g.,
ether1/WAN 1). -
Go to the Action tab and select Action:
masquerade. -
Click Copy to duplicate this rule, then change the Out. Interface to your second WAN interface (e.g.,
ether2/WAN 2). -
Apply both rules.
-

Step 3: Create the ECMP Route (The Load Balancing Core)
This is the most critical step. Unlike standard failover setups, ECMP requires you to add both gateway addresses into a single route entry.
-
Go to IP > Routes.
-
Click + to add a new route.
-
Dst. Address:
0.0.0.0/0(This is the default route for all traffic). -
Gateway: Add the IP address of your first ISP’s gateway.
-
Click the down arrow next to the Gateway field to add a second entry, and input the IP address of your second ISP’s gateway.
-
Click Apply and OK.

By entering both gateways in the same route entry, you are instructing the MikroTik router to use them as two equal-cost paths, successfully activating the ECMP method for load balancing.


