While static routing is manageable for simple networks, dynamic routing protocols like RIPv2 (Routing Information Protocol Version 2) are essential for scale. RIPv2 automates the process of route discovery, allowing routers to share network information automatically. This tutorial walks you through setting up RIPv2 on Cisco routers in Packet Tracer.
1. Verification and Removal of Static Routes
If your routers were previously using static routes, you must remove them first. RIPv2 will take over the routing decisions.
-
Verify Existing Routes: In Privilege EXEC mode (
Router#), use the following command to check the current routing table.Cindicates directly connected networks, andSindicates static routes.show ip route(The terminal output of
show ip routeshowing bothCandSroutes.)

-
View Configuration: Use
show running-configto find the static route commands (ip route...). -
Remove Static Routes: Enter Global Configuration mode (
Router(config)#) and preface the static route command withno.conf t no [paste the static ip route command here] -
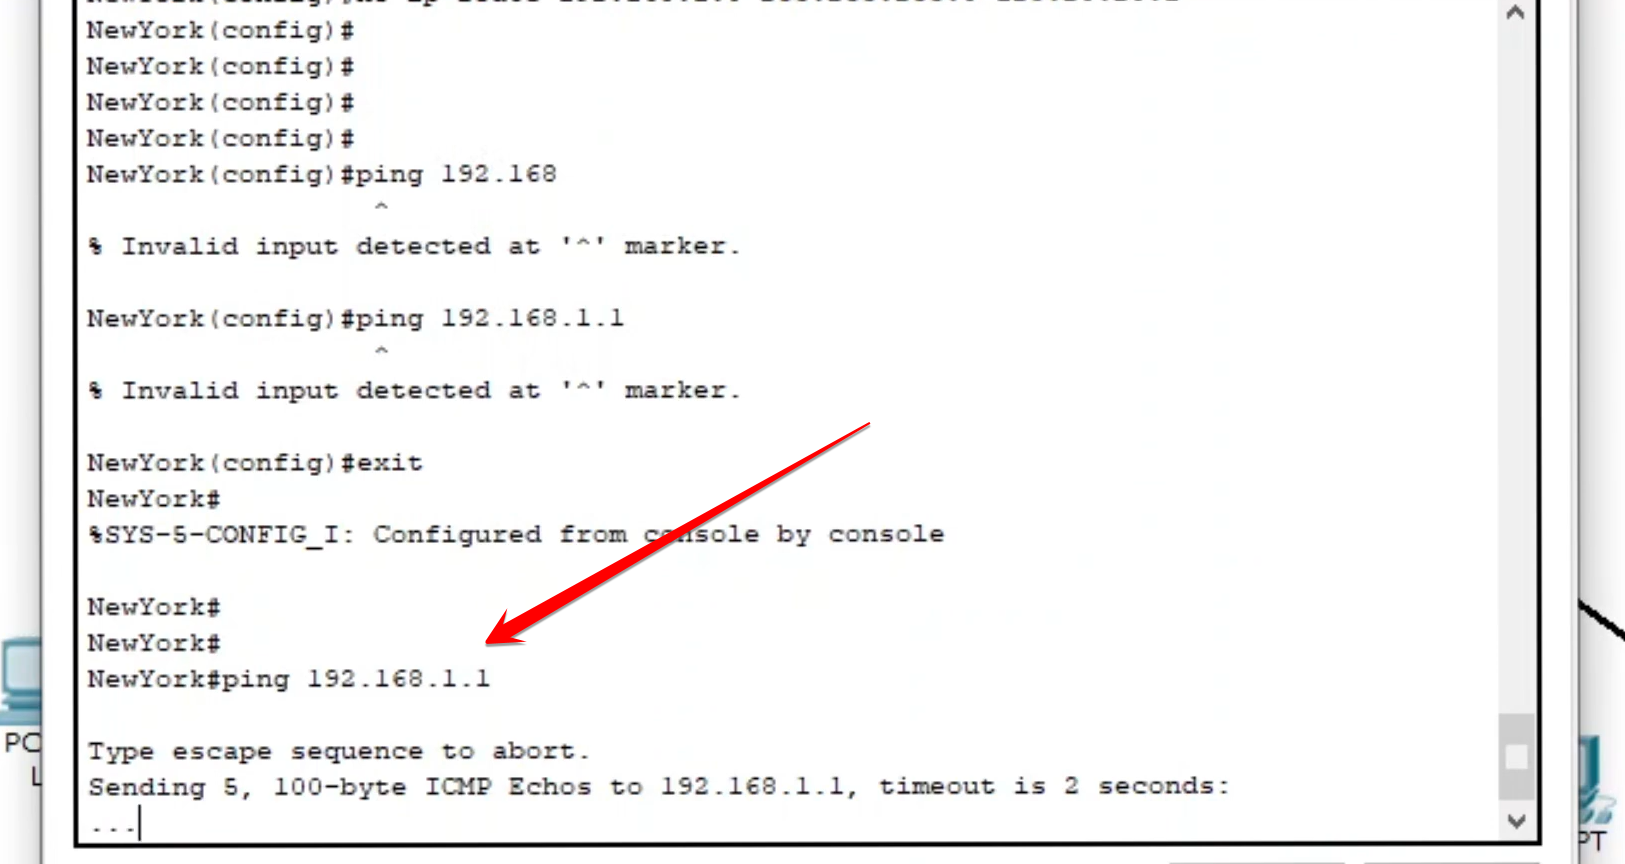
Verification: Test connectivity to the remote network (e.g.,
ping 192.168.1.1). It should fail .
2. Configuring RIPv2
The core of dynamic routing involves starting the RIP process, specifying the version, and advertising the directly connected networks.
-
Start RIP Process: Enter Global Configuration mode and start the RIP routing process.
router rip -
Specify Version 2: RIPv2 supports VLSM (Variable Length Subnet Masking) and sends multicast updates, making it superior to RIPv1.
version 2(The CLI showing the commands
router ripandversion 2.)
-
Advertise Connected Networks: You must advertise every network that is directly connected to this router. Do not include the subnet mask.
-
Example (Router 1): If the router’s interfaces are on networks
192.168.1.0(LAN) and123.20.20.0(WAN/Interconnect):network 123.20.20.0 network 192.168.1.0
-
-
Repeat: Apply the exact same
router rip,version 2, andnetworkcommands on the second router, advertising its directly connected networks (e.g.,123.20.20.0and192.168.2.0).

3. Final Verification
RIPv2 updates are exchanged periodically. After a short wait (up to 30 seconds), the routers should automatically learn the remote network routes.
-
Check Routing Table: Exit configuration mode and re-check the routing table.
exit
exit
show ip route
You should now see a route entry labeled
R, indicating the route was learned dynamically via RIP . (The terminal output ofshow ip routeshowing the new route entry labeled withR.) -
Test Connectivity: Ping the remote router’s interface IP.
ping 192.168.1.1The ping should now be successful, confirming that RIPv2 is actively sharing routing information between the two networks.