
In this guide, you’ll learn how to configure VLANs on MikroTik RouterOS using Winbox. VLANs (Virtual Local Area Networks) allow you to separate your network traffic, improve security, and organize devices more efficiently. Whether you’re creating separate networks for staff, guests, or IoT devices, this step-by-step tutorial with screenshots will help you set up VLANs easily.
Step 1: Open Winbox and Go to “Interfaces”
First, log in to your MikroTik router through Winbox.
From the left-hand menu, click on Interfaces.
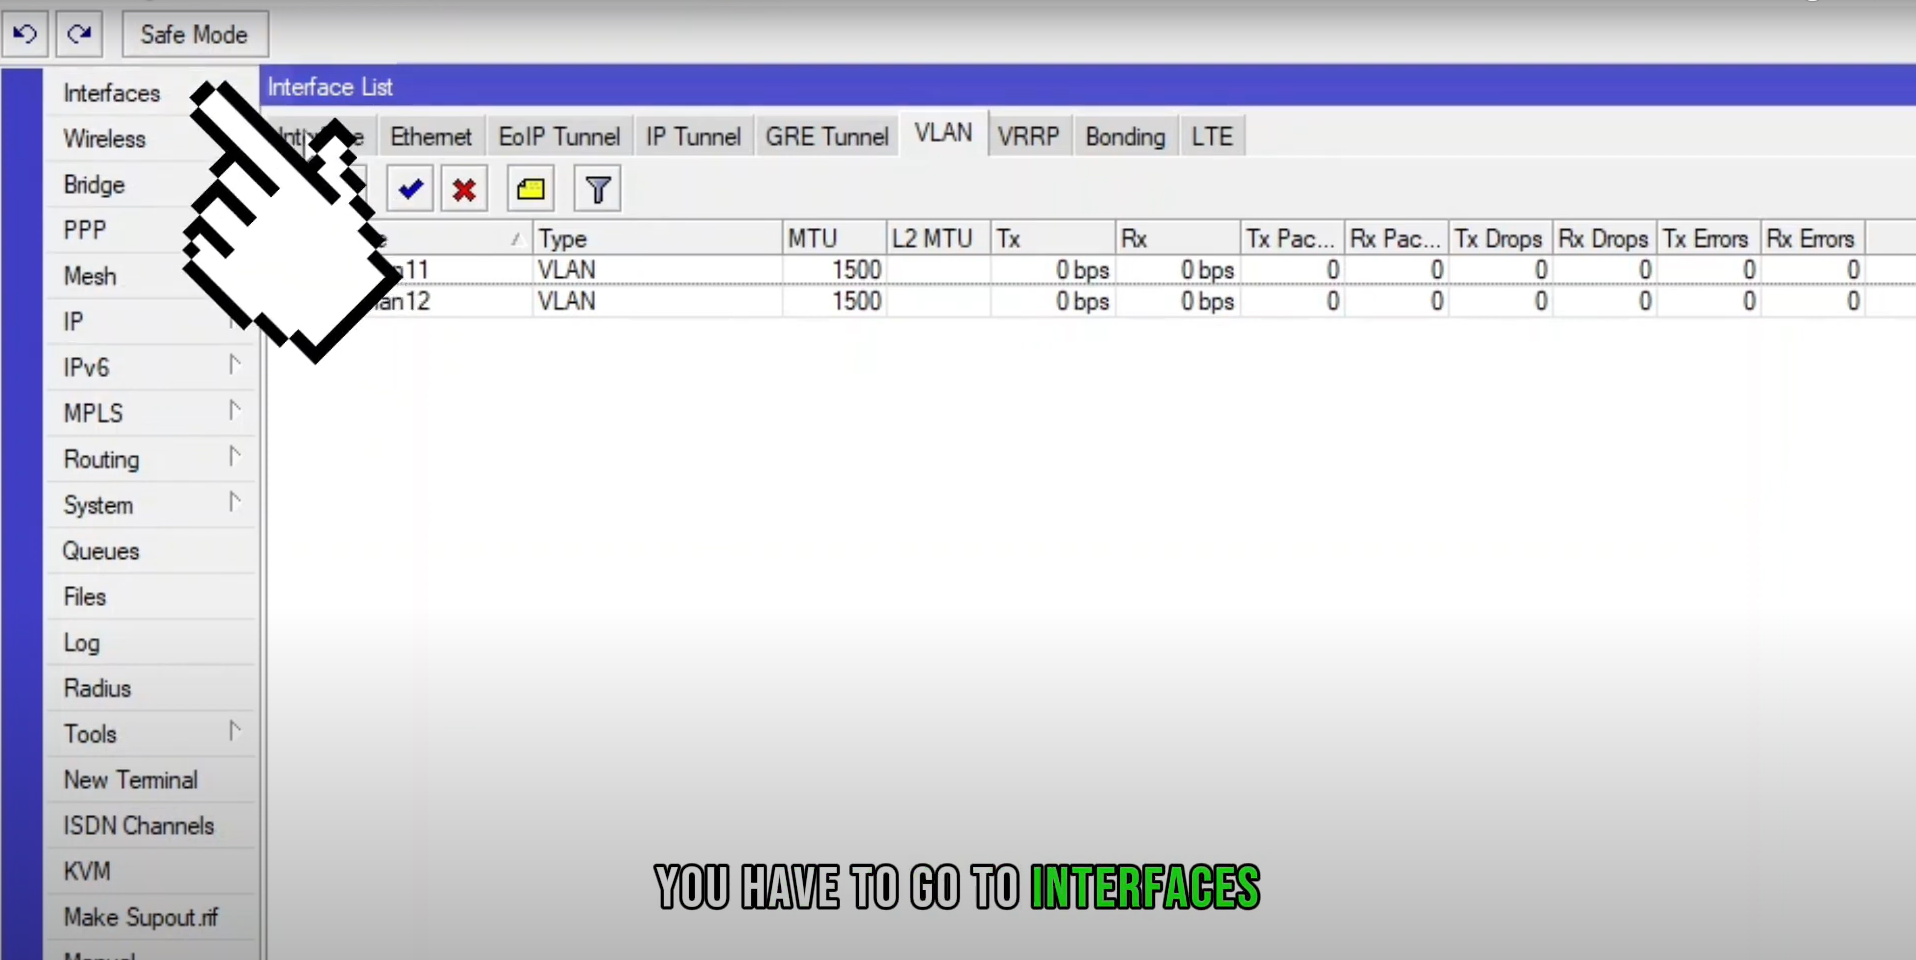
This opens the Interface List window, where you can view existing Ethernet, VLAN, and other interfaces.
Step 2: Select the VLAN Tab
Once inside the Interface List, navigate to the VLAN tab at the top.

This is where all VLAN interfaces will appear. If none exist yet, you can create new ones by following the next step.
Step 3: Create a New VLAN Interface
Click the (+) button to add a new VLAN.
A “New Interface” window will appear.
Fill in the following details:
-
Name: Enter a name for your VLAN (e.g.,
VLAN15). -
VLAN ID: Assign a VLAN ID (e.g.,
15). -
Interface: Select the parent physical interface (for example,
ether2).
Click Apply and then OK.

You can repeat this process for multiple VLANs such as VLAN 10, 20, 30, etc.
Step 4: Assign IP Address to the VLAN (Optional)
To make your VLAN reachable, go to IP → Addresses → + and assign an IP address to your new VLAN interface.
For example:
-
Address:
192.168.15.1/24 -
Interface:
VLAN15
Click Apply and OK.
Step 5: Verify VLAN Configuration
To confirm your VLAN setup, go back to the Interfaces window and check that your new VLAN appears in the list.
You can also open a terminal and run:
This will display all VLANs and assigned IP addresses.

That’s it! You’ve successfully configured a VLAN on MikroTik RouterOS using Winbox. VLANs are essential for network segmentation and traffic isolation, especially in offices, campuses, and multi-tenant environments.
Benefits of VLAN setup:
-
Enhanced network security
-
Reduced broadcast traffic
-
Easier network management
-
Better performance and organization


