Installing MikroTik RouterOS on a standard PC or server converts the machine into a powerful, custom-built router. This guide walks you through the installation process using an ISO file, which is applicable whether you are using a virtual machine (like VMware) or a physical installation via CD/DVD or USB.
Step 1: Boot and Select Packages
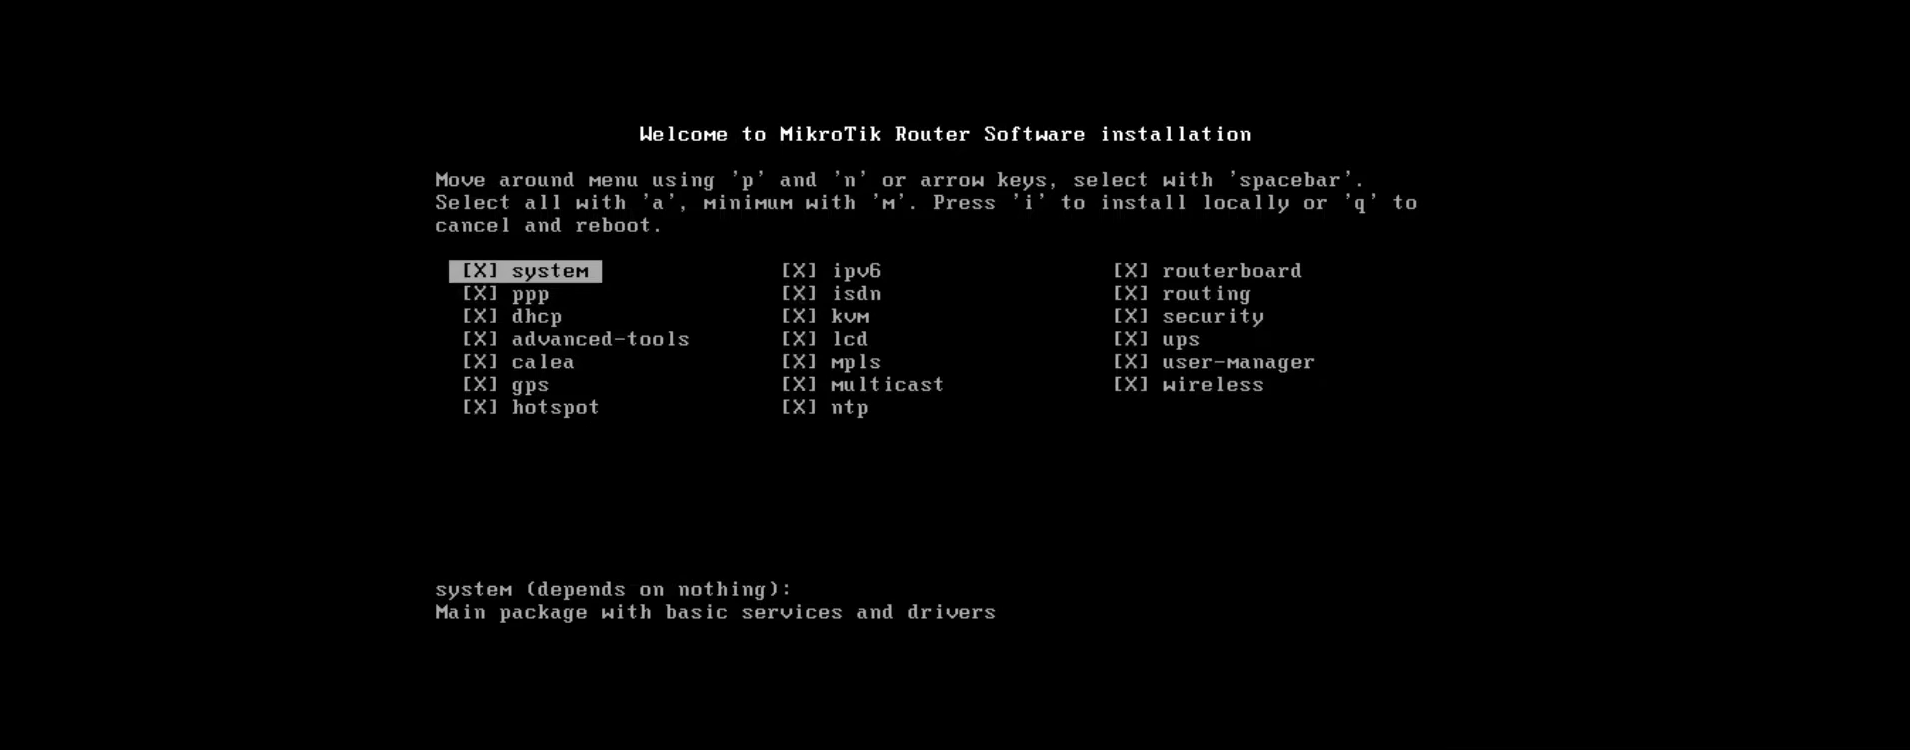
After starting the machine from the MikroTik ISO, the installation wizard begins by asking you to select the software packages you want to install.
-
Use the ‘p’ or ‘n’ keys (or arrow keys) to navigate the list.
-
Press ‘a’ to select all packages at once (recommended).
-
Press ‘i’ to begin the installation process.
Step 2: Confirmation and Installation
The installer will prompt you to confirm the installation and handle the disk formatting.
-
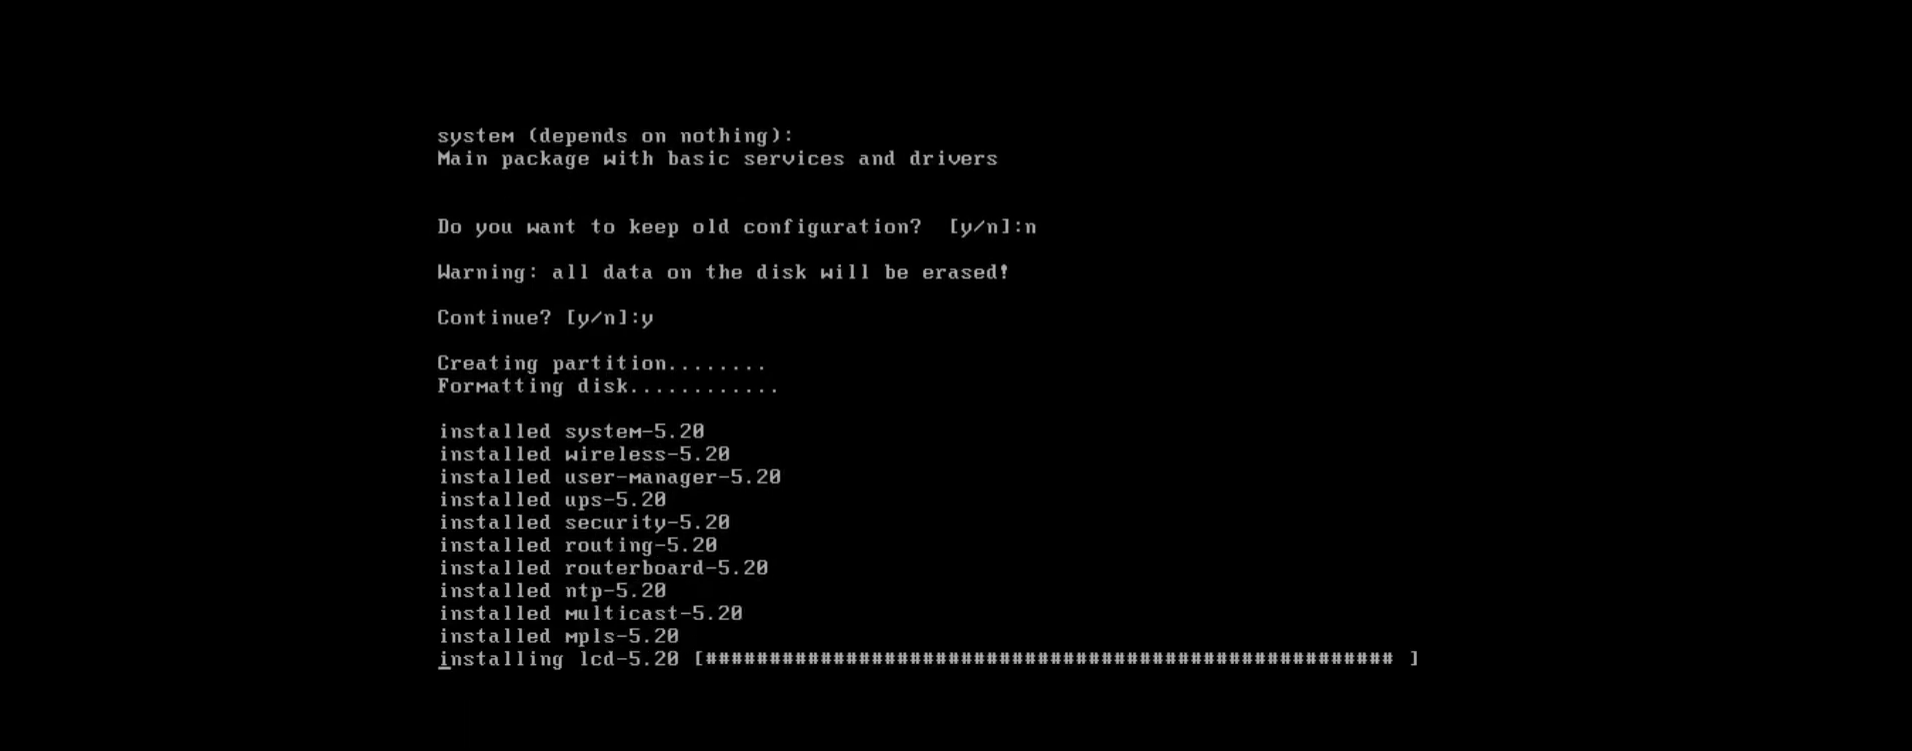
When prompted to “Keep old configuration,” press ‘n’ (No) to ensure a clean install.
-
When asked to confirm the hard drive format, press ‘y’ (Yes).
-
The system will format the drive and copy the files. Wait until the installation is complete, and then the system will prompt you to reboot.
Step 3: Initial Login and Network Configuration
After the reboot, MikroTik RouterOS will load to a command-line interface (CLI).
-
Login: The default username is
adminand there is no password (just hit Enter).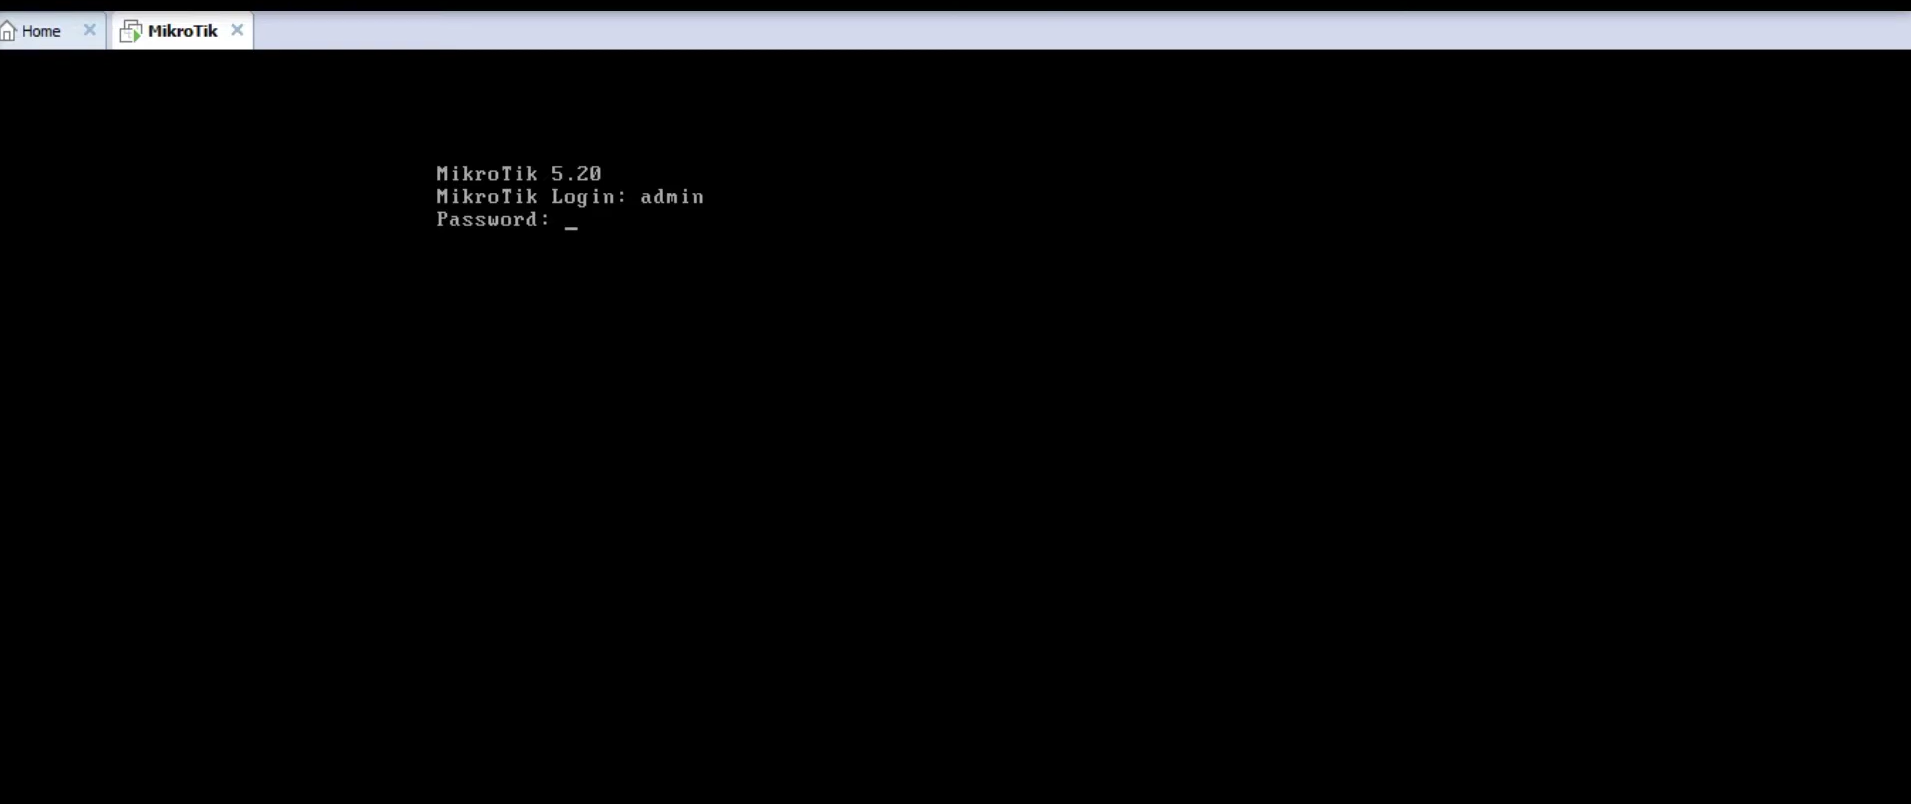
-
Check Interfaces: Verify your network interfaces (e.g.,
ether1) are detected. (Optional: Run/interface print). -
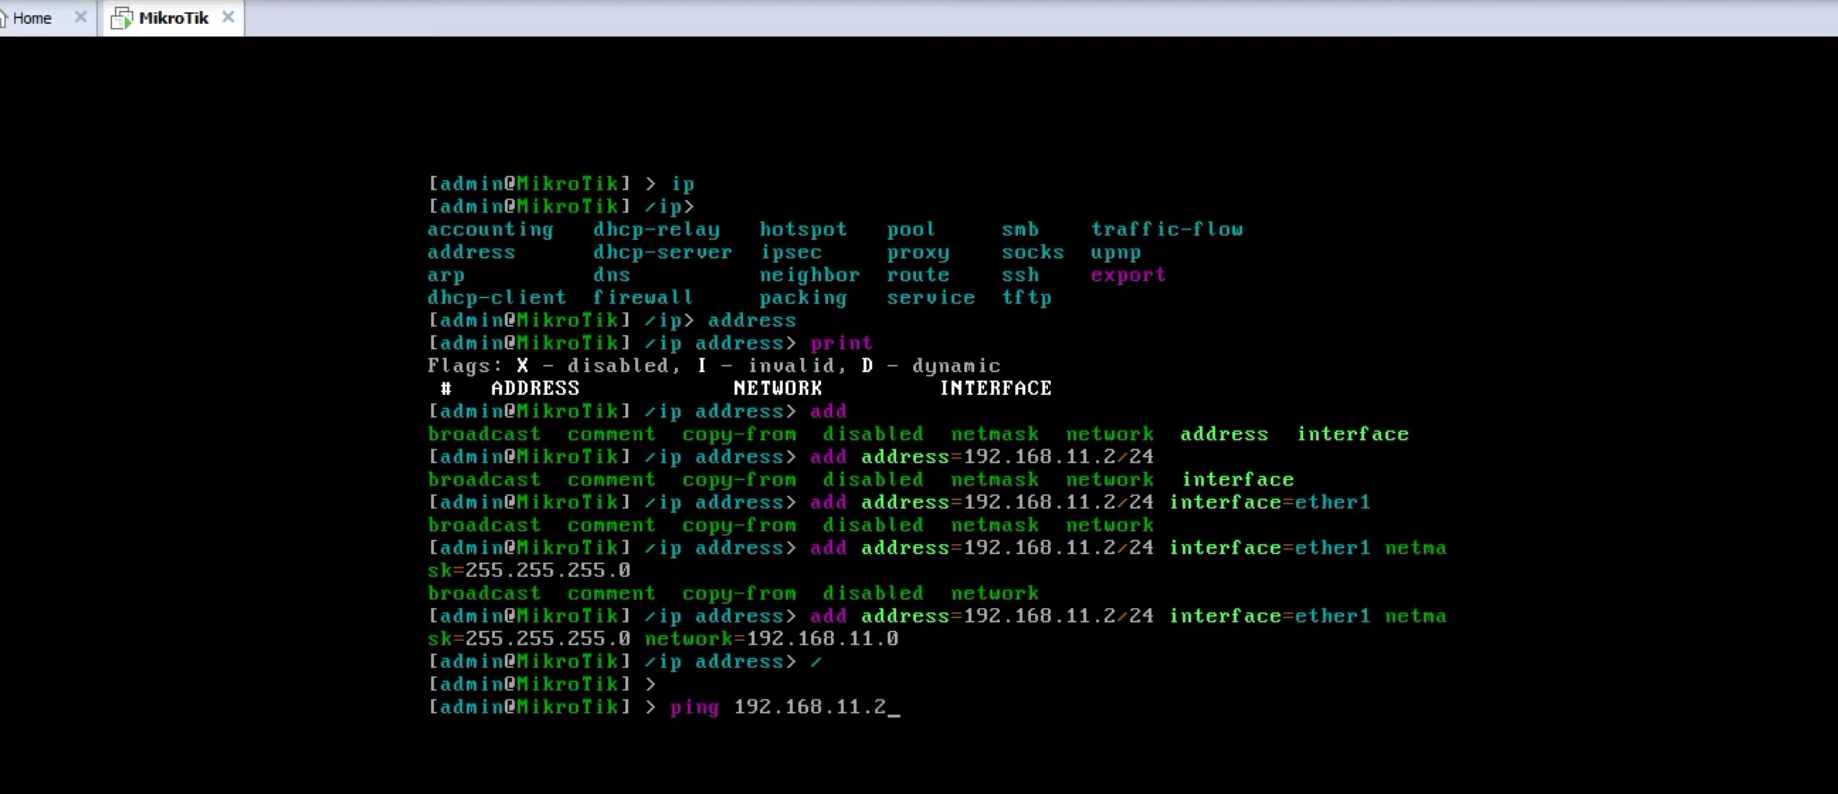
Assign IP Address: Assign a temporary IP address to your network interface so you can access the router using WinBox from your PC.
The video uses the following command structure to assign an address to the ether1 interface:
/ip address add address=192.168.11.2/24 interface=ether1
Step 4: Connecting via WinBox
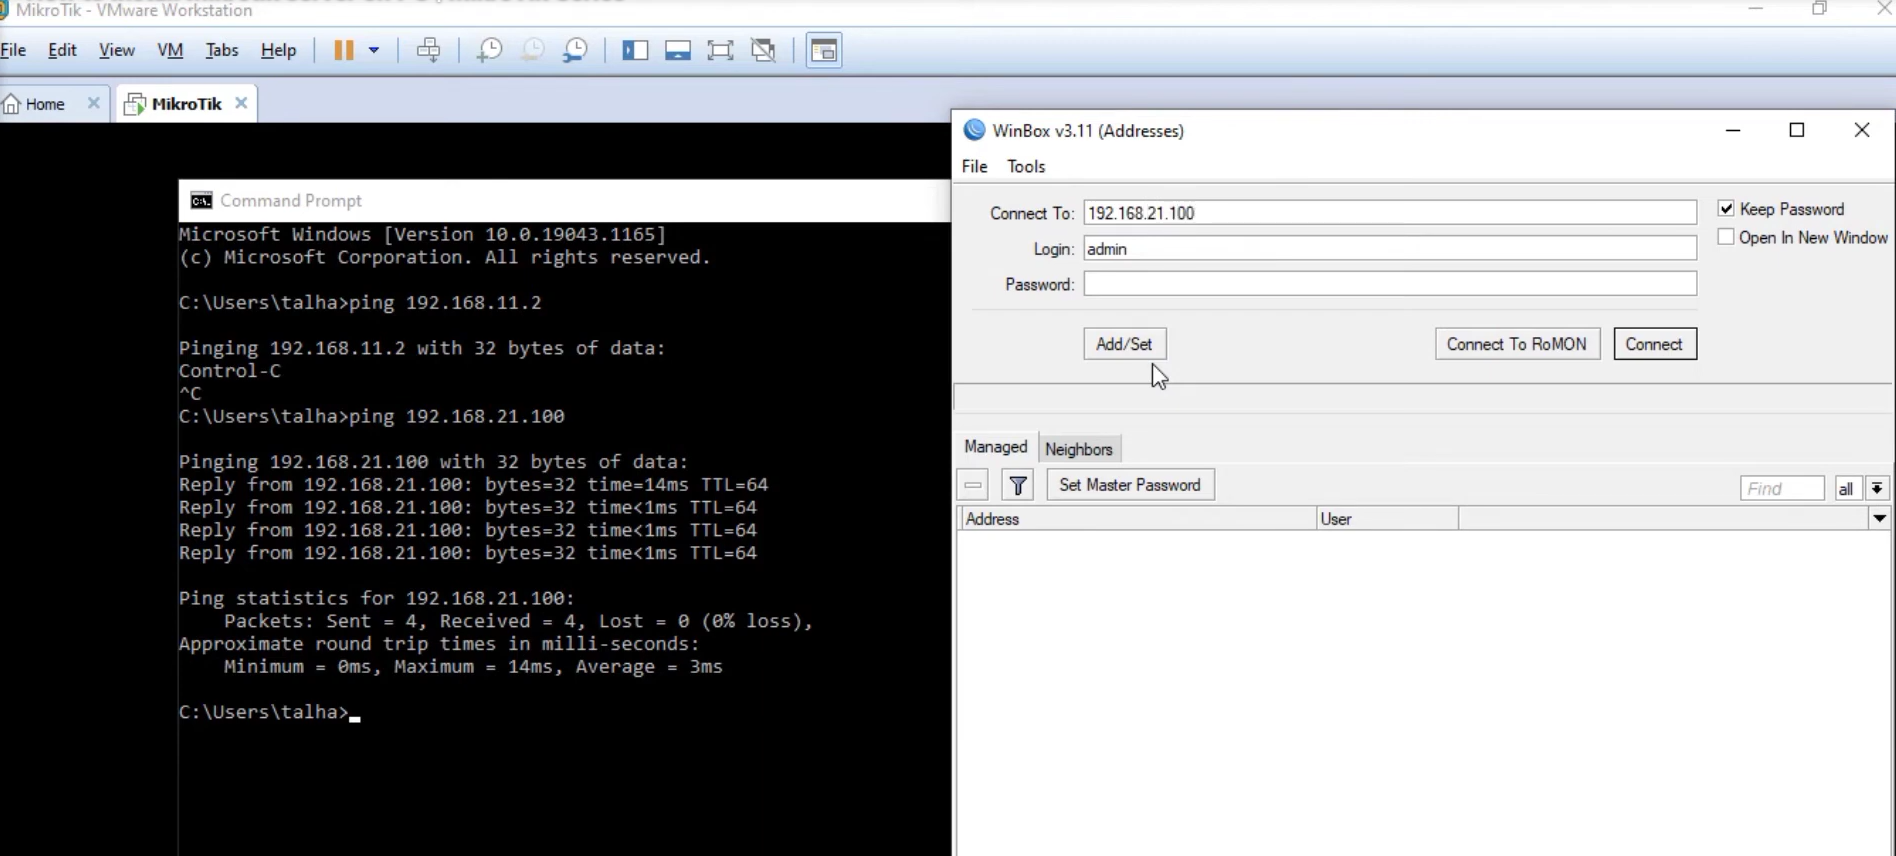
After assigning the IP, you can immediately access the graphical interface using WinBox.
-
On your local PC, open WinBox.
-
In the Connect To field, enter the IP address you just assigned to the MikroTik (e.g.,
192.168.21.100). -
Use the credentials: User:
admin, Password: (leave blank). -
Click Connect.