
Installing Proxmox VE directly onto a physical server—a “bare-metal” installation—provides the best performance for virtualization. This guide walks you through the process, from booting the installer to accessing the final web interface.
1. Preparation and Booting the Installer
Before starting, you must prepare your server to boot from the installation media.
-
Create Bootable Media: Create a bootable USB drive (e.g., using Ventoy or Rufus) containing the Proxmox VE 9.0 ISO image.
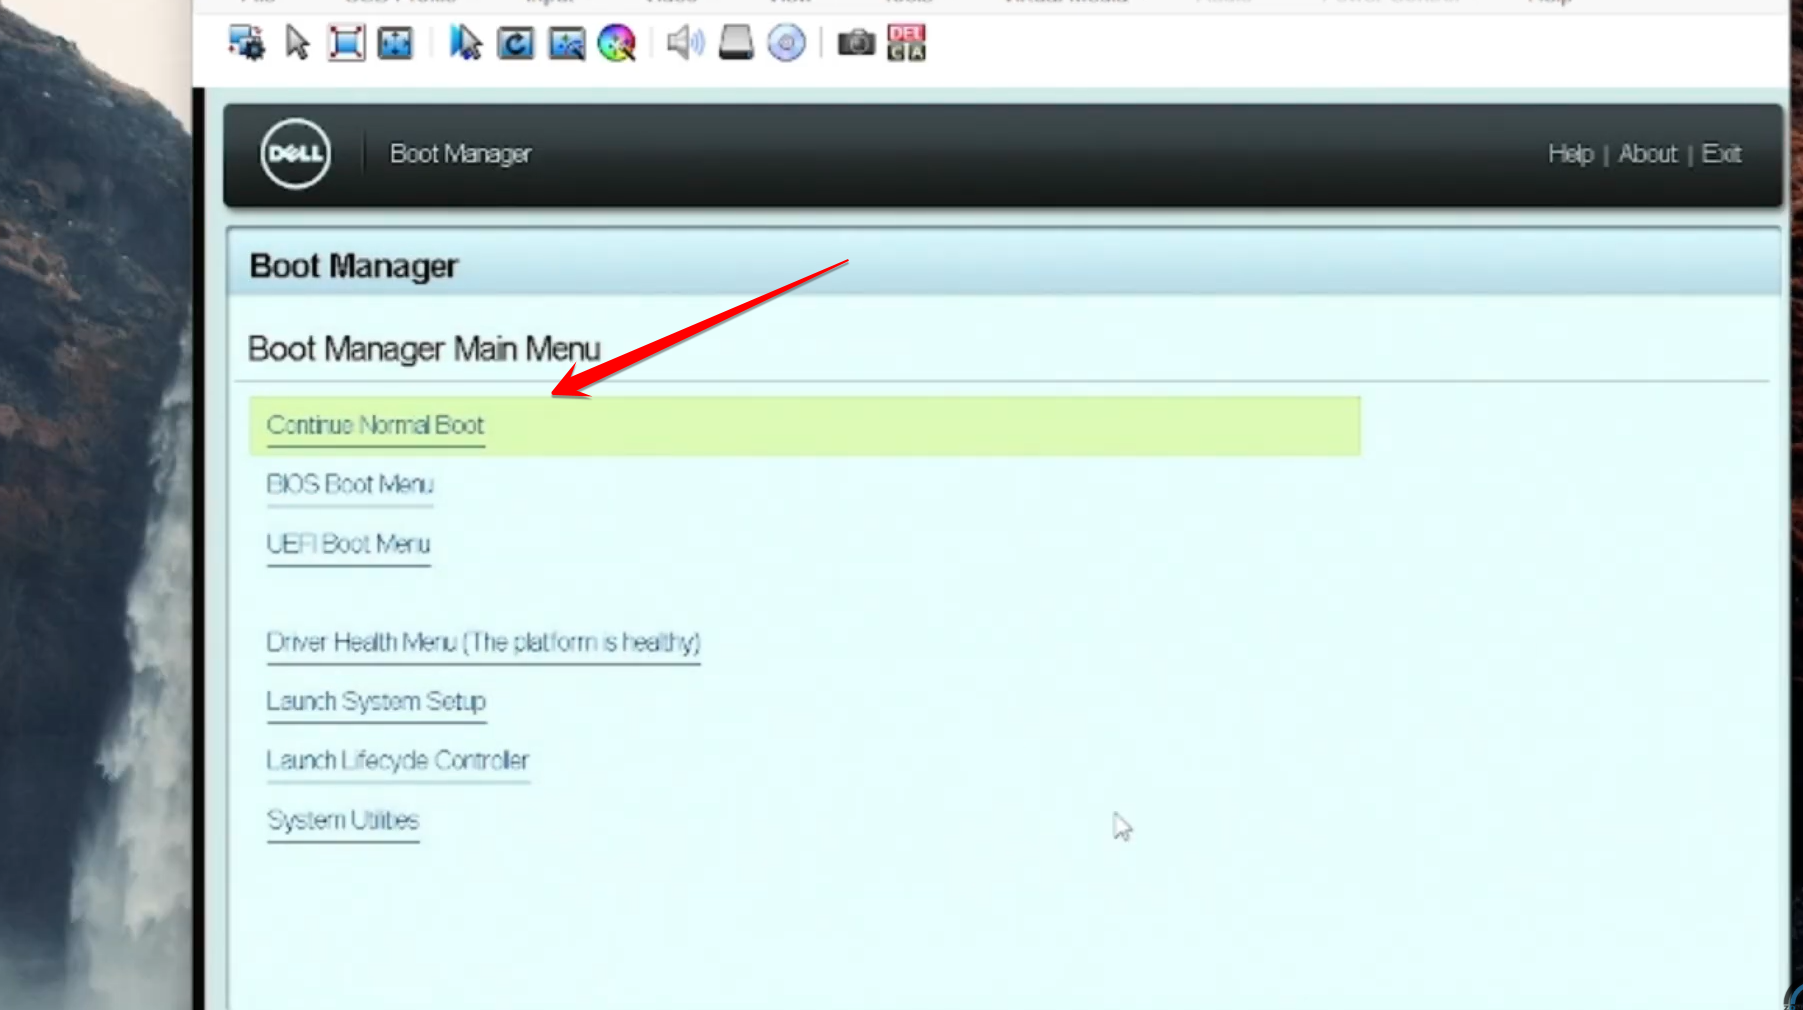
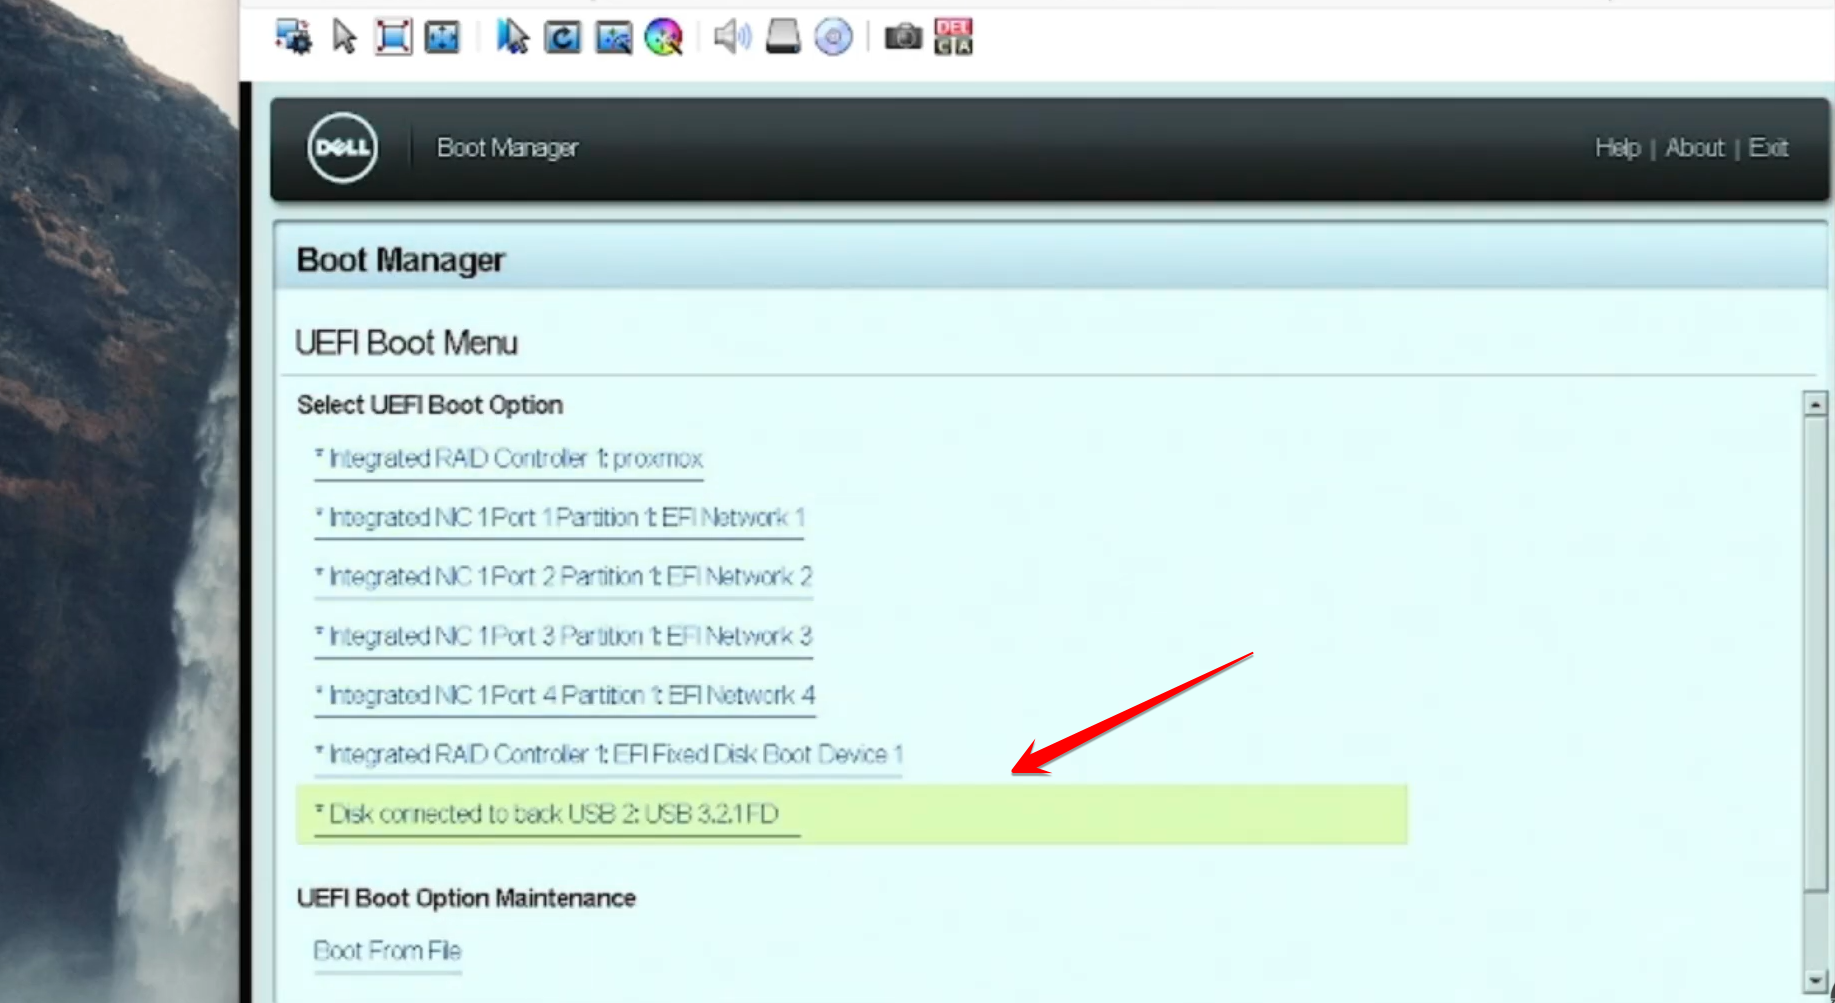
2. Boot the Server: Access your server’s BIOS/Boot Manager (often via F12, F2, or Delete key) and select the USB drive as the boot device.
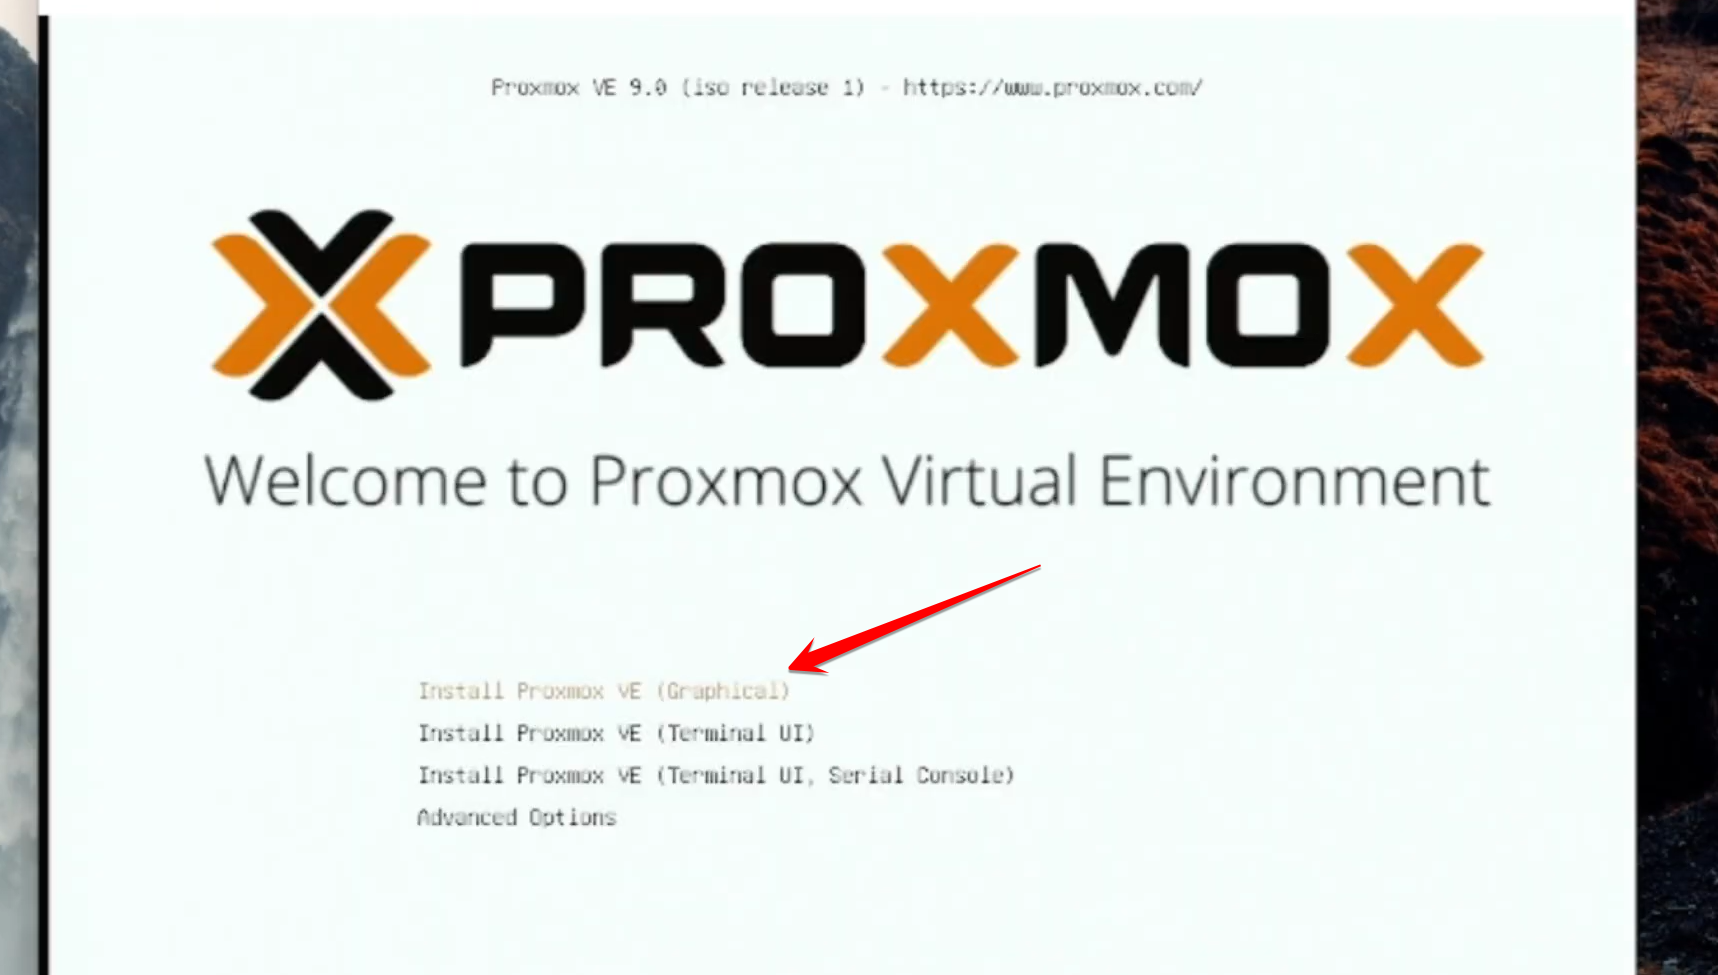
3. Start Graphical Installation: Once the Ventoy/USB menu appears, choose the “Install Proxmox VE (Graphical)” option to begin the installation wizard.
2. Disk and Location Configuration
The installer will guide you through setting up the disk and basic locale information.
-
Accept EULA: Read and click “I Agree” on the End-User License Agreement.

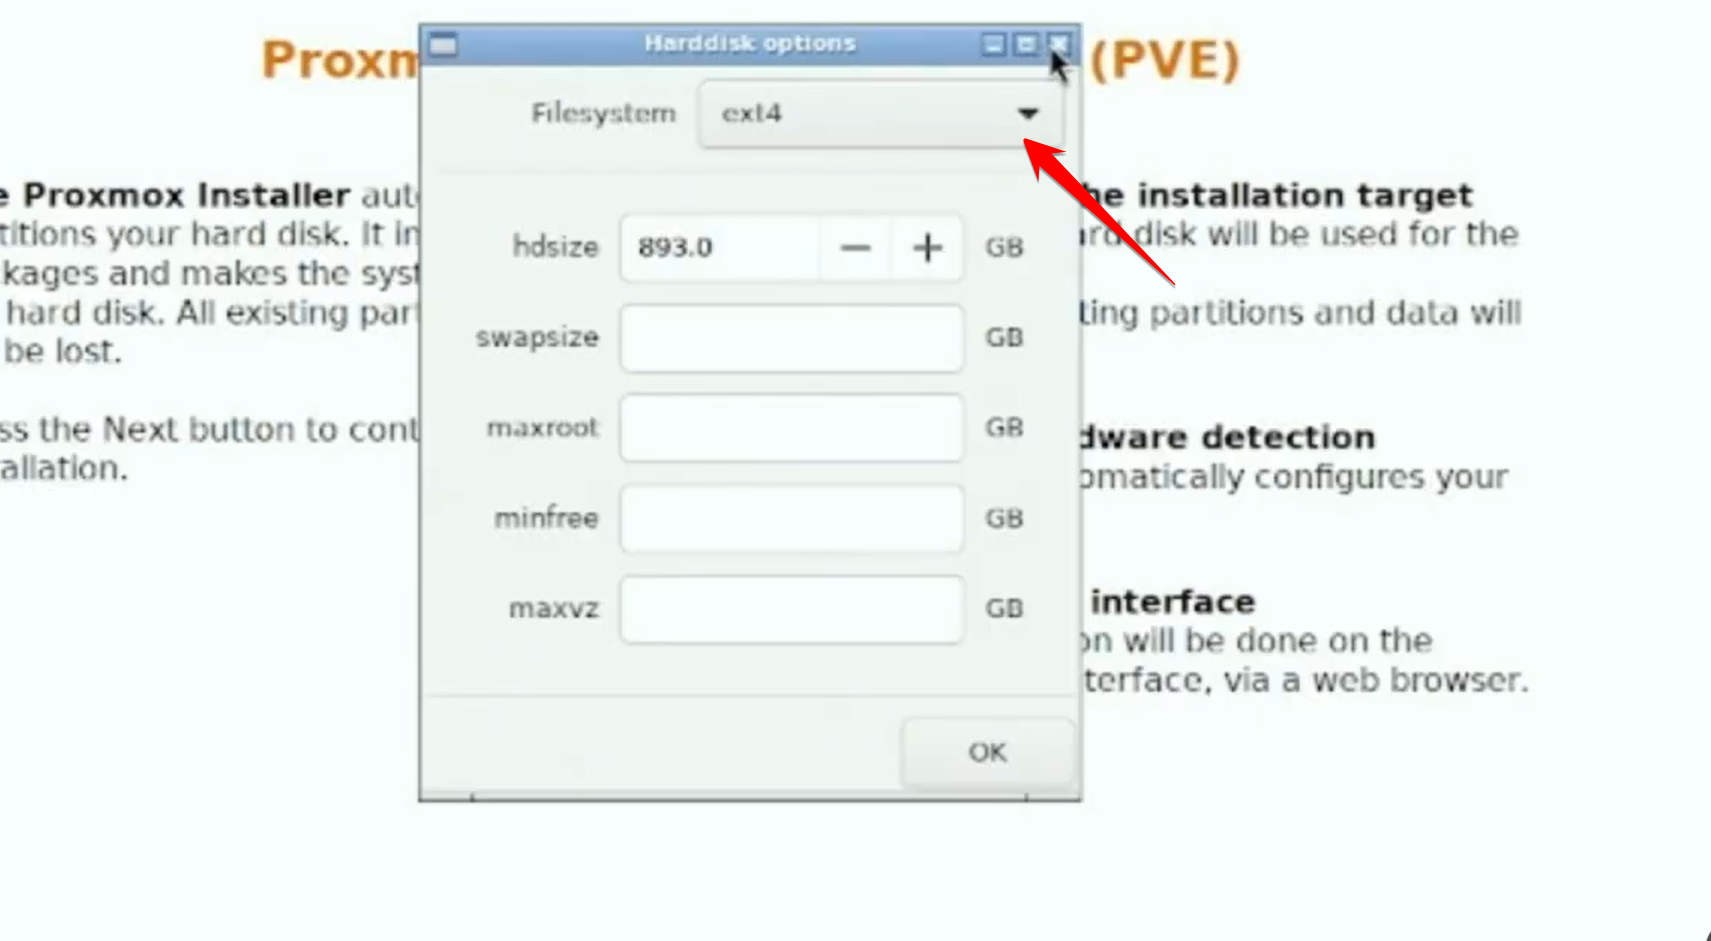
2. Select Target Disk: Crucially, ensure you select the server’s hard drive or RAID controller (e.g., PERC) for the installation, not the USB drive you are booting from. The USB is usually smaller and labeled as such.
- You can also select the desired file system (e.g., ext4 or ZFS) for the installation.
4. Location and Time Zone: Select your Country and Time Zone settings.
3. User Credentials and Network Setup
The final configuration steps involve setting administrative access and network details.
-
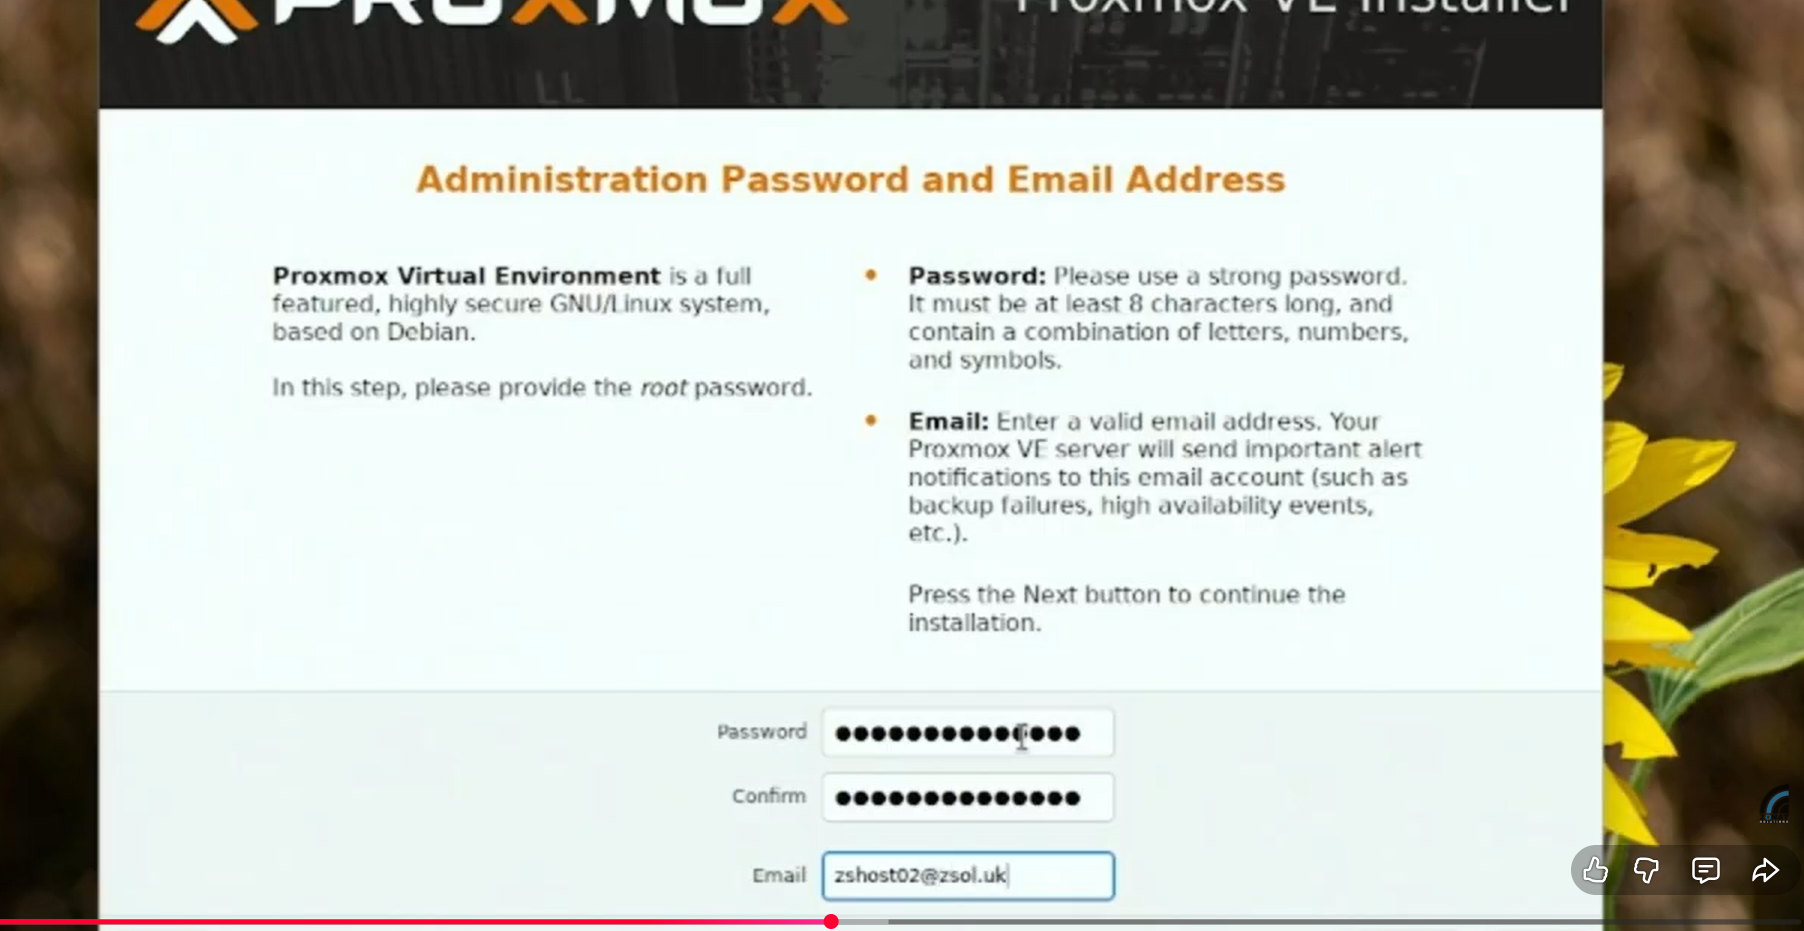
Set Root Password and Email: Enter a strong password for the root user and provide a valid email address for notifications.
- Configure Network Settings: This is a vital step for remote access.
-
-
FQDN/Hostname: Set a fully qualified domain name (FQDN) or a simple hostname for the server (e.g.,
zshost02.zonsol.uk).
-

-
-
IP Address: Change the dynamically assigned IP to a static IP address, Gateway, and DNS server settings. Make sure these settings match your local network configuration.
-
Interface: Confirm the correct network interface is selected; Proxmox 9.0 shows which ports are connected with a green indicator.
-

-
Review and Install: Review the summary of all configurations and click “Install”. The server will automatically reboot upon successful completion.

4. Accessing the Web Interface
Once the server reboots, you can access the Proxmox graphical user interface (GUI) remotely.
-
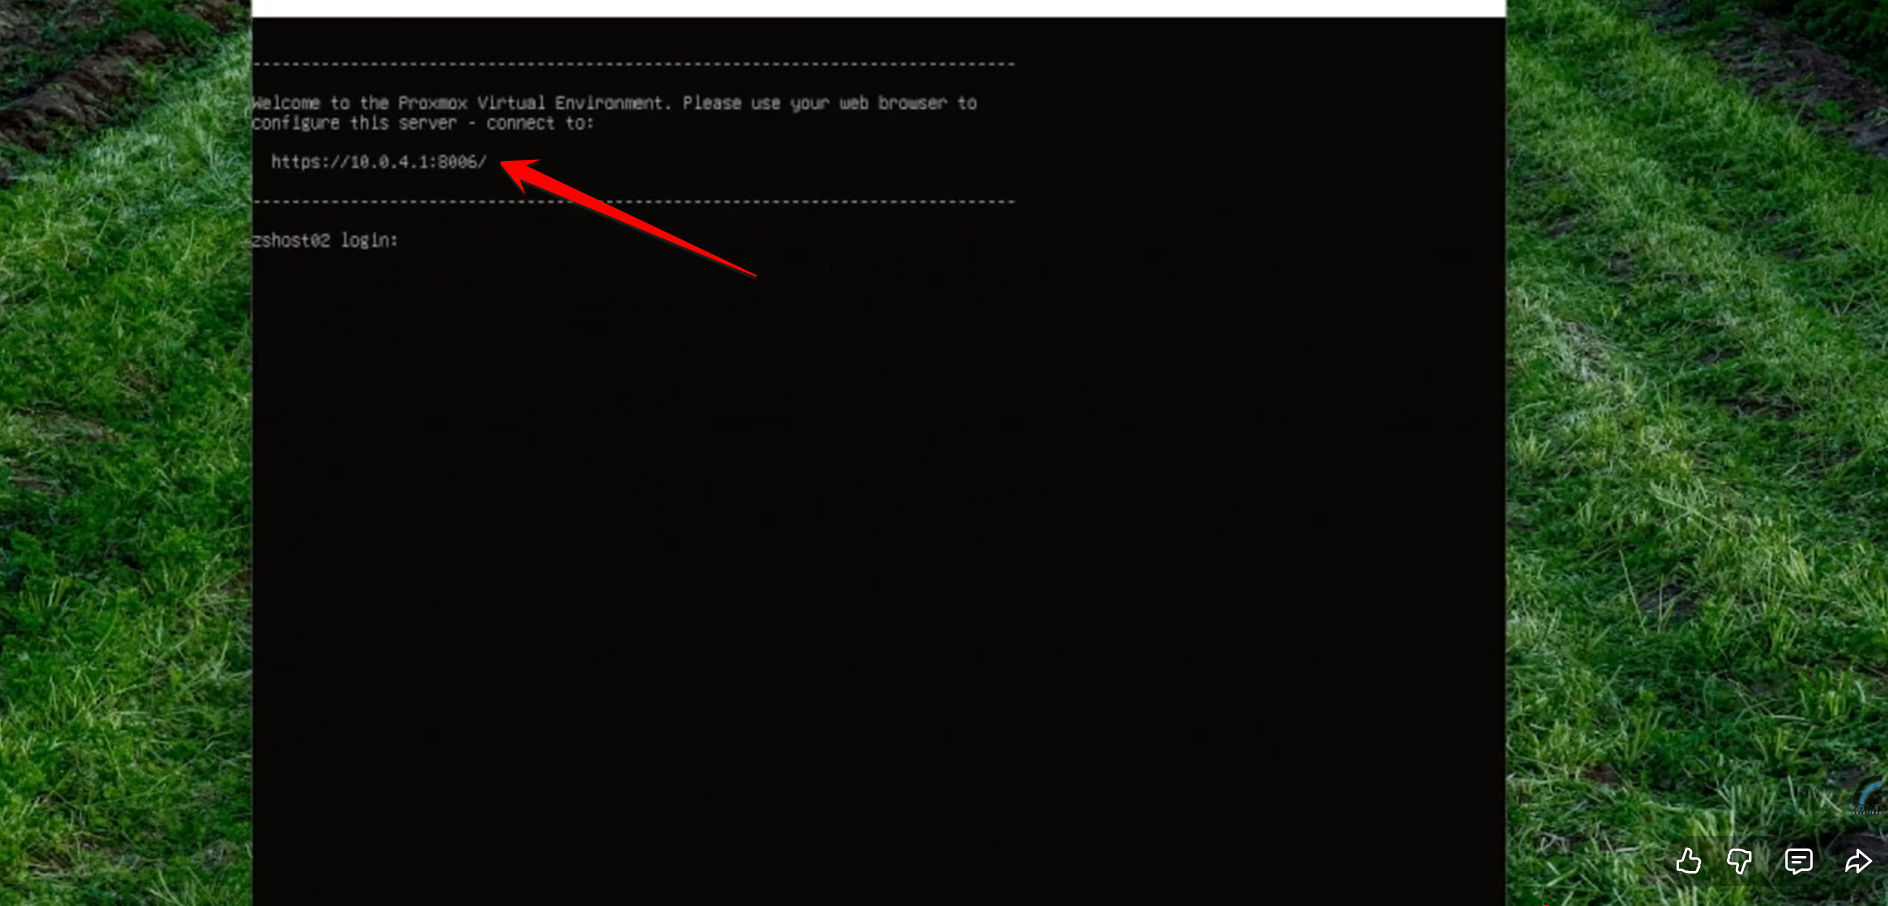
Find Access URL: The server’s console screen will display the access URL:
https://[Your-Static-IP]:8006.
-
Login: Open a web browser on a client machine and navigate to the displayed URL.
-
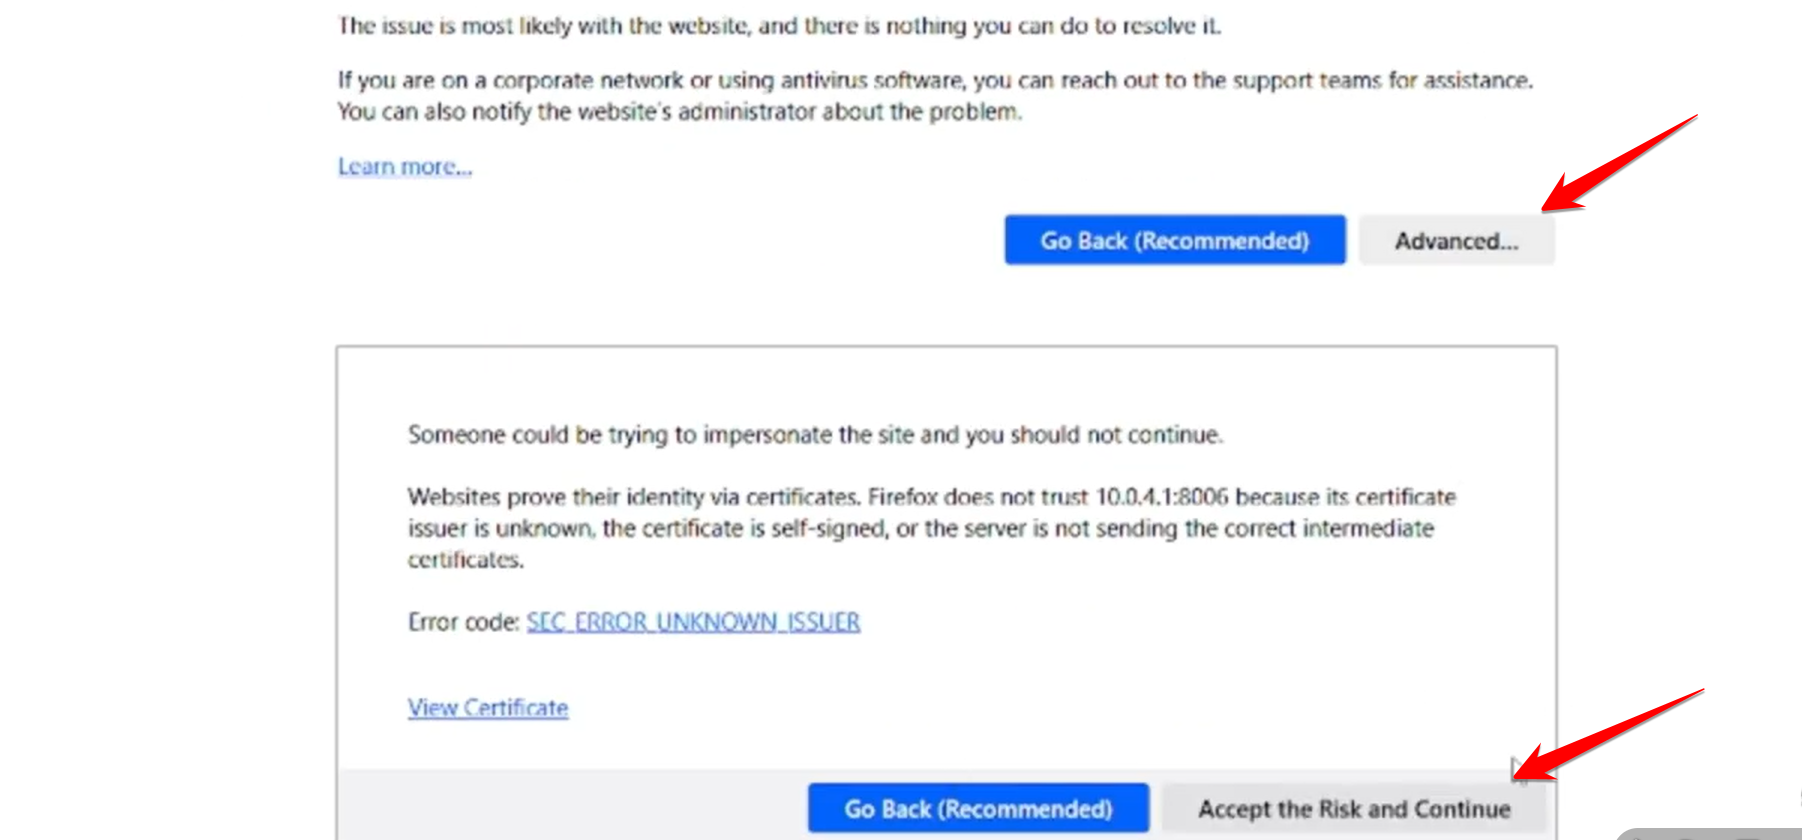
When prompted, accept the certificate warning (since it’s a self-signed certificate).
-
-
-
Log in using the username
rootand the password you set during installation.
-

-
Initial Warning: You may see a “No valid subscription” warning, which is expected for the free version. Click “OK” to start using the Proxmox VE management interface.


